
Want to monitor Windows computers in your Home-Assistant setup? Maybe even control them to some degree? Then IOT Link is probably the easiest and fastest way to do it. It is a background service that is communicating with Home-Assistant (or other) by MQTT.
I have tested this on Windows 10 and 11, and it works the same way on both, might even work on other versions of Windows.
In this post I will go trough the full setup, but I will not go trough all the more advanced features of the software. This is a little how-to/demonstration.
MQTT Broker
Before following this guide you will need a MQTT broker and MQTT configured with auto discovery in Home-Assistant. If this is in place you can ignore this step.
The easiest way to set this up is with the Mosquitto Add-On in Home-Assistant.
- Go to Supervisor -> Add-on Store
- Select Mosquitto broker under Official add-ons
- Click INSTALL
- You can set a username/password in the Configuration tab, this is optional.
- Click START
- Go to Configuration -> Integrations.
- MQTT will show as “Discovered” (If not add a new integration and search for “MQTT”).
- Select CONFIGURE
Done.
IOT Link: Download and installation
- Go to https://iotlink.gitlab.io/downloads.html and downlaod the last version of IOT link, At the time of writing this post the last version is IOT Link – v2.2.2 (released 2020-10-08)
- When the download is complete right-click the setup file and select “Run as administrator” (input Windows administrator credentials if prompted for)
- Microsoft Defender SmartScreen will pop up and block the installation, click “More info” and then “Run anyway”
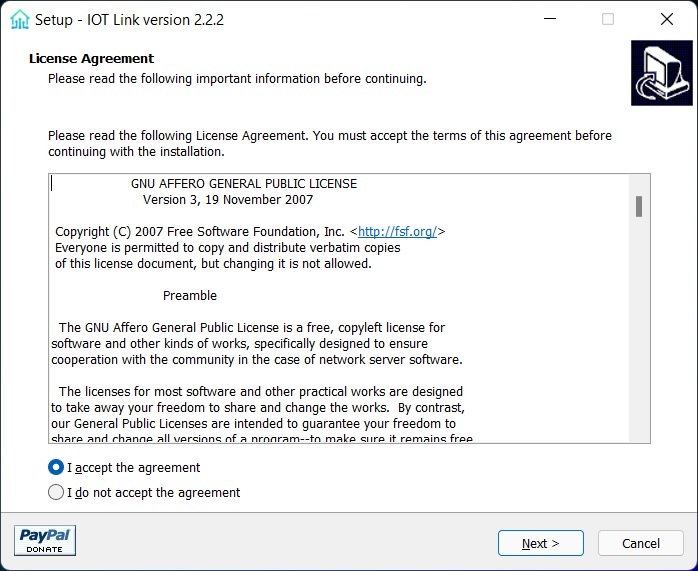
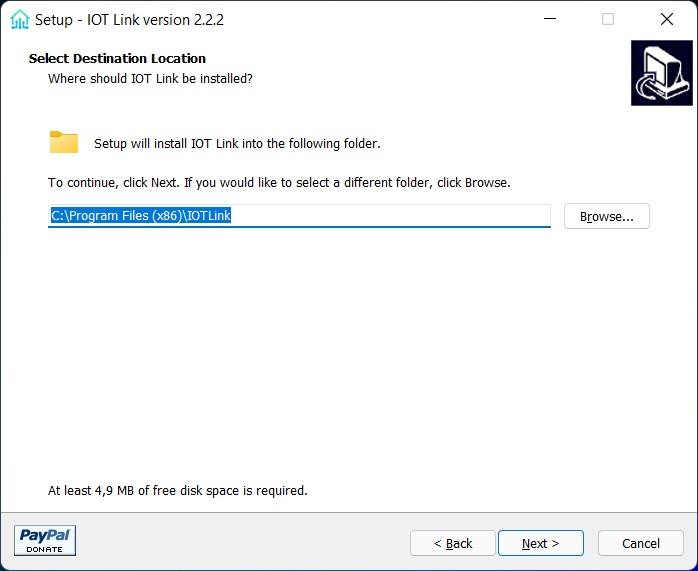
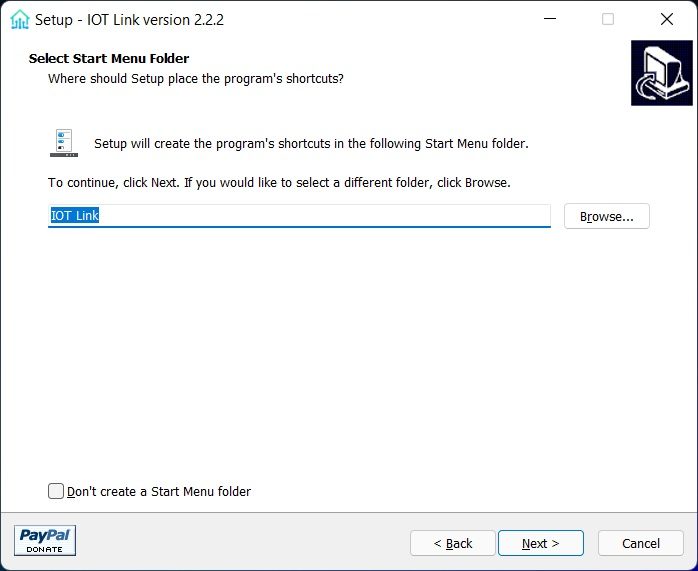
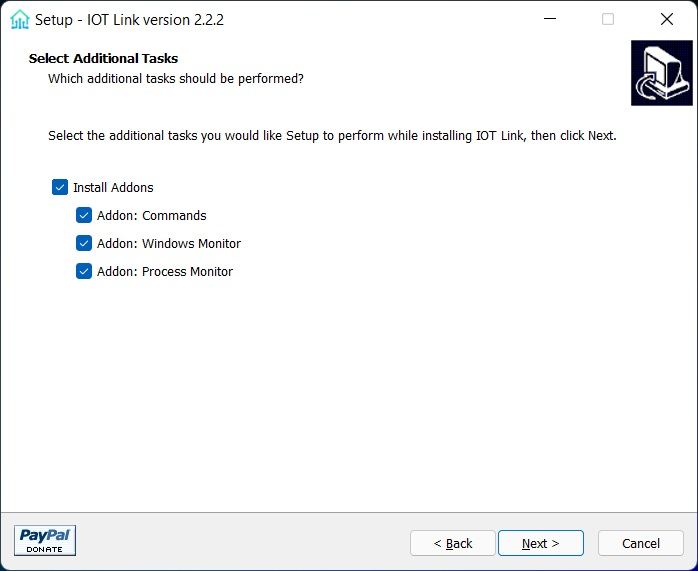
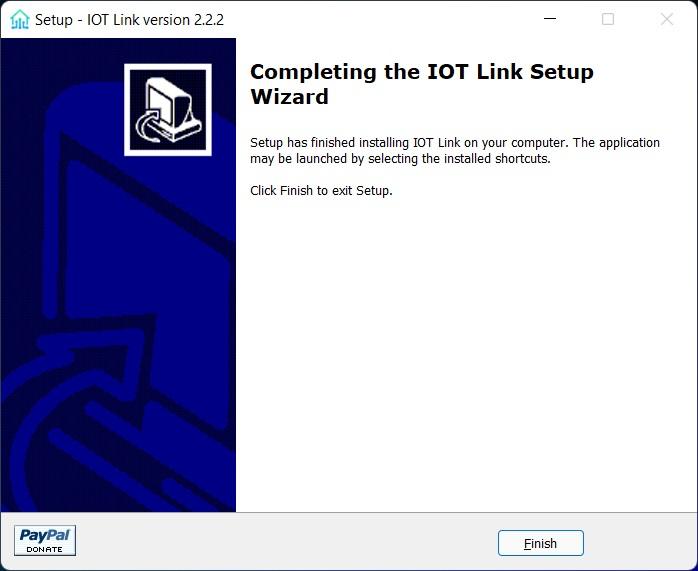
- During installation just keep alt default and complete the setup like in the pictures below.
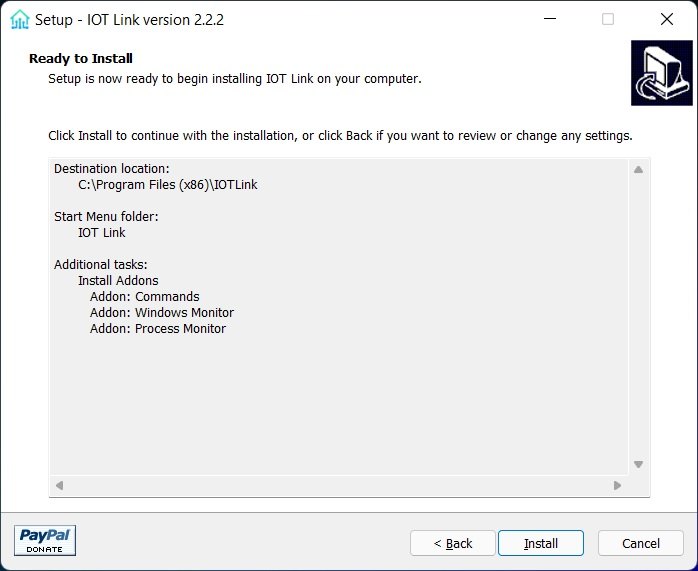
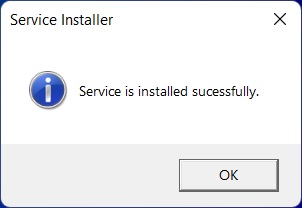
When the setup is done and the message “Service is installed successfully.” comes up click OK, the installation is complete.
A Windows service called IOT Link is now installed, this is now running, and it will automatic start with windows.
It can be found and managed by running services.msc in Windows. (Not needed if there is no issue)
IOT Link: Basic configuration
The installation is done, it is time to connect it to the MQTT, and in the same process to Home-Assistant (Here I assume M MQTT configured with auto discovery is up and working in Home-Assistant).
Open the mine configuration file, C:\ProgramData\IOTLink\Configs\configuration.yaml in a text-editor, (eg notepad).
Most of the settings can be default (or changed at your own preference), but the following options should be edited:
- Under
mqtt:->credentials:->username:andpassword:set MQTT broker user/password (if there is a user set up, else leave blank). - Under
mqtt:->tcp:setenabled:totrue,hostname:to the ip of your MQTT broker (Same as Home-Assistant if Add-On), andport:to the MQTT port,1883is default in Mosquitto. - Under
mqtt:->messages:setretain:totrue.
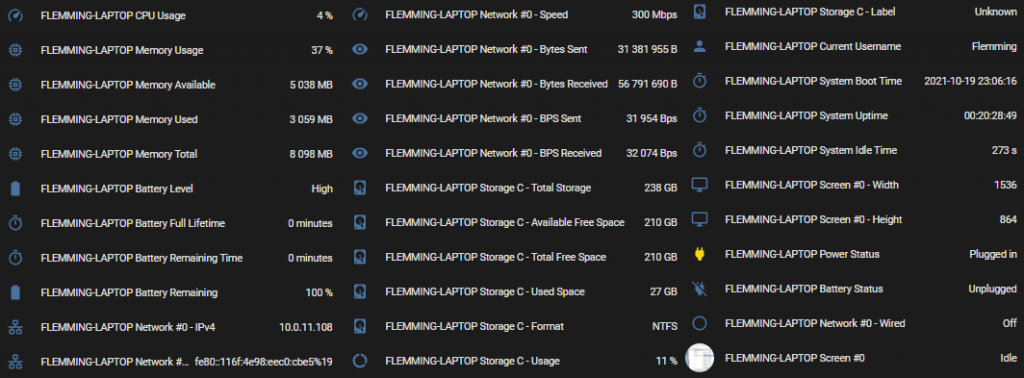
When done, save the file. IOT Link will Automatic ly import the new settings and start to publish to MQTT. If there is no issue Home-Assistant should be populated with new entities pretty fast.
Service Calls
One of the other nice features of IOT Link is the ability to control the remove Windows computer in different ways. This can be done by sending mqtt.publish service calls in Home-Assistant. There is a whole lot of things that can be accomplished but here I have a few examples. This is in Home-Assistant done under Developer Tools -> Services.
Change “workgroup” and “flemming-laptop” according to too actual values.
Reboot the remote computer:
service: mqtt.publish
data:
  topic: "iotlink/workgroup/flemming-laptop/commands/reboot"
  payload: ""
Run Windows Media Player on the remote computer:
service: mqtt.publish
data:
  topic: "iotlink/workgroup/flemming-laptop/commands/run"
  payload: '{ "command": "C:\\Program Files (x86)\\Windows Media Player\\wmplayer.exe", "path": "C:\\Program Files (x86)\\Windows Media Player\\", "user": "", "visible": true, "fallback": true }'
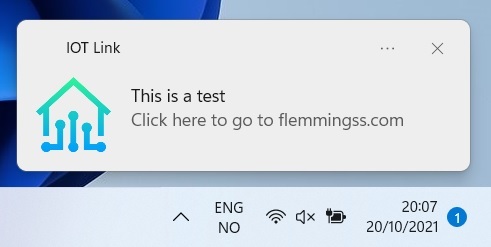
Send a notification, and a link to this website to the remote computer:
service: mqtt.publish
data:
  topic: "iotlink/workgroup/flemming-laptop/commands/notify"
  payload: '{ "title": "This is a test", "message": "Click here to go to flemmingss.com", "launchParams": "toast://open/http://flemmingss.com" }'
More can be found at this page: https://gitlab.com/iotlink/iotlink/-/wikis/Addons/Commands
That’s It. I hope the post was useful 🙂