The Idea
This is really not a new project, in November 2018 I started to build a new kitchen. Before that I had a more open kitchen solution, but to utilize the space better I decided to build a new wall. That’s when the idea of this project came, why not embed a couple of monitors and a charging station for gadgets? Now I have the rare opportunity, so I went for it as a side project.
The kitchen was (besides the floor moldings) finished at the end of December 2018 (The plan is to finish floor moldings within Q2 2020). The rest of the wall-project took a little longer, and the software-part is still always a work in progress.
This is a post about how I made it, but all is written afterwards so i might miss some parts. If you have any questions they can be asked in the comments-section of the article’s article
The Wall
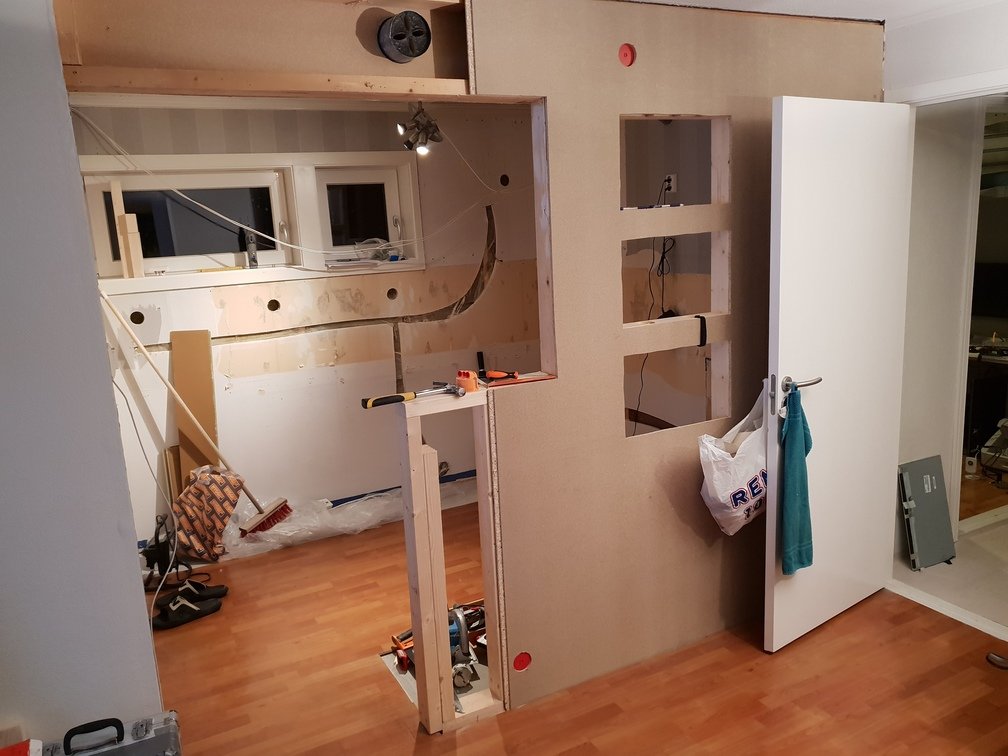
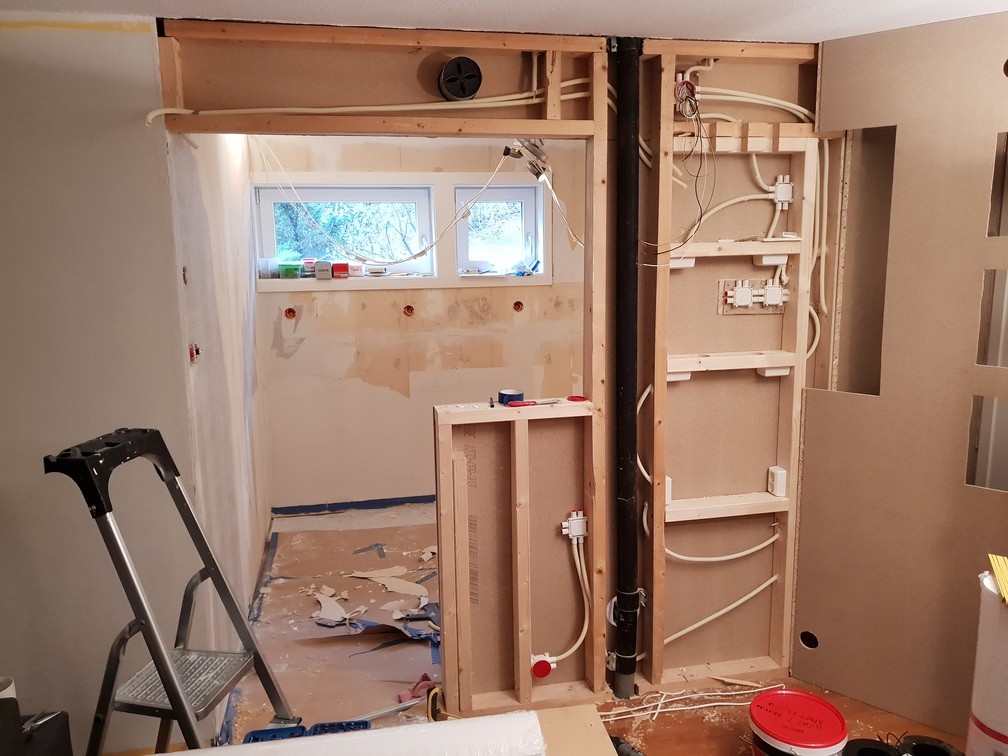
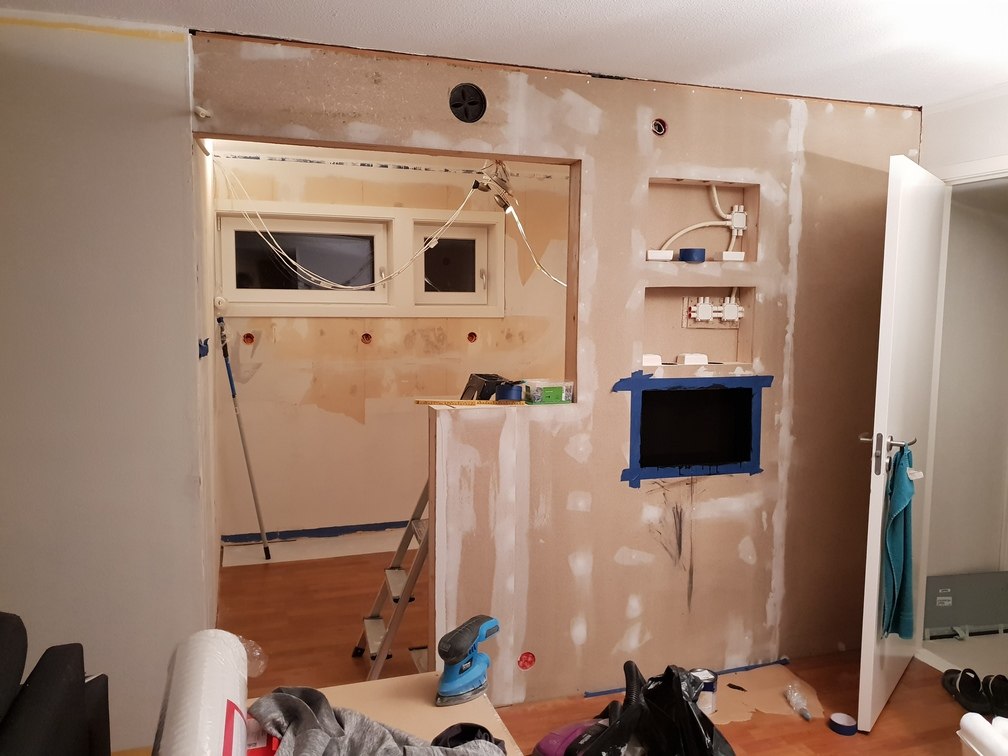
Below are some pictures of the wall building process.
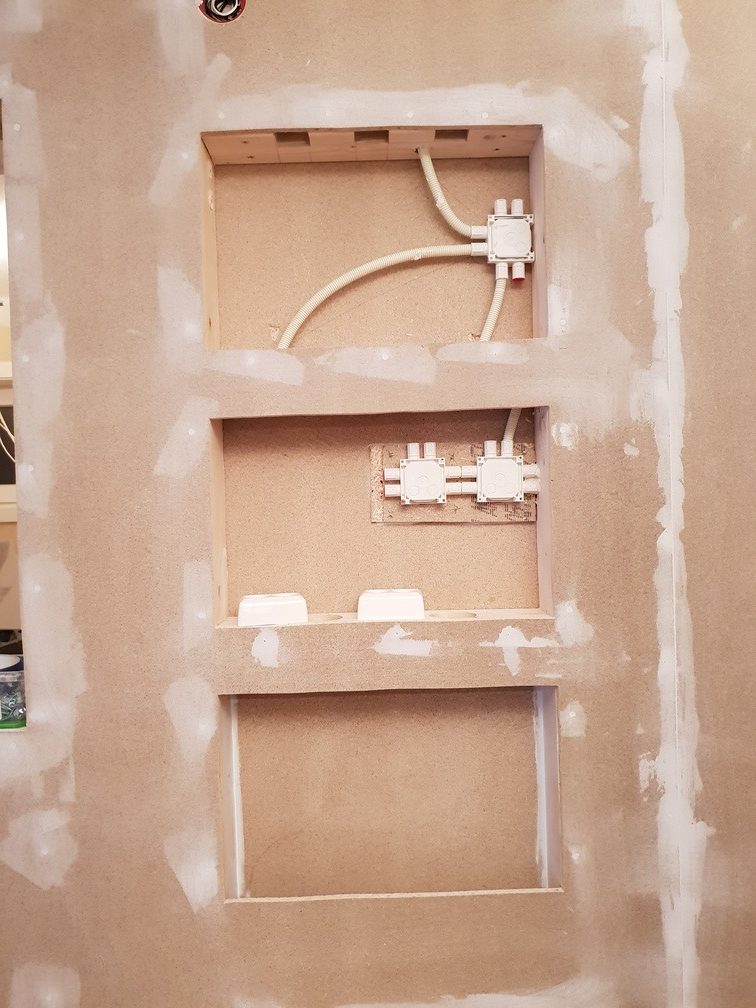
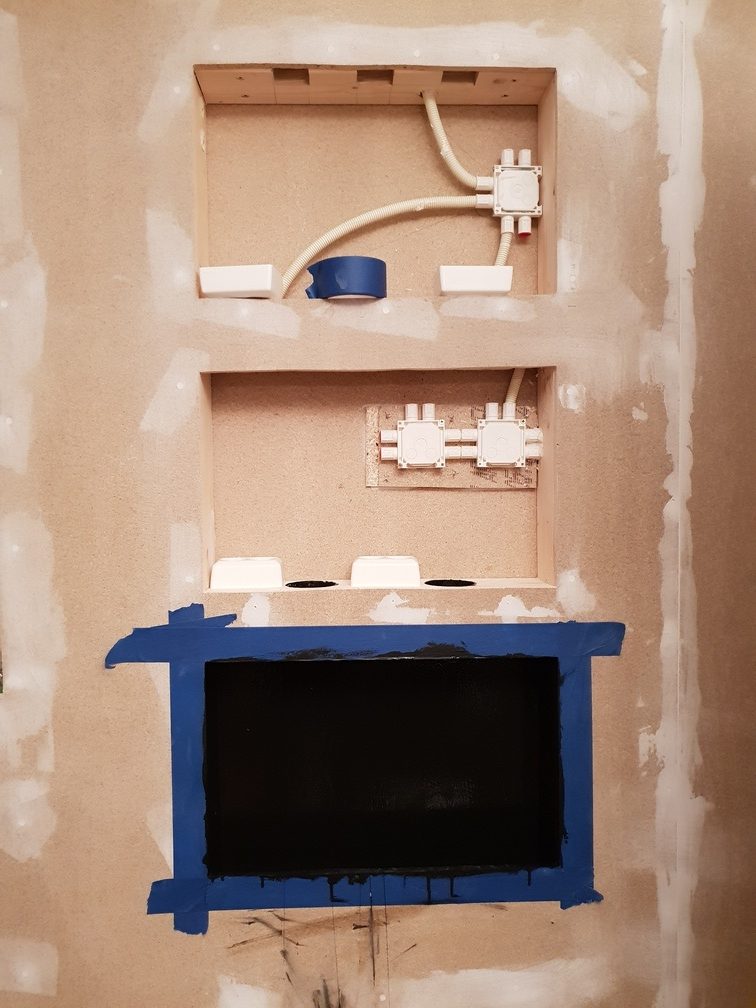
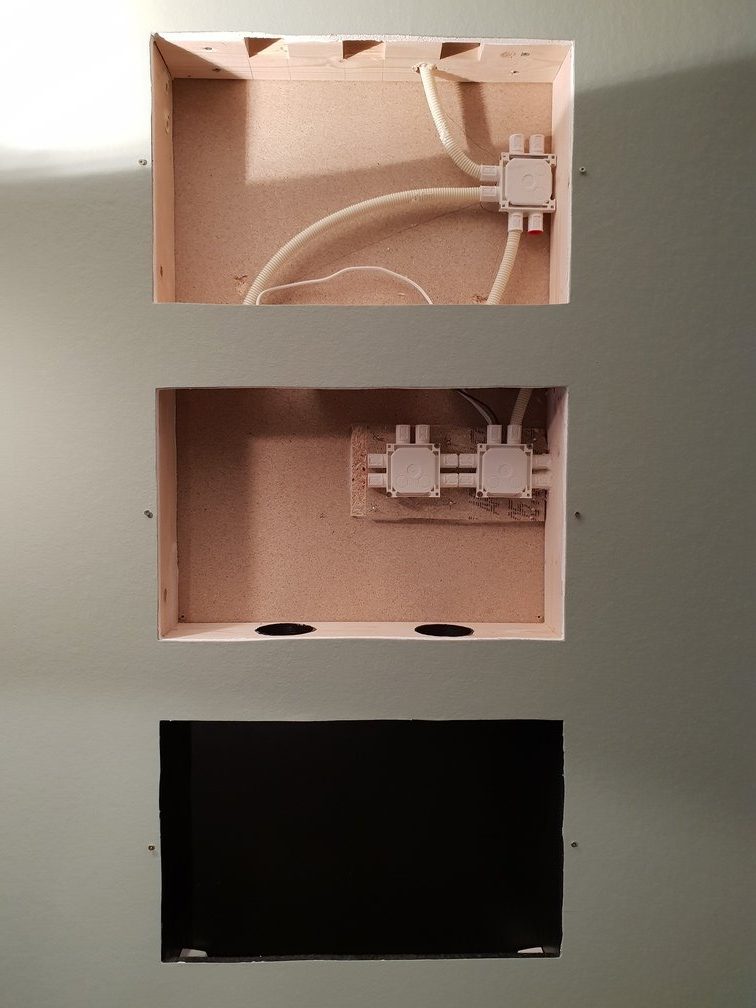
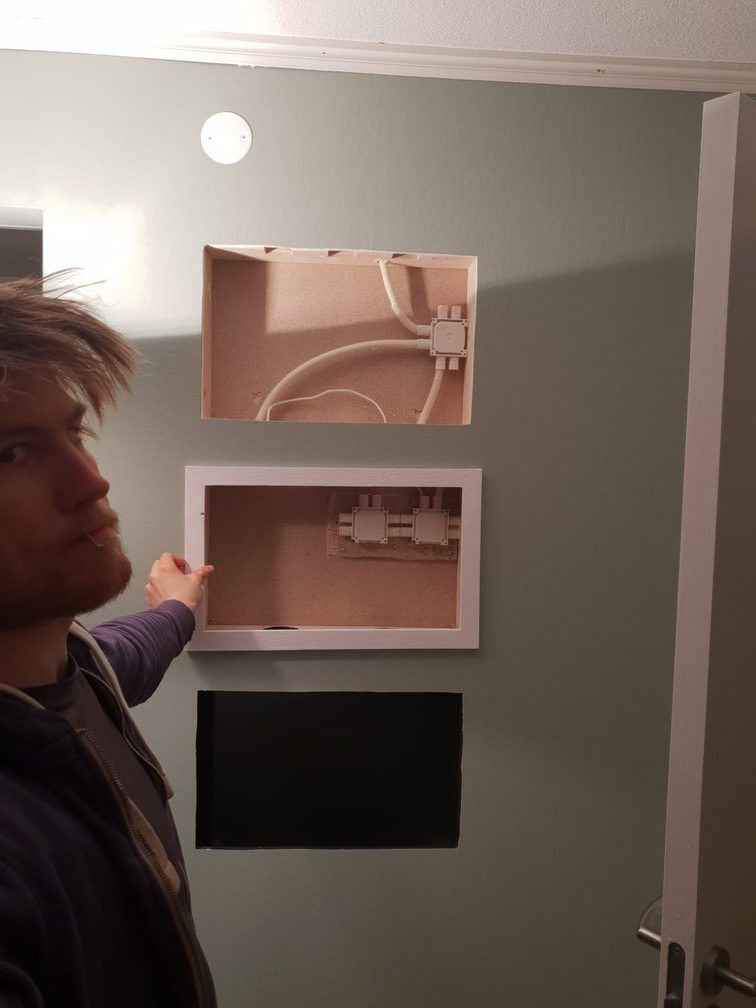
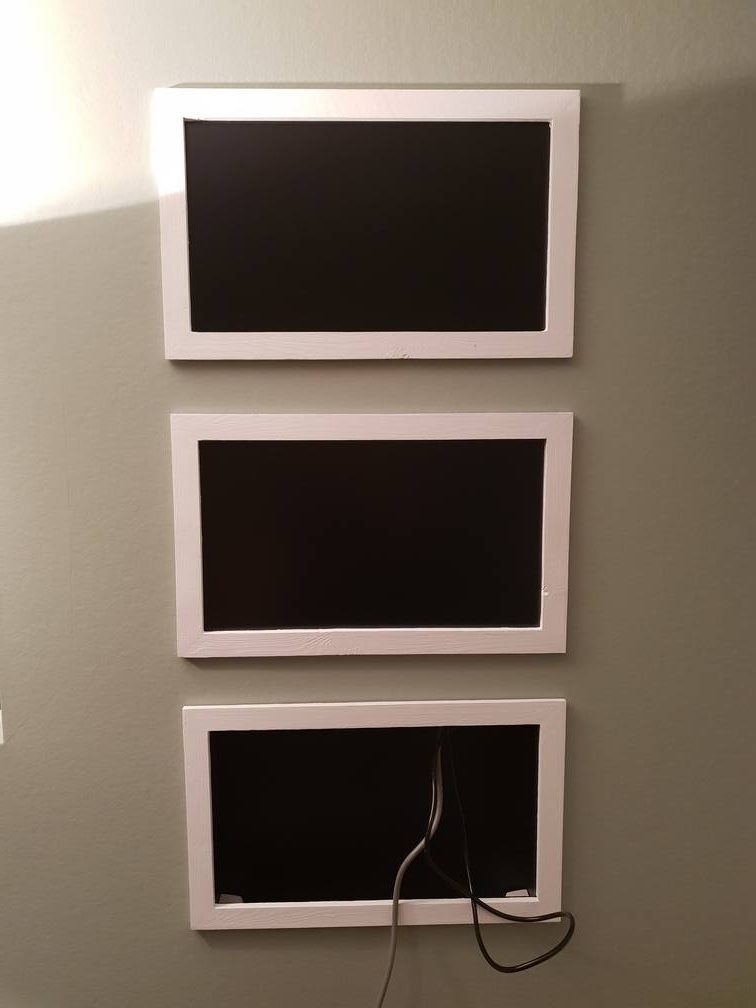
In the middle of the center there is three squares, the two upper squares is where the two 22″ LCD-panels are going.
The one under is where my charging-station will be.
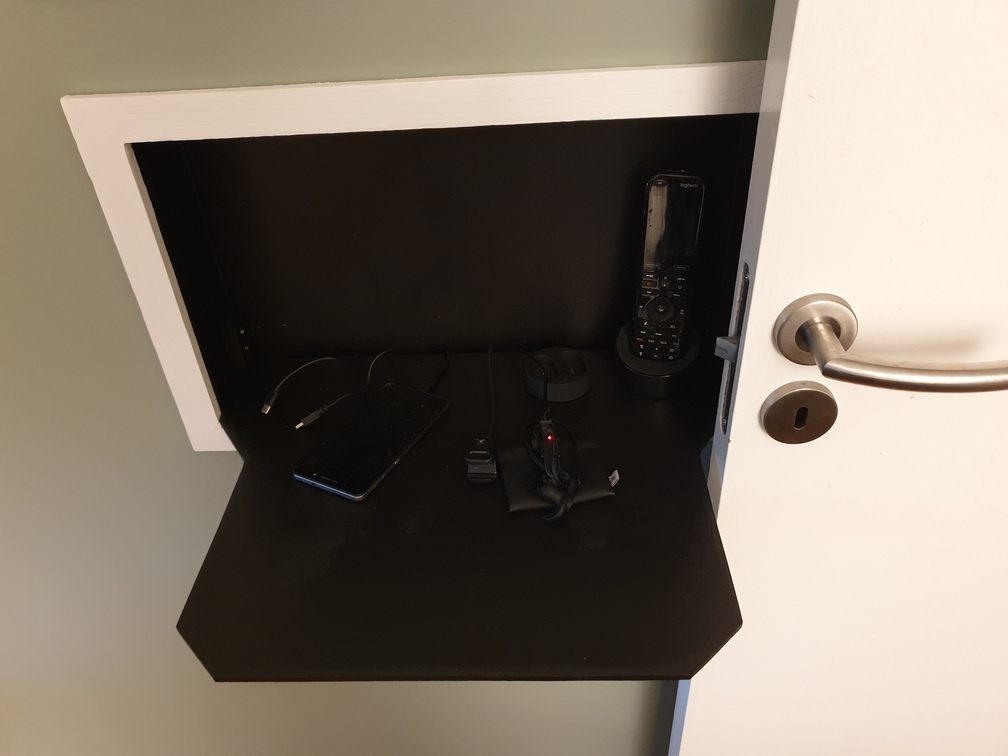
This charging station is going to be a central place to charge devices like phones, FitBit, PowerBanks, earplugs ect.
Both of the squares for the LCD-panels are equal in size and just a little bigger then a 22″ LCD-panel. The square below is a little higher because chargers should be hidden inside the wall as well.

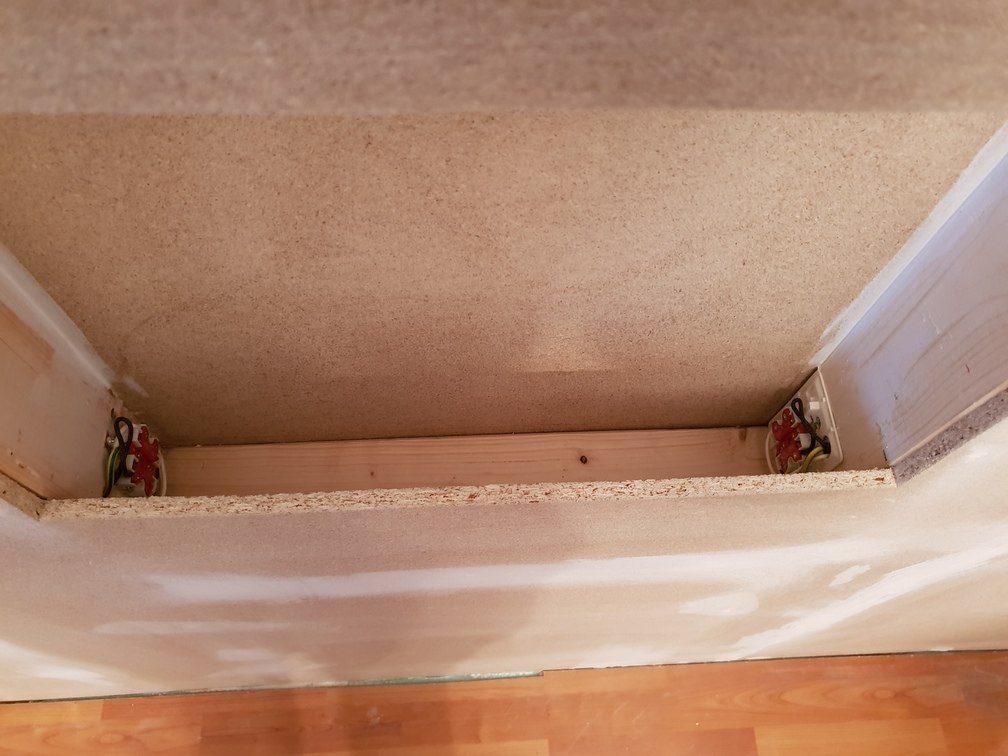
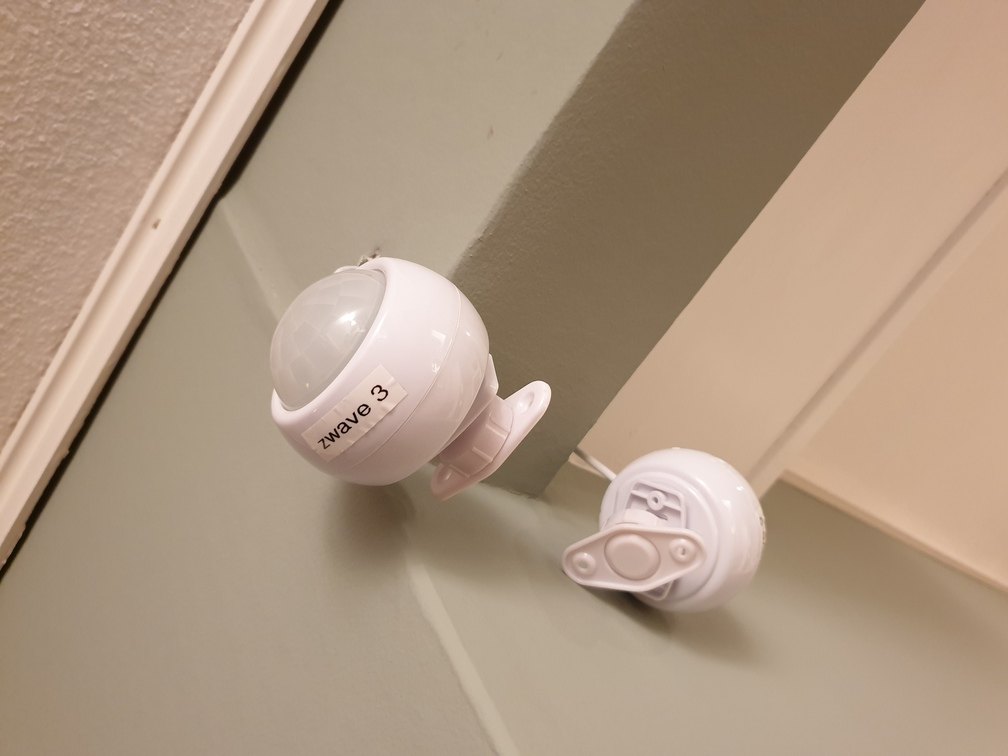
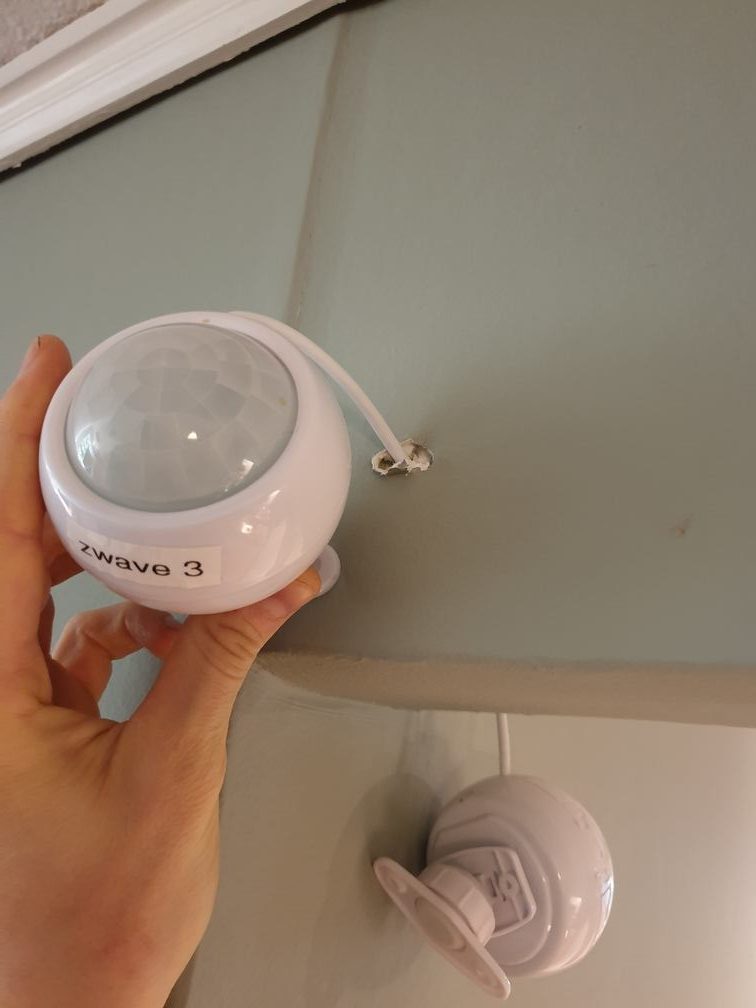
As seen on the pictures below there is installed two double power-sockets where the bottom monitor are going and four double power-sockets where the charging-station are going. There is also installed tubes for Ethernet to my “server room” and tubes for USB to above the “door”-opening for powering Z-Wave motion sensors that I will mount there (Aeon Labs DSB05).


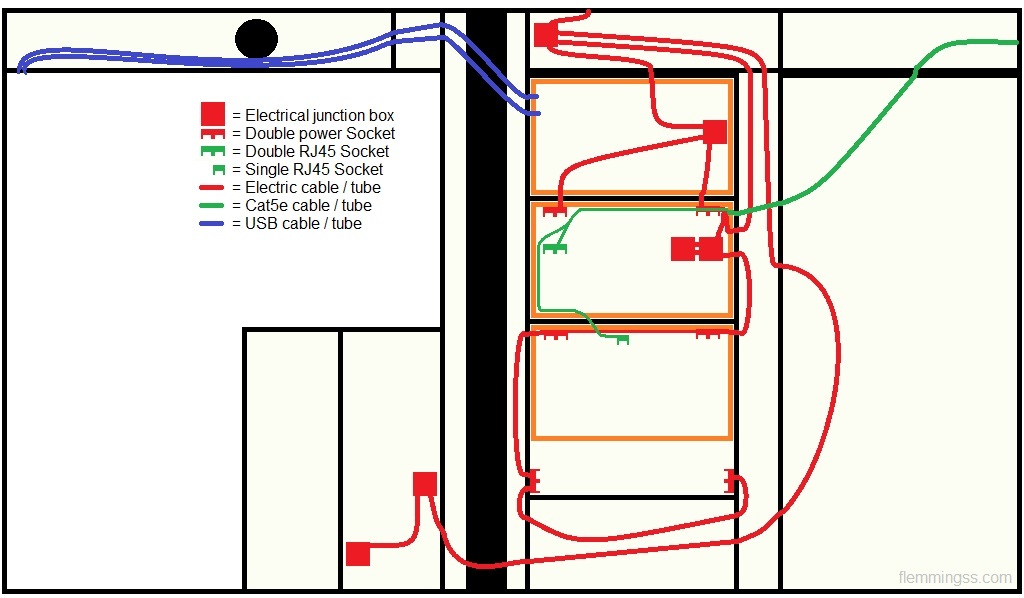
Here is a drawing of the internal wiring:
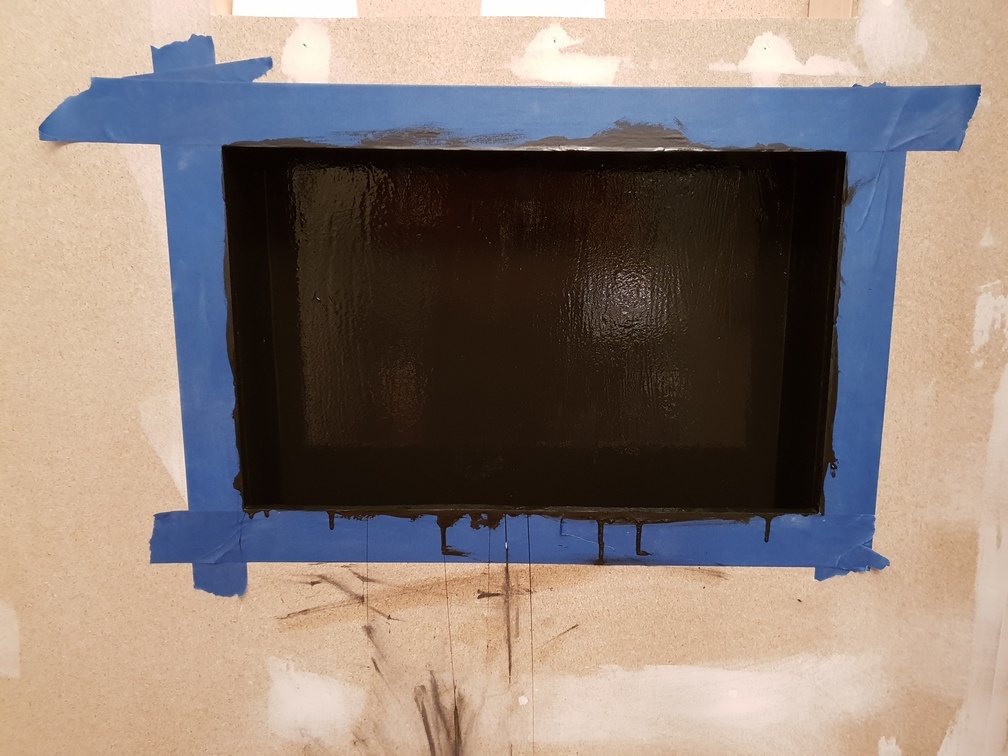
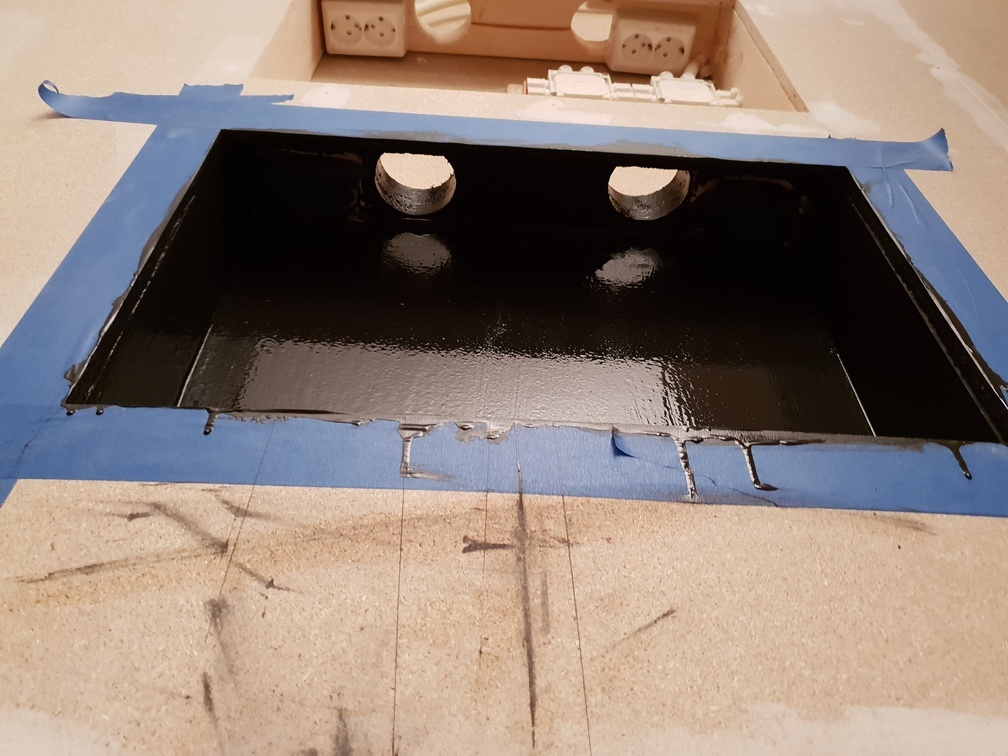
The hole for the charging-station i painted fully black, The paint I used is Nordsjö Ambiance Superfinish 5 5210256 clear base with the color Asfalt,S 9000-N.
Then the wall got wallpapered, flicked and painted.
2 or 3 coats with white: Jotun Vegg & Tak 2i1 White/ A-Base SV039 1862562:2.
Then 2-3 coats of Jotun Lady Pure Color super matt Treasure (7628 / 3508-G36Y) B-base SV328 1726376:2.
Maybe a lot more then I need, but I’m not a painter.


Monitors
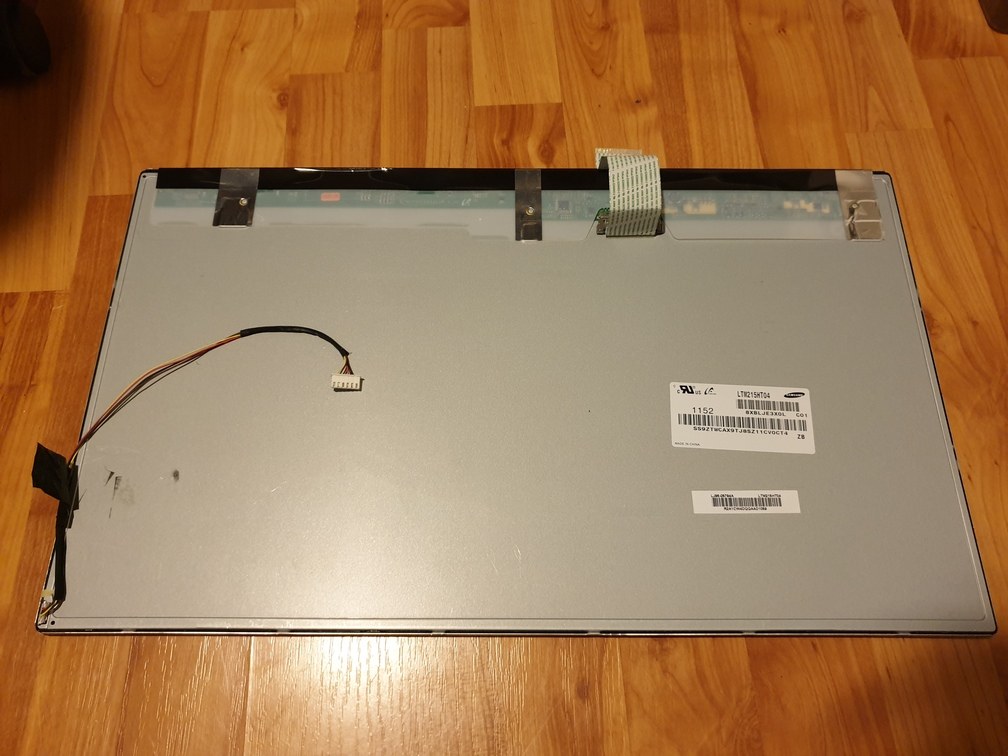
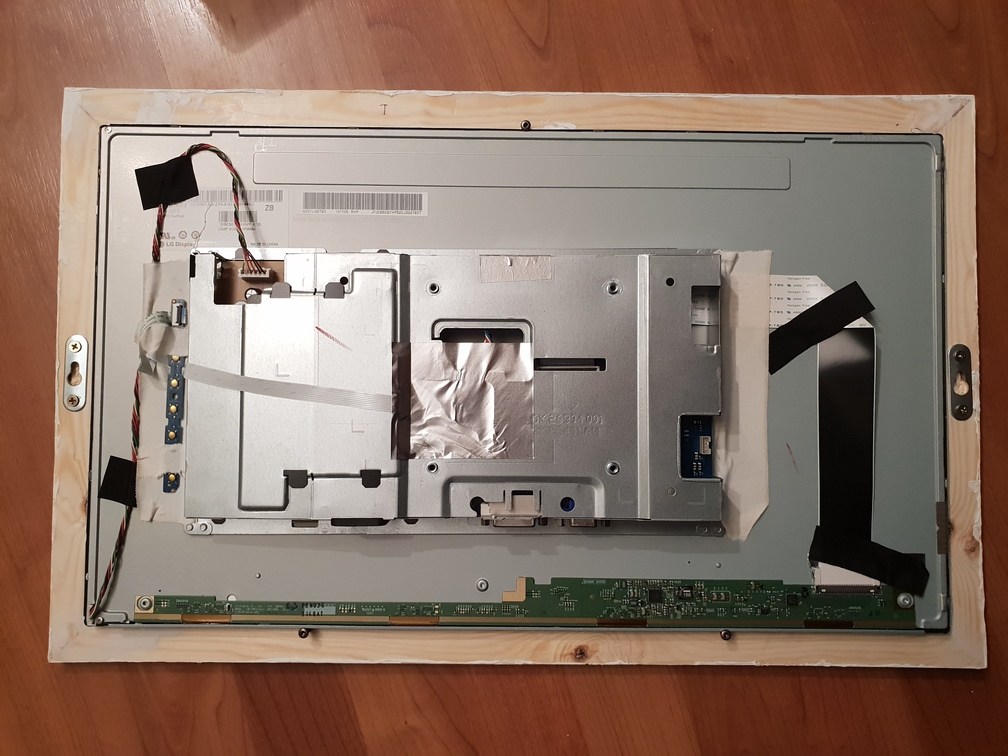
The LCD panels I used was from two old Dell P2214Hb montors (22″, 1920×1080, 60Hz, 8ms). Ok monitors, but they only have VGA and DVI inputs. Ideally I think OLED panels would have been perfect for this use, but I’m sure that will cost a lot more.


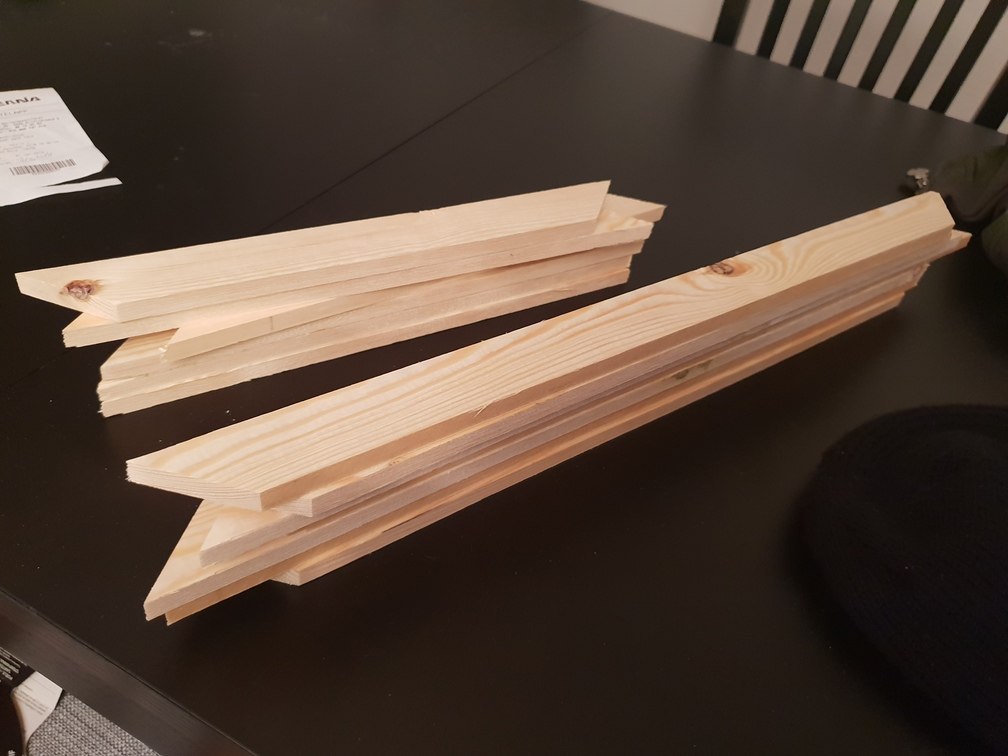
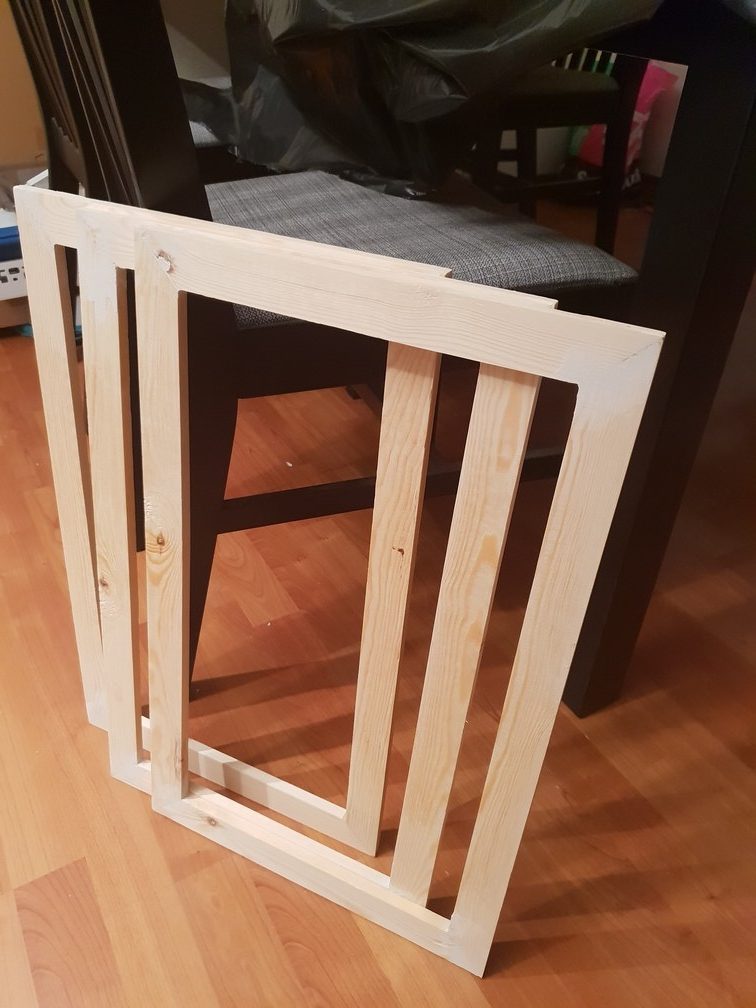
Frames
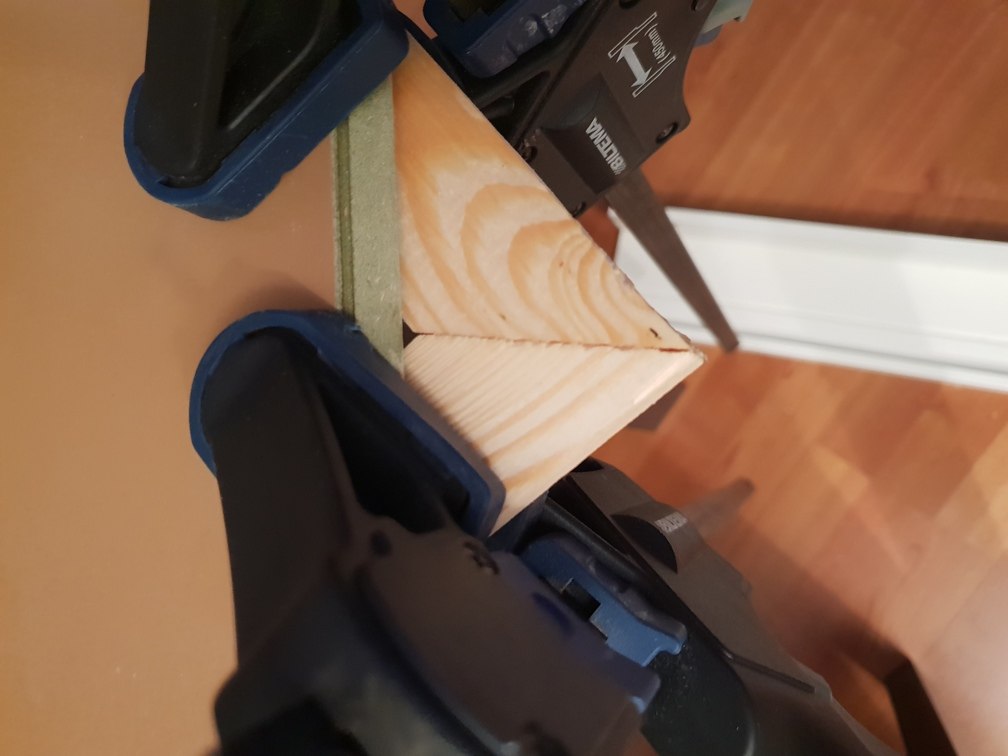
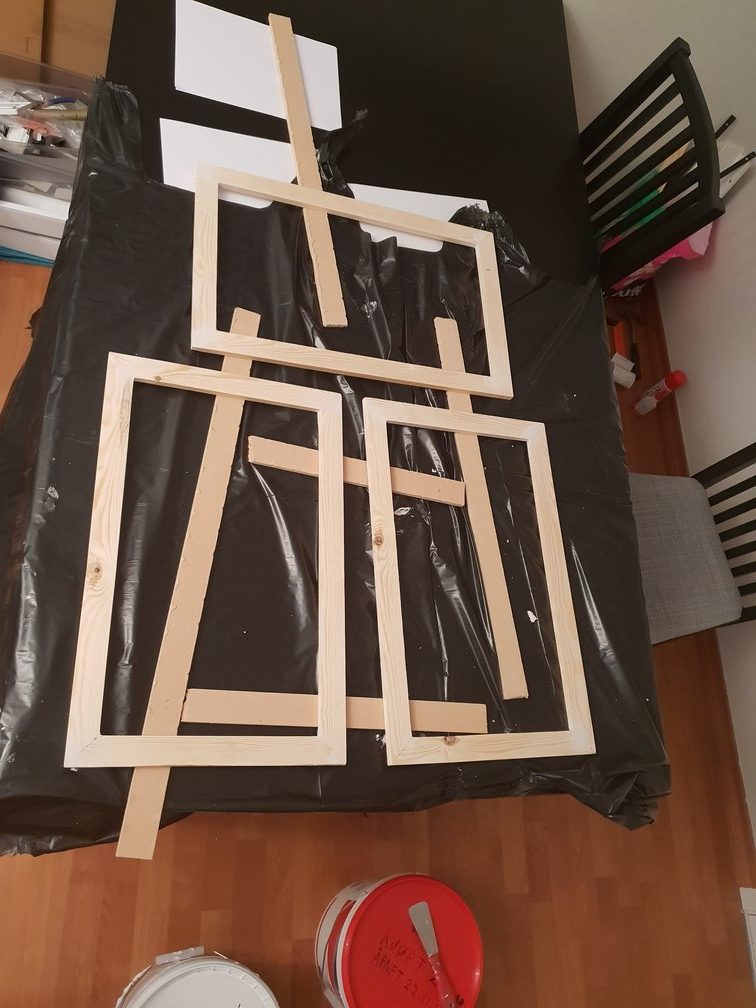
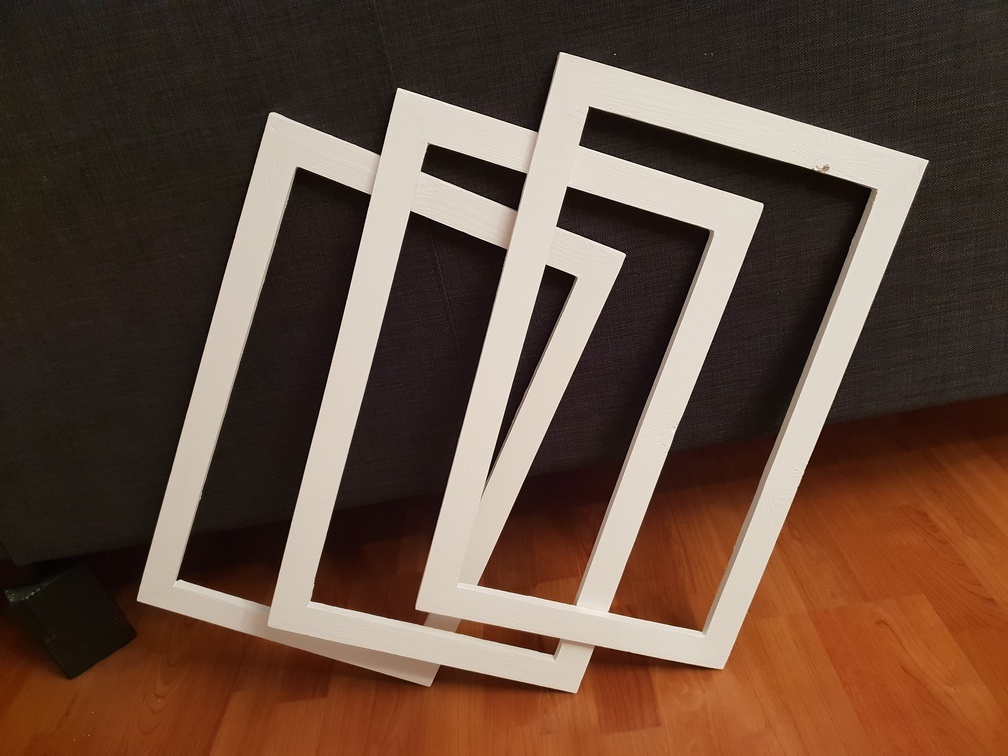
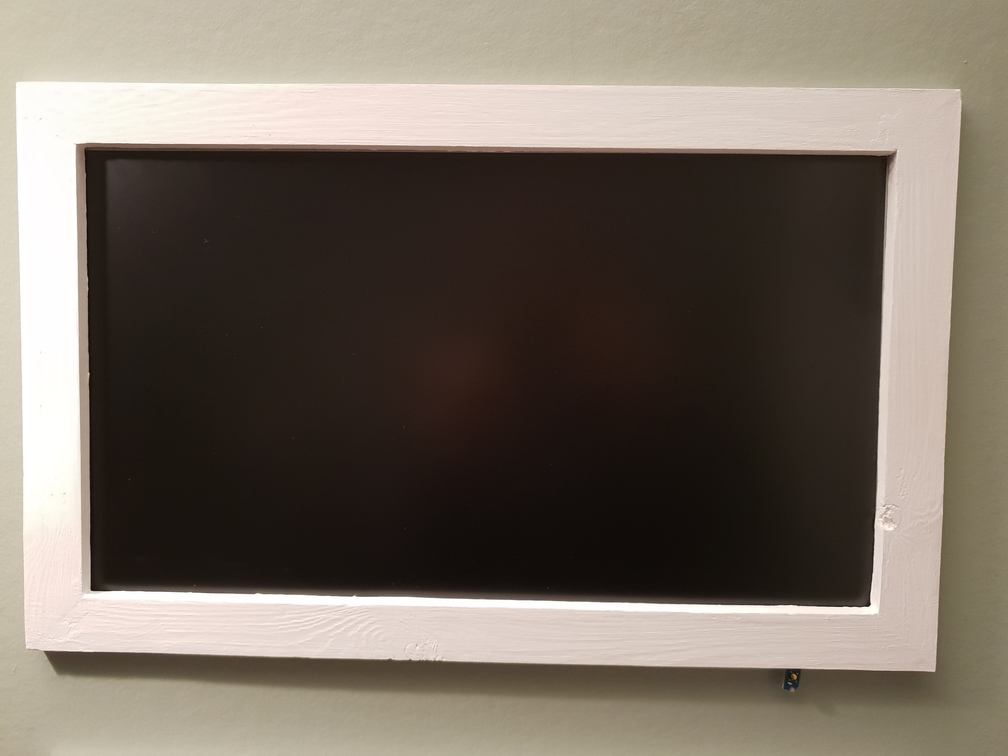
Some of the idea was to make the monitors, and the charging-station look like pictures on the wall, so I built tree equal frames of wood. The parts are glued together, I tried multiple types of glue to make this work but the best one was this superglue and activator combination from Biltema.
After that the frames was flicked and polished smooth.
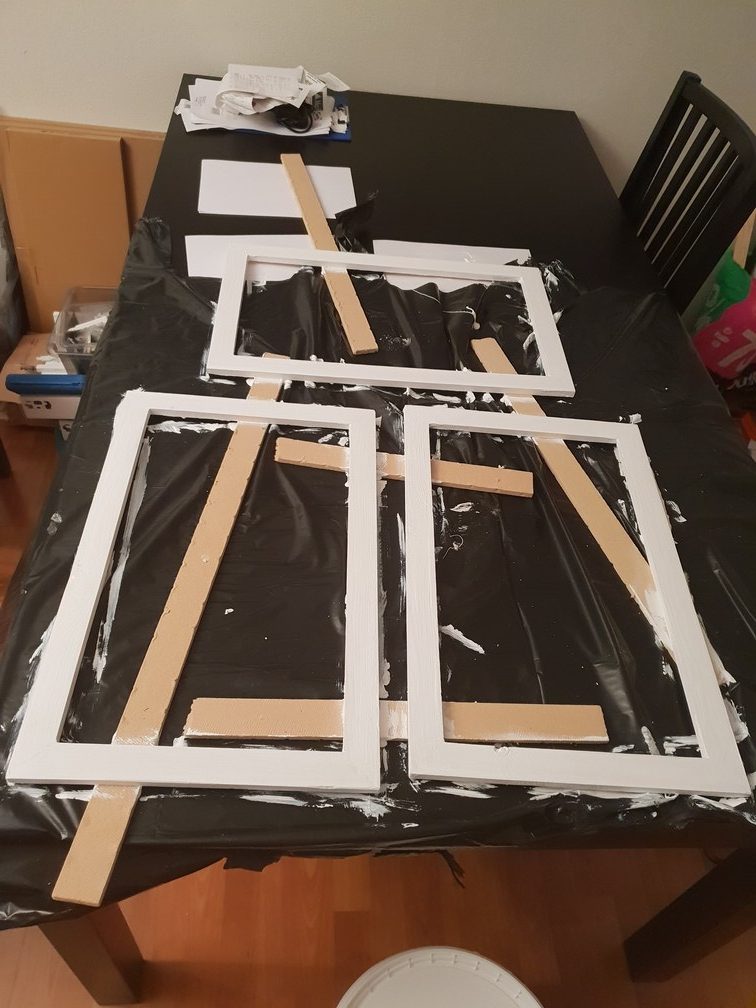
I painted the frames with the same white as the under-painting on the wall.
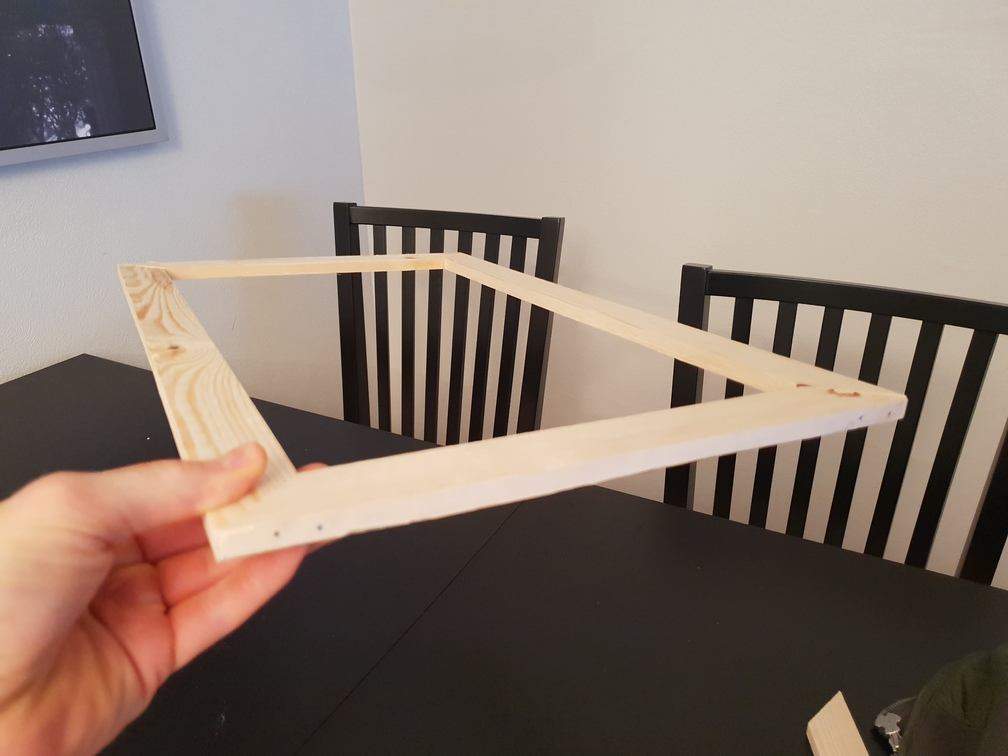
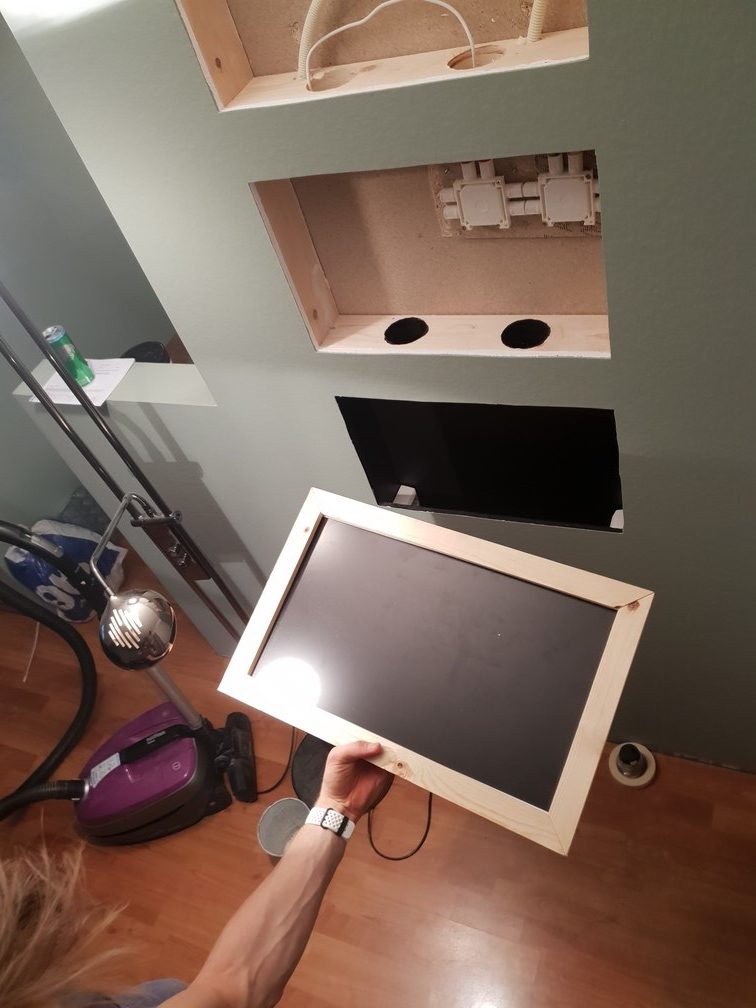
Testing the fit:
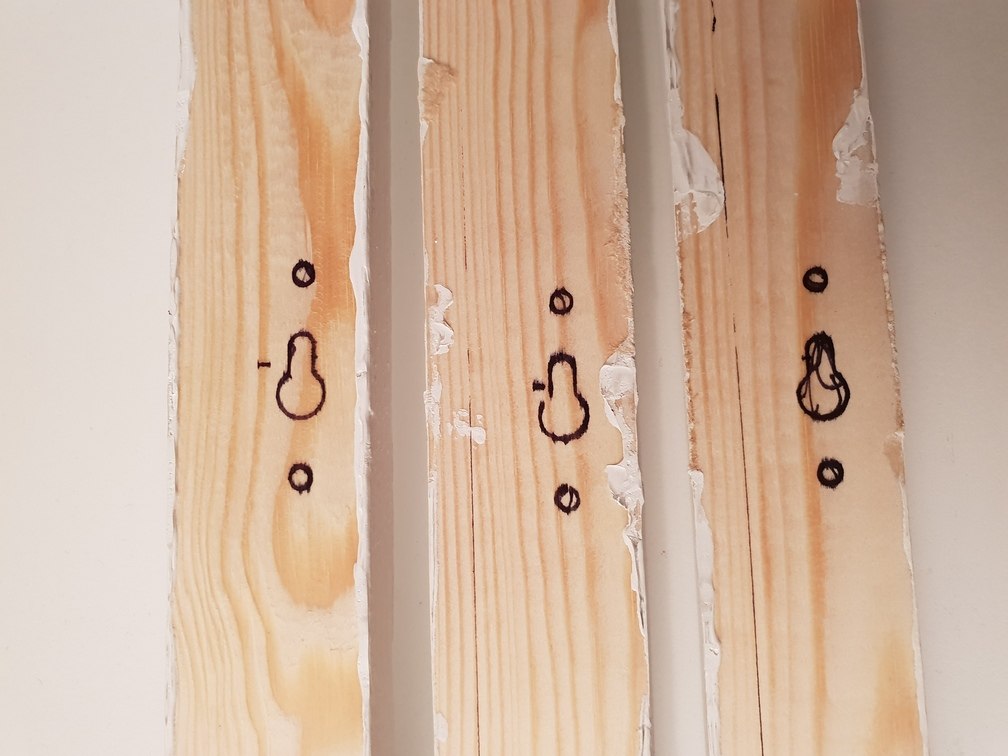
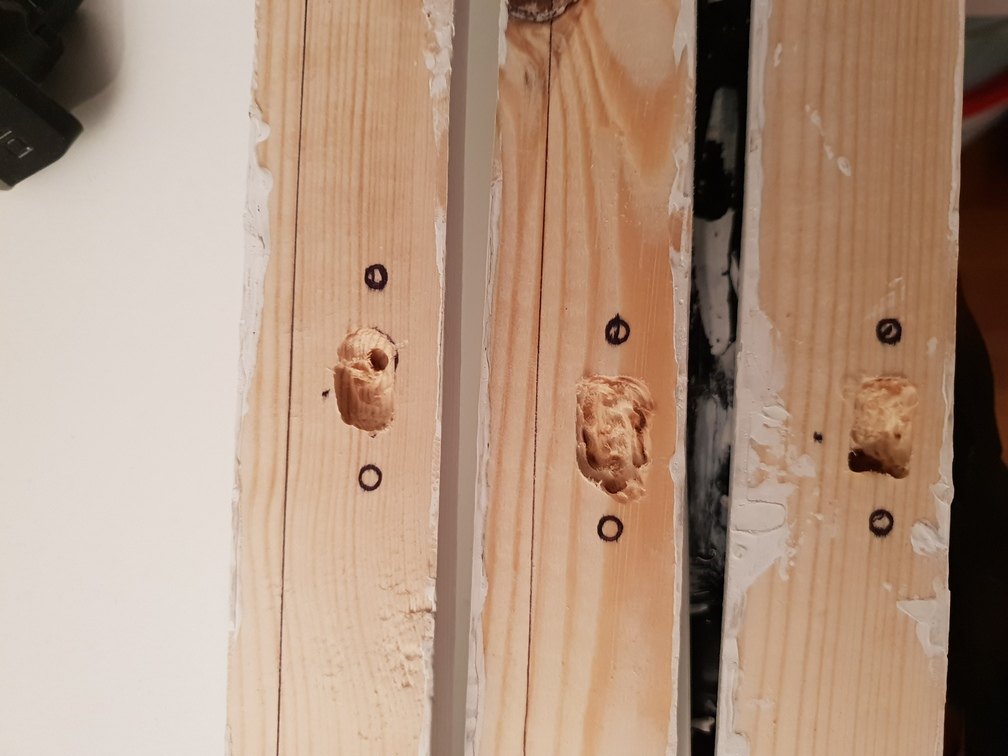
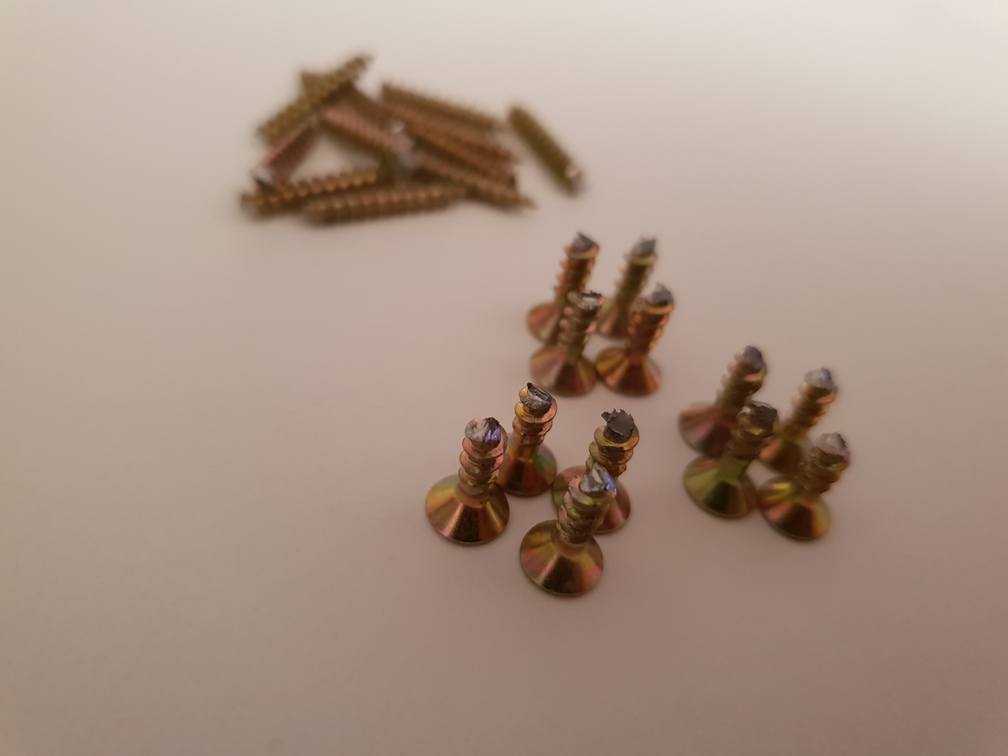
As seen on the above left picture there is screws in the wall, these will be used to hang the frames on. Below Are the making of the mounts for these screws on the frames. I used a Dremel to make the holes and and mounted this metal-hanging-thing on the frames. My screws was to long so I cut them in half.

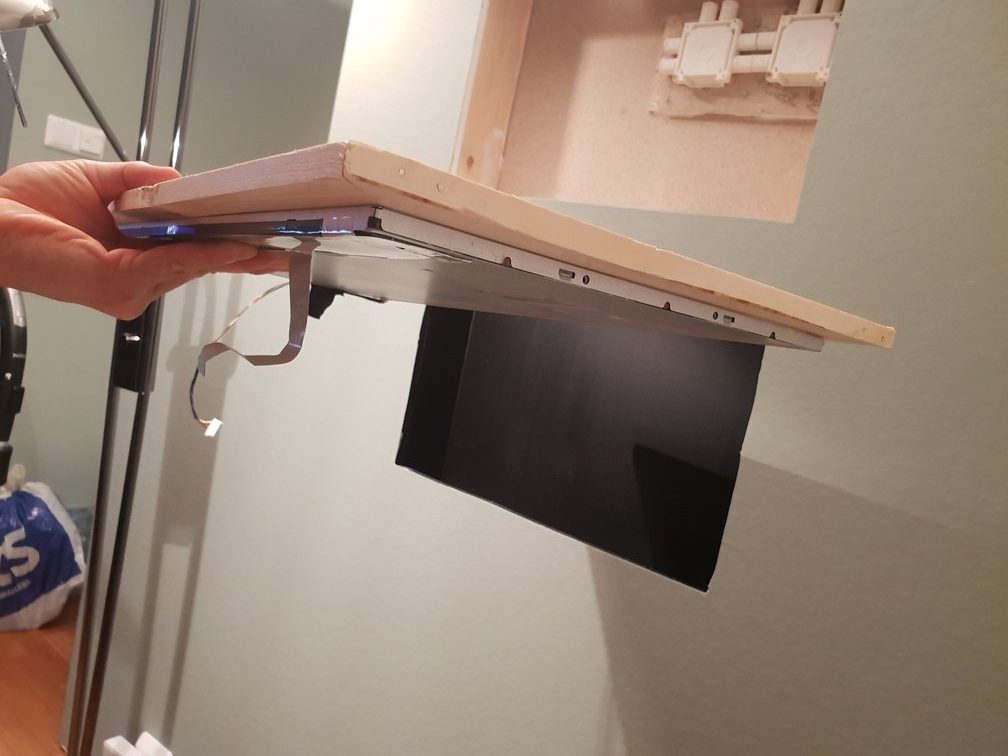
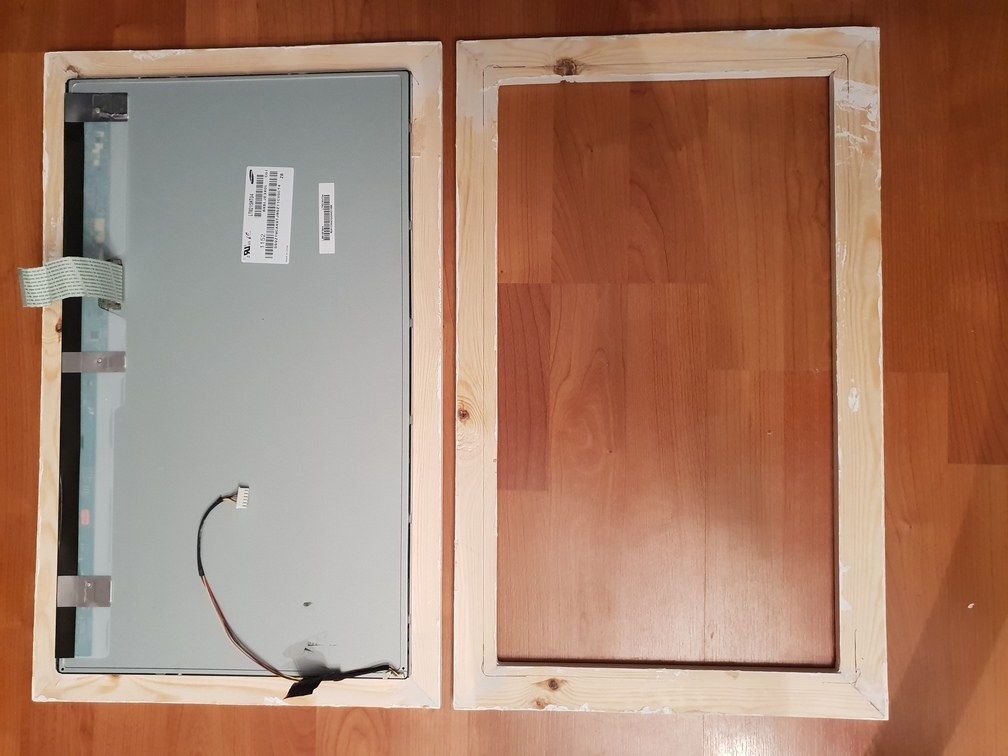
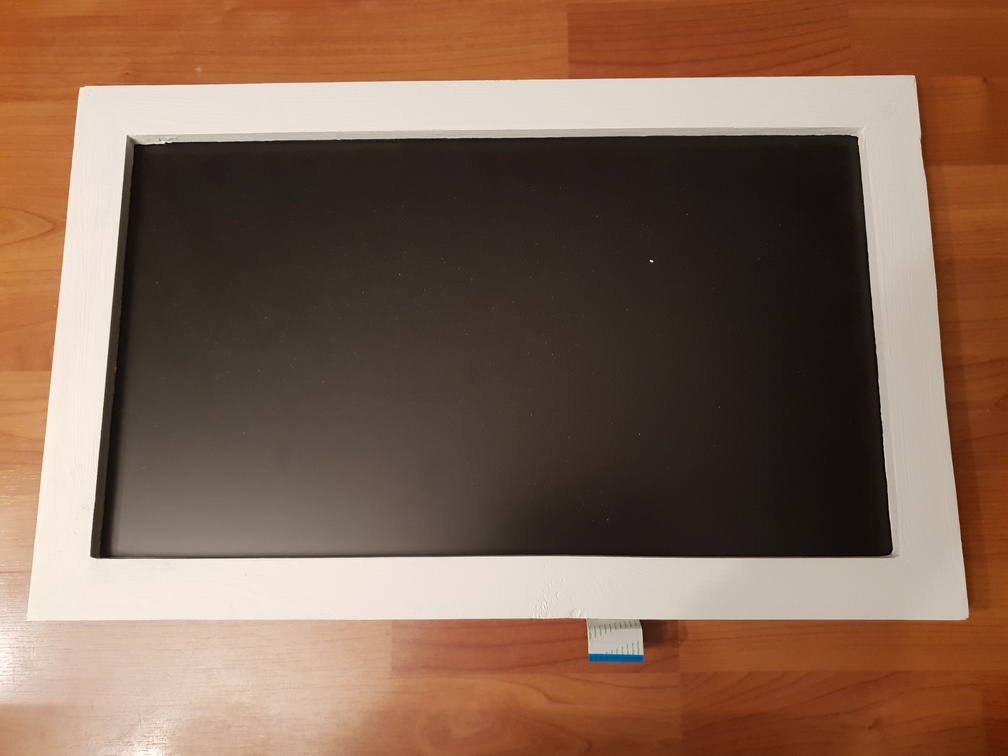
Below are the result, you can also see the monitors are attached to the frame by screws tight to the panel so the screw heads support the panel from slipping out.
Electronics and assembly
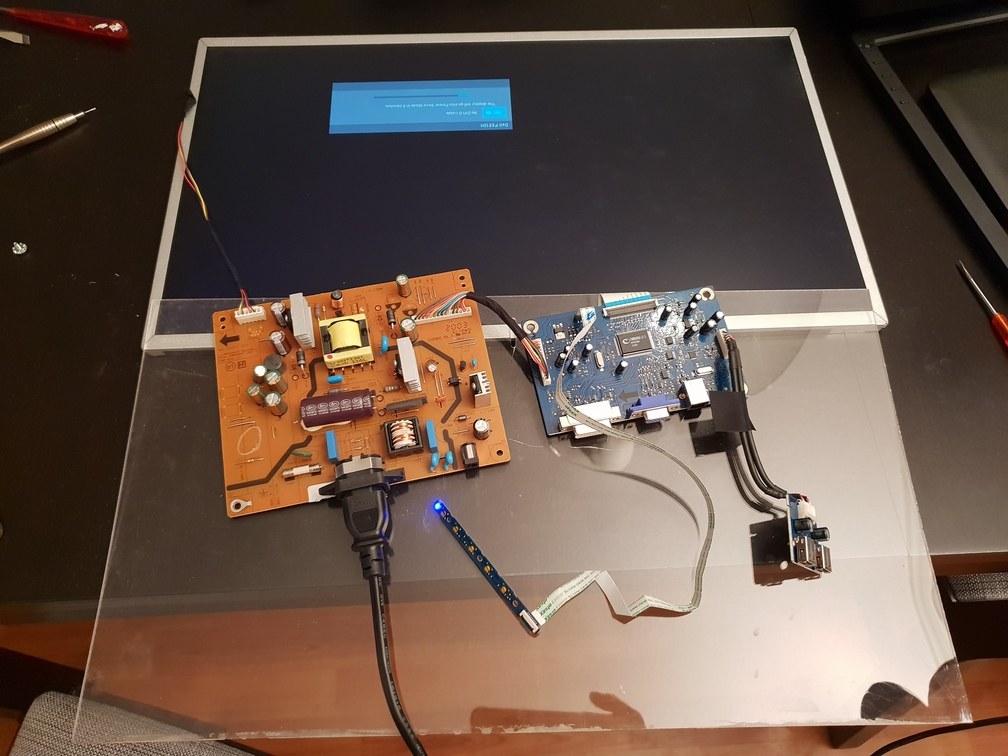
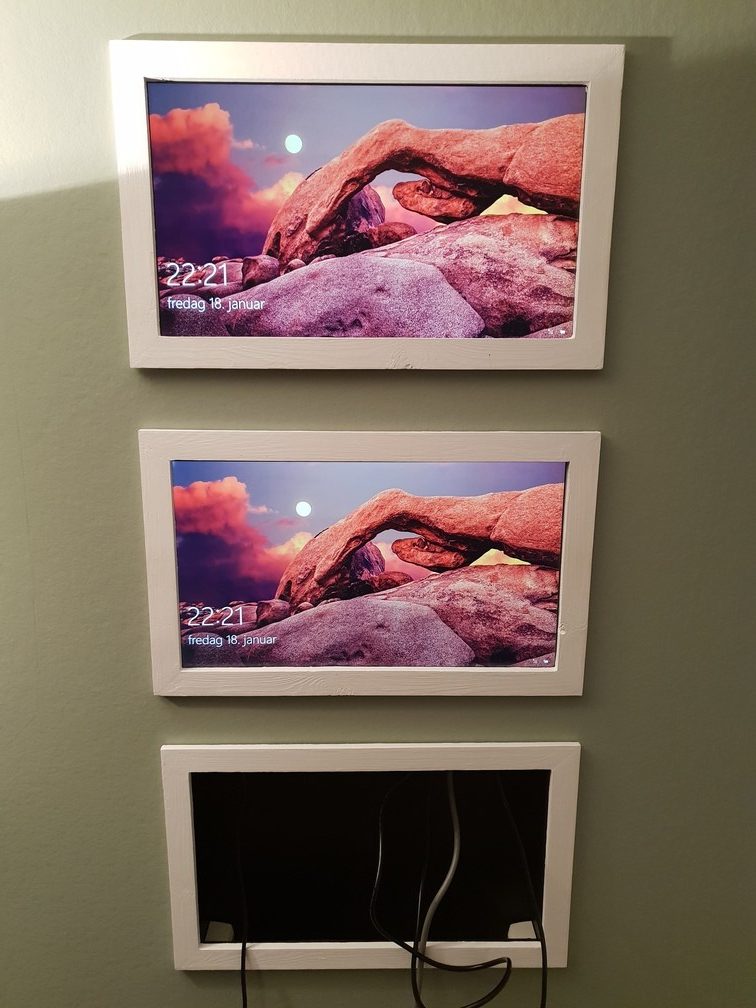
Testing the monitors on the wall, works like it should. Here they are connected to a laptop for testing.

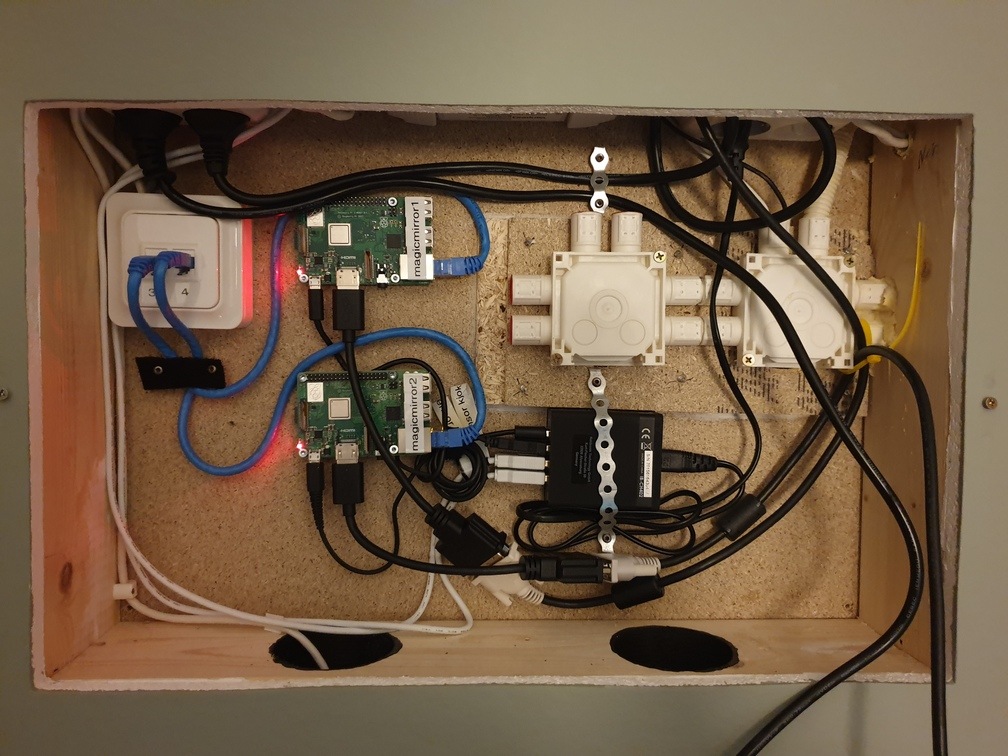
The plan was to use a HDMI or DVI over Ethernet solution to connect these monitors. I tried both active and passive solutions and they all was a little unstable, so I ended up with two Raspberry Pi 3B+. Both are connected to my network by Ethernet, and to the monitors by a HDMI to DVI adapter (and a DVI cable).

I don’t have a lot of pictures of the building of the shelf for the charging station, but I have this video which demonstrates how it can be taken off and on.
All chargers are under the shelf inside the wall, so the shelf itself needs to be removed when I need to replace or connect new chargers.
Below I have two 4xUSB chargers that is connected to different types of cables which are accessible on the shelf.
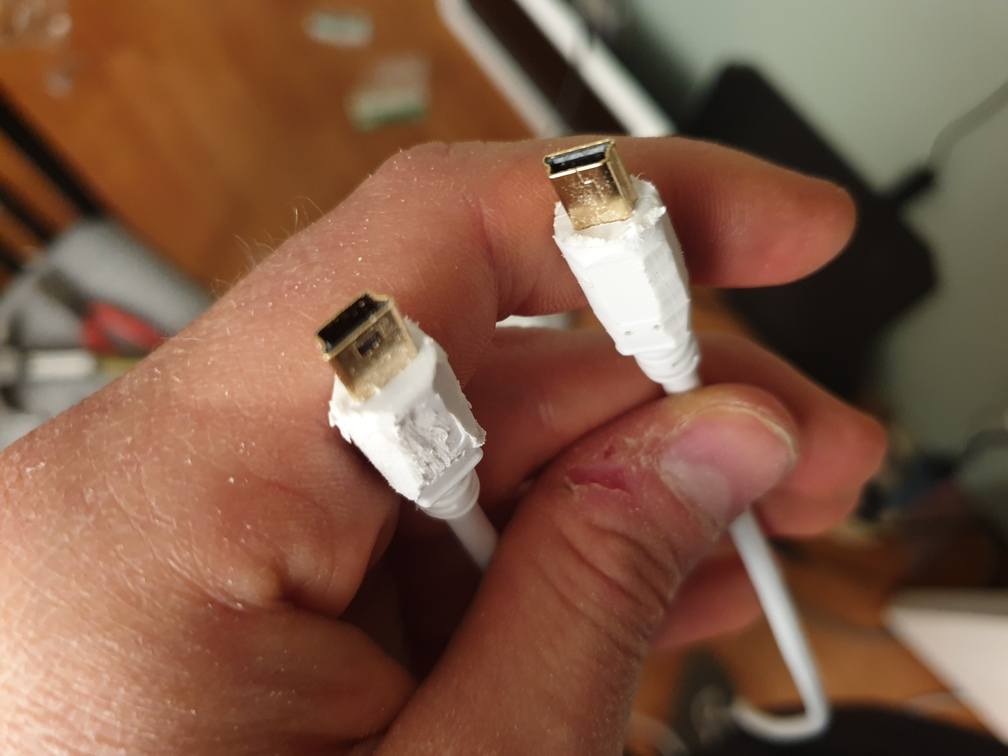
The cables for motion sensor had to be trimmed to fit the tube.

Software
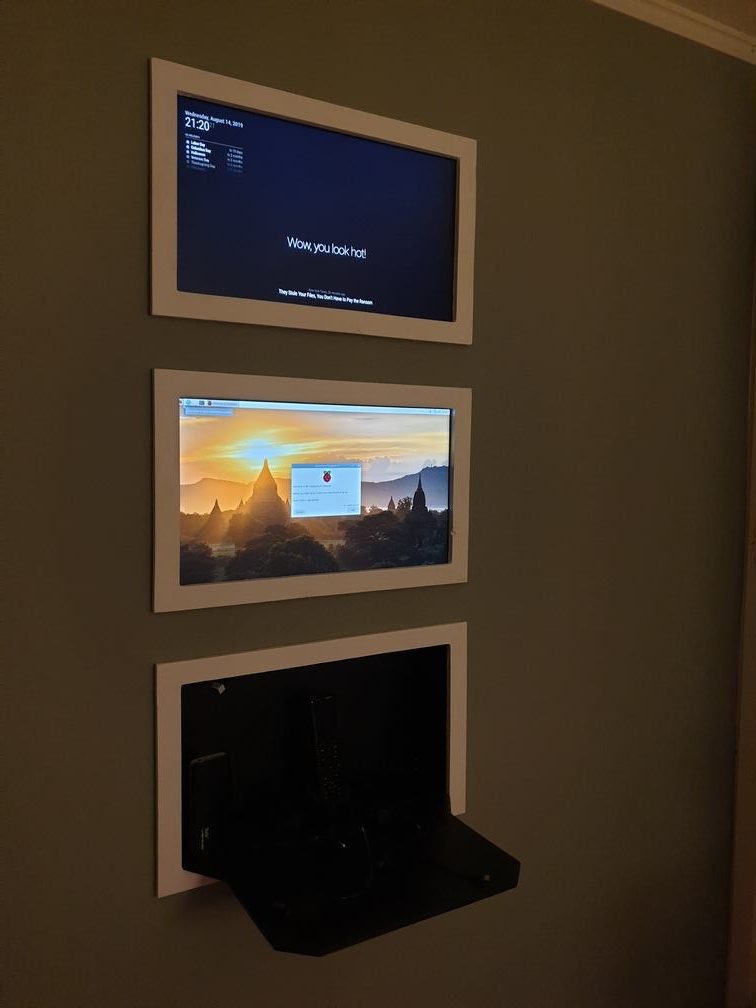
Both of the Raspberry Pis are running Raspbian Buster.
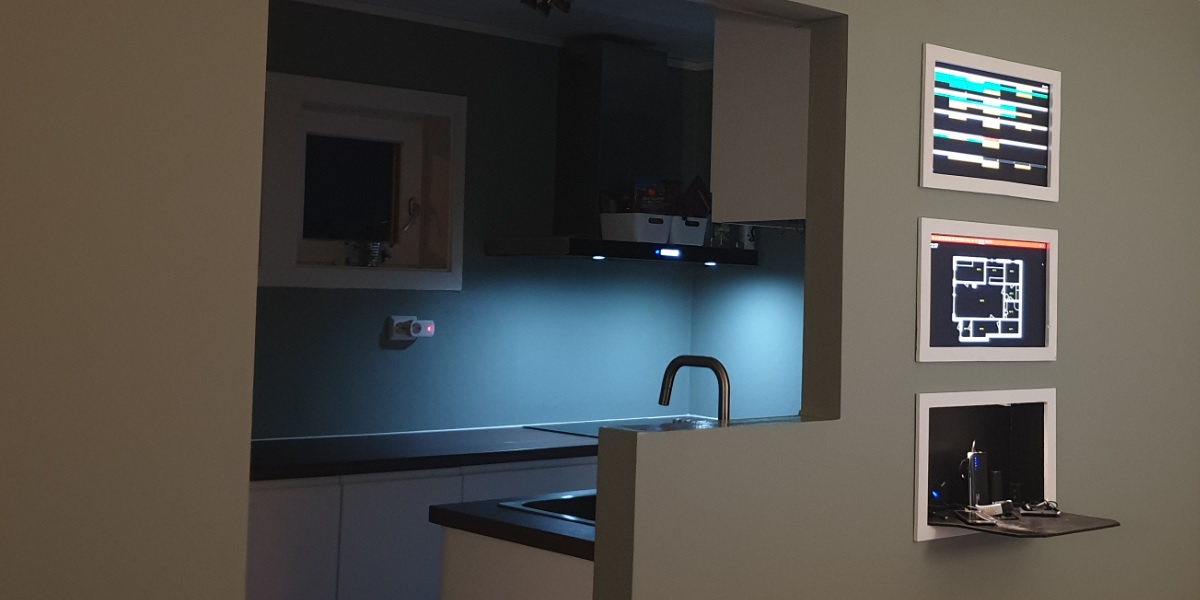
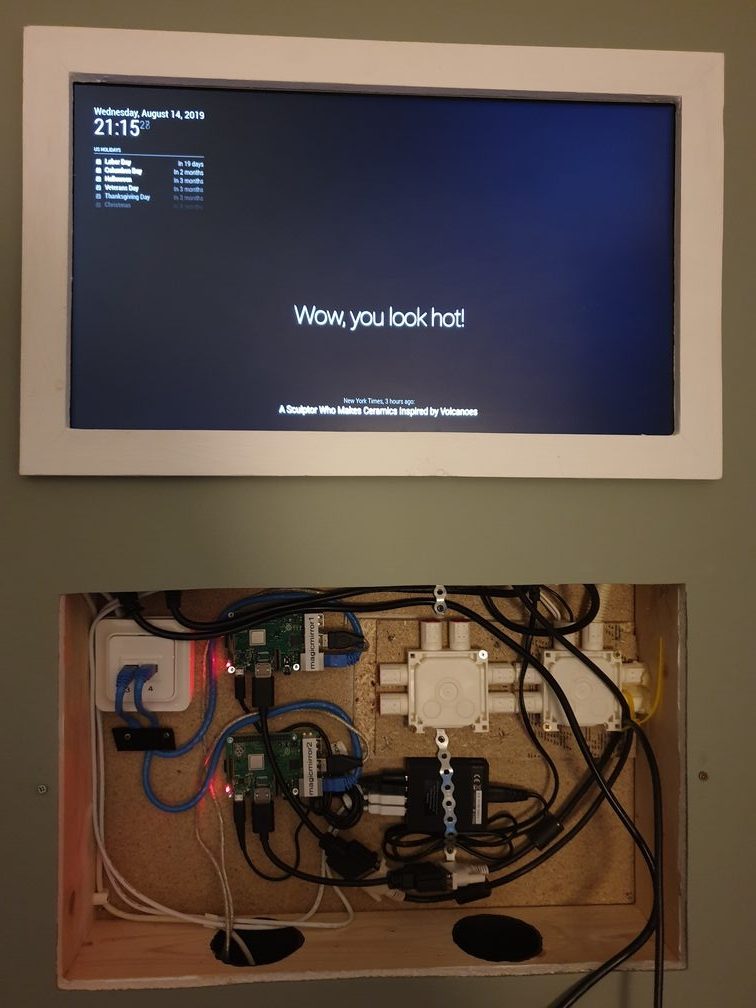
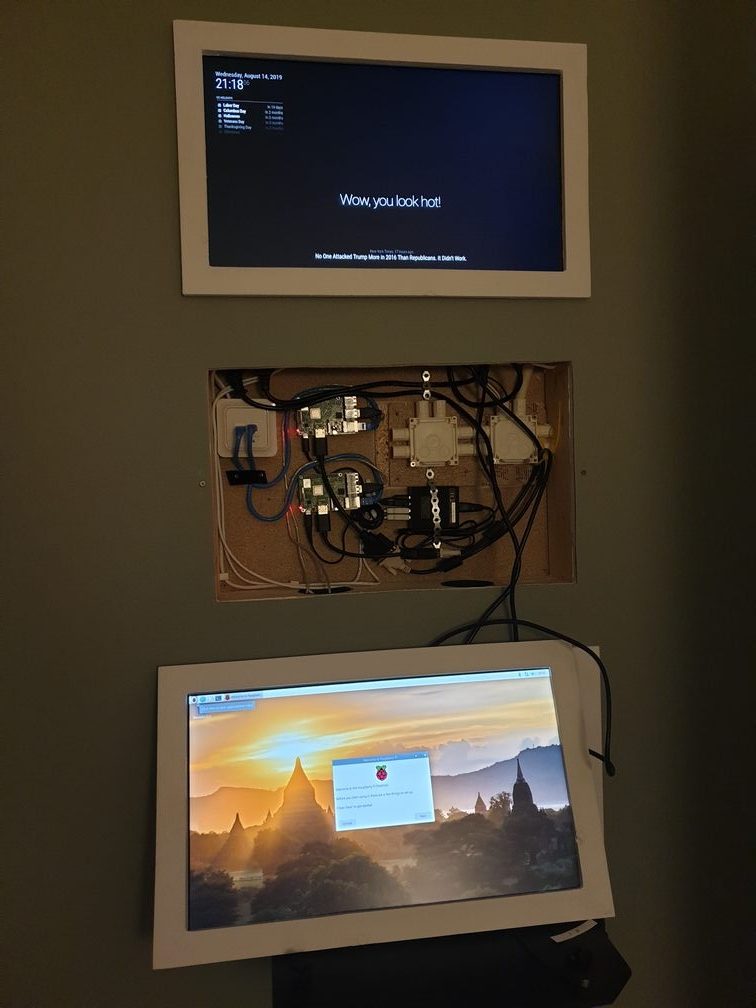
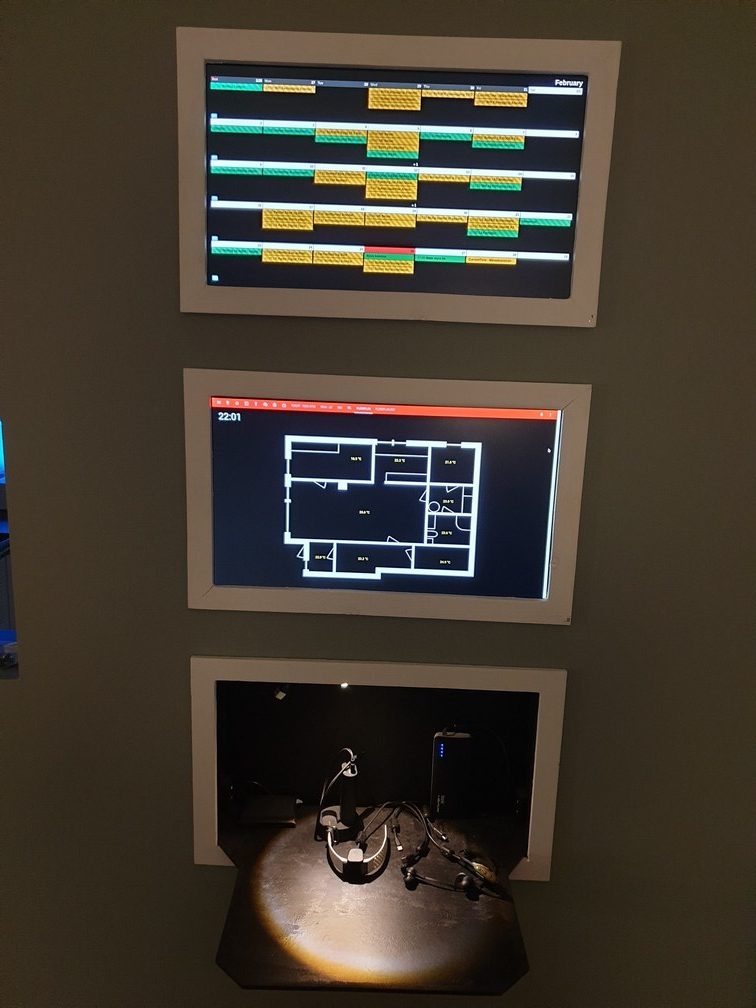
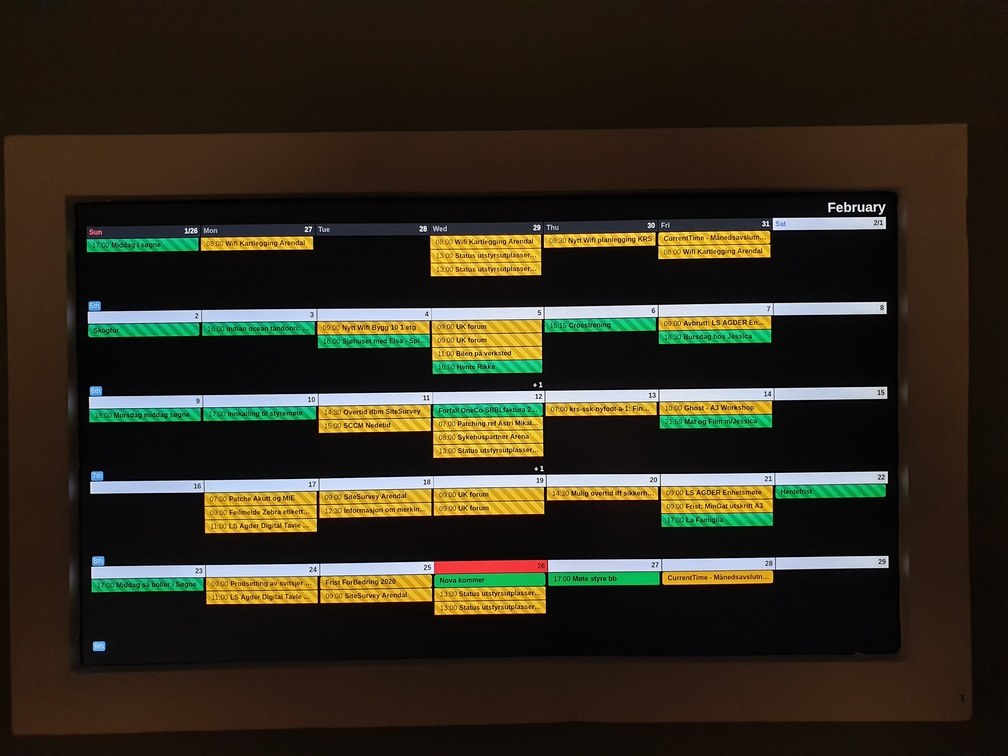
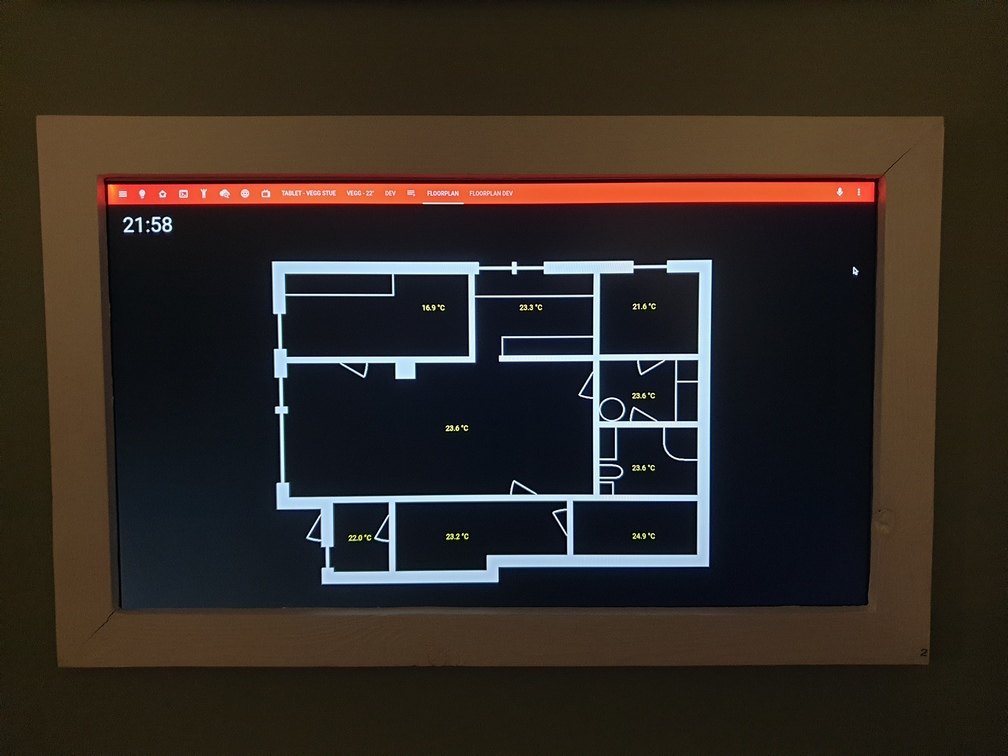
The Pi connected to the top monitor are Running MagicMirror² with a calendar module called MMM-CalendarExt2. The one below are just running a Chromium browser with a Home-Assistant tab in fullscreen. I have a lot of plans for improving this in the future.
When it comes to the Calendar my setup is like this:
- Blue = Facebook events (From Facebook, did not show up when these pictures was shot for some reason)
- Green = Personal calendar (Google Calendar)
- Yellow = Work Calendar (Google/Exchange Calendar)
The personal and Facebook calendar was easy enough to integrate. The work calendar was on the other hand more challenging to integrate, both because it was from Exchange, and because it is very restricted. But after a lot of research I found one android app that did the trick.
SyncCal – Exchange to Google. Free with limitations, but cheap to buy. I paid 19,- NOK for it, that is less then $2 USD.
It works by copying all events in a selected calendar in Android (Exchange e.g.) and copying them to a dedicated google calendar. Like a one-way mirror. This is happening in the background and is in my experience very stable.
It can copy changes immediately, but that will reduce battery life. I have it configured to copy changes only every 15 minutes and I can’t notice and loss in battery life.
Here is my MagicMirror configuration files: - MagicMirror\config\config.js
- MagicMirror\css\custom.css
A guide to installation of MagicMirror² can be found on the link below.
🡆 How to install MagicMirror² on a Raspberry Pi 🡄
Result
As seen on the right picture below the shelf is designed so it isn’t touching the door when open.


If someone wonder if the heat is an issue: No, this has been in operation around the clock for months now. summer and winter with no heat problem.
Conclusion
I’m happy with how this project turned out, but I will work more on the software. I have some plans for a better and more informative Home-Assistant screen.
If you have any comments or questions, feel free to write them in the comments section below.