If you are reading this you are probably considering running Zigbee2MQTT as a Zigbee gateway/bridge for Home-Assistant.
I did the same, and documented al the steps in this guide.
So, why not use the built-in ZigBee adddons in Home-Assistant? Here is some scenarios where a separate gateway is useful:
- If you want to reboot the Home-Assistant server whiteout waiting for the ZigBee network initializing every time.
- If you want the ZigBee interface in another physical location
- If you virtualize Home-Assistant and don’t want to deal with USB-pass-through.
- If you want multiple systems or Home-Assistant instances to communicate with the ZigBee network.
And there is properly a lot of more reasons.
Requirements/preparations
In this guide I will use a Raspberry Pi 3 Model B+ and a ConBee II usb-interface.
But this will also work with many other ZigBee-interfaces, and the hardware can be almost anything that can run Linux.
I list of compatible Zigbee-interfaces is found here.
MQTT Broker
Before following this guide you will need a MQTT broker and MQTT configured with auto discovery in Home-Assistant. If this is in place you can ignore this step.
The easiest way to set this up is with the Mosquitto Add-On in Home-Assistant.
- Go to Supervisor -> Add-on Store
- Select Mosquitto broker under Official add-ons
- Click INSTALL
- Click START
- Go to Configuration -> Integrations.
- MQTT will show as “Discovered” (If not add a new integration and search for “MQTT”).
- Select CONFIGURE
Done.
Raspberry Pi setup
Set up a Raspberry Pi with for example Raspberry Pi OS.
https://www.raspberrypi.org/software/operating-systems/
To flash the image to your SD-card download and install/run Etcher
Download Etcher here: https://www.balena.io/etcher
After installation insert the SD-card in your computer and start Etcher.
Press Select image and select the Raspbian Stretch image file.
Then click Select drive and select your SD-Card.
Click Flash! and wait until finish.
After flashing, if the boot partition is not showing on your computer, eject and re-insert the card in the computer. Boot partition should now be accessible. To enable SSH by default make a new, empty file with no extension named ssh in the root of the boot partition.
In Windows this is done by running type NUL >> G:\ssh in CMD (Replace G with partition letter.). Verify that file is created and eject SD-Card.
Now connect your Zigbee interface to the Raspberry Pi and Insert the SD-card. Connect the Raspberry Pi to your router with an Ethernet cable and then connect the power supply.
SSH into your Pi. If your Zigbee interface is USB you can see it by running lsusb.

If it is, you can verify that it is mapped to /dev/ttyACM0 (as it should, if not check for other mappings) by running ls -l /dev/ttyACM0.

Make sure your system is up-to-date by running:
sudo apt update
sudo apt upgrade
Install Zigbee2MQTT and it’s dependencies
Run these commands to download and install the required software.
(Replace “pi” in line 4 with your username if it is different)
sudo curl -sL https://deb.nodesource.com/setup_14.x | sudo -E bash -
sudo apt-get install -y nodejs git make g++ gcc
sudo git clone https://github.com/Koenkk/zigbee2mqtt.git /opt/zigbee2mqtt
sudo chown -R pi:pi /opt/zigbee2mqtt
cd /opt/zigbee2mqtt
npm ci
Edit configuration.yaml
The MQTT-server address has to be added to the configuration file. Run the following command to open it in Nano text editor.
nano /opt/zigbee2mqtt/data/configuration.yamlIn the configuration file set homeassistant: to true, and server: to the MQTT-server IP (remember to make it static).
My MQTT-server is password-protected, but if your MQTT server don’t have any authentication, leave user: and password: commented and unchanged.
If you want a Web-GUI (And I guess you do) add the following to the file:
(host = The Zigbee2MQTT IP, remember to also make this static )
frontend:
  port: 8080
  host: 10.0.24.9
You should also add the following to the end so a network key is generated:
advanced:
  network_key: GENERATE
This is how my configuration file is looking at this point:
# Home Assistant integration (MQTT discovery)
homeassistant: true

# allow new devices to join
permit_join: true

# MQTT settings
mqtt:
  # MQTT base topic for zigbee2mqtt MQTT messages
  base_topic: zigbee2mqtt
  # MQTT server URL
  server: 'mqtt://10.0.24.3'
  # MQTT server authentication, uncomment if required:
  user: mqtt
  password: password123

# Serial settings
serial:
  # Location of CC2531 USB sniffer
  port: /dev/ttyACM0

advanced:
  network_key: GENERATE
Press CTRL+X to exit and Y to save. Press Enter to Confirm file/location.
Make it start on boot
To make Zigbee2MQTT start on boot as a daemon edit the zigbee2mqtt.service-file in Nano by running:
sudo nano /etc/systemd/system/zigbee2mqtt.serviceThe file is empty, paste the following:
[Unit]
Description=zigbee2mqtt
After=network.target

[Service]
ExecStart=/usr/bin/npm start
WorkingDirectory=/opt/zigbee2mqtt
StandardOutput=inherit
StandardError=inherit
Restart=always
User=pi

[Install]
WantedBy=multi-user.target
Press CTRL+X to exit and Y to save. Press Enter to Confirm file/location.
Now enable the service by typing:
sudo systemctl enable zigbee2mqtt.serviceReboot the server to make sure it works:
sudo reboot
Zigbee2MQTT Web GUI is now accessible by navigating a browser to http://<ip>:8080/
The GUI may not be so nice to look at, but it is very user-friendly and functional.
Add devices
Before adding a device I will recommend turning of it’s Home-Assistants integration temporarily.
To do this open the Zigbee2MQTT Web GUI and go to settings -> settings ->Main.
Un-check Home Assistant integration but keep Permit join checked, then click Submit.
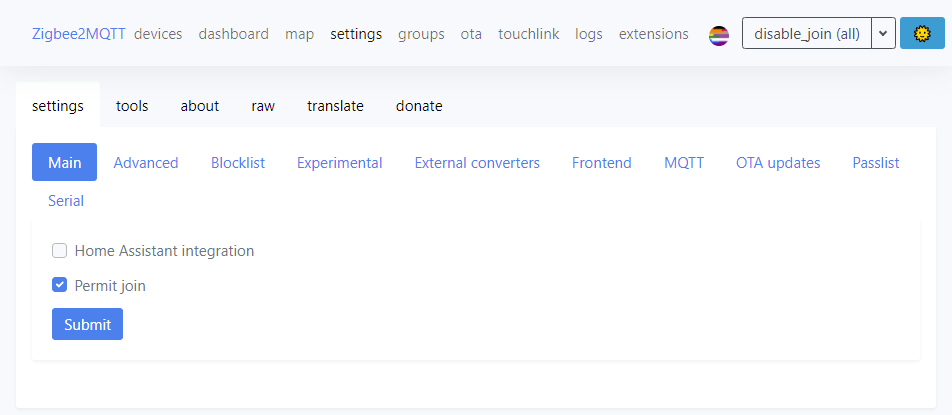
Because Permit join is enabled, devices can be joined right away, follow the inclusion instructions supplied by the manufacture. It might be supplying power, clicking, holding one or multiple buttons. When the inclusion is successful it will be displayed automatically under devices.
It is possible to join multiple devices in eternity until “Permit join” is turned off. For a time-limited join use the permit_join function in the top.
A list of supported devices can be found here.
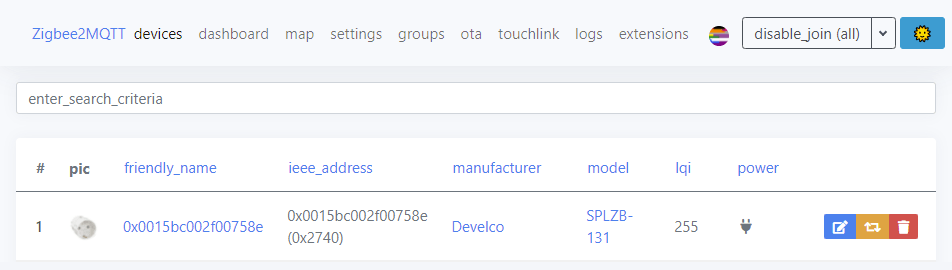
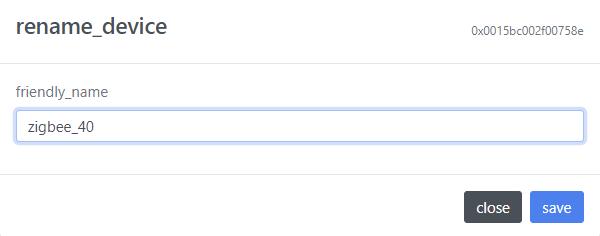
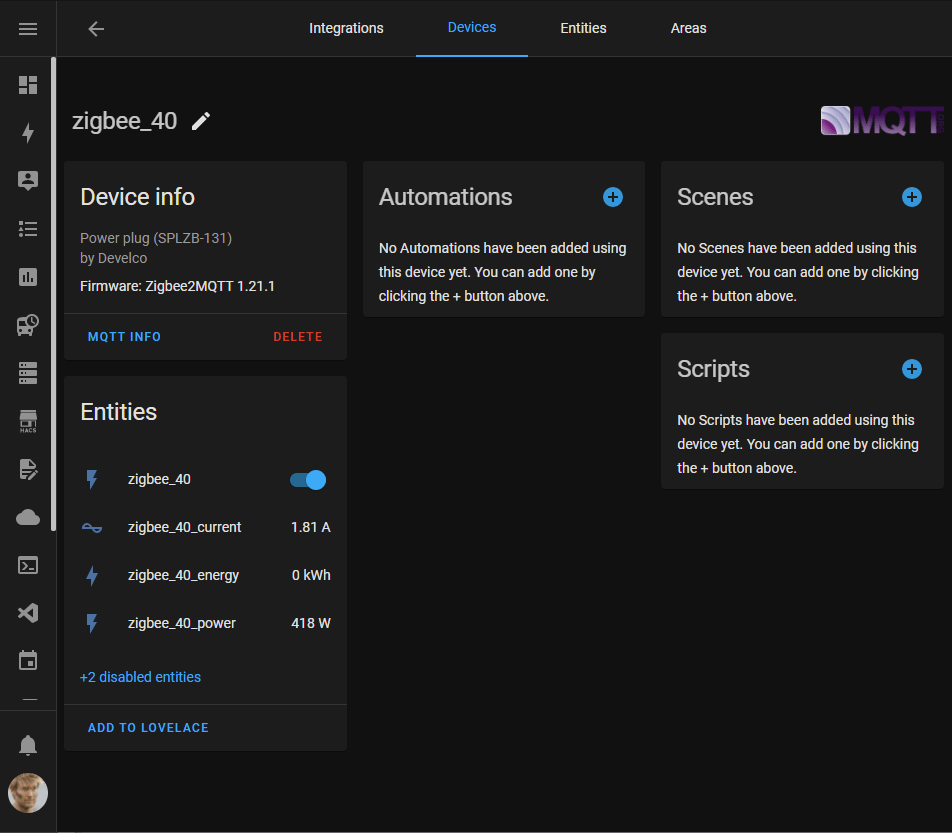
To rename a device, click the blue rename button next to it, write a new name and click save. This name will be added to the Home-Assistant entity_id when the Home-Assistant integration is enabled,
I like to name all my devices with asset numbers and protocol. In this case 0x0015bc002f00758e is renamed to zigbee_40. This vil result in a Home-Assistant entity named [domain].zigbee_40_[type].
If the device is already added to Home-Assistant and the Home-Assistant Integration is enabled, the rename-window will also show an option to rename the entity_id in Home-Assistant. This function has worked excellent in my experience.
After necessary configuration is done and you have added the devices you want, go back to settings -> settings ->Main and check Home Assistant integration, it is also recommended to un-check Permit join to prevent accidental inclusions. Click Submit and the device should be added to Home-Assistant quite immediately.
I hope this walk-through was helpful and informative.
Sceenshots
At the end, some explanatory screenshots of tee Zigbee2MQTT front-end
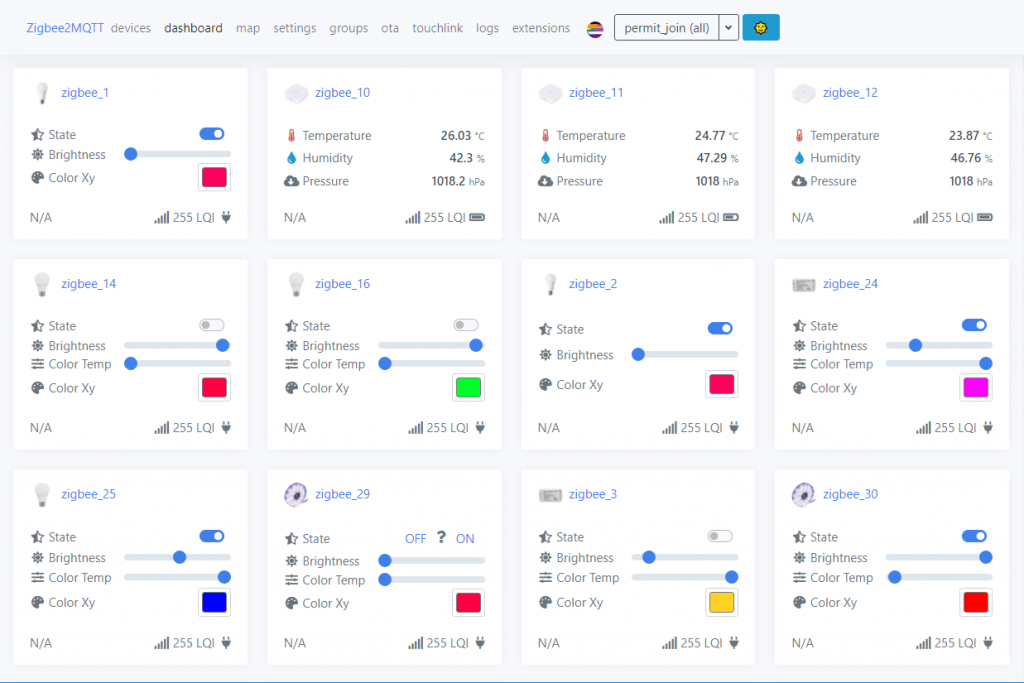
Dashboard – A place to view and control connected devices 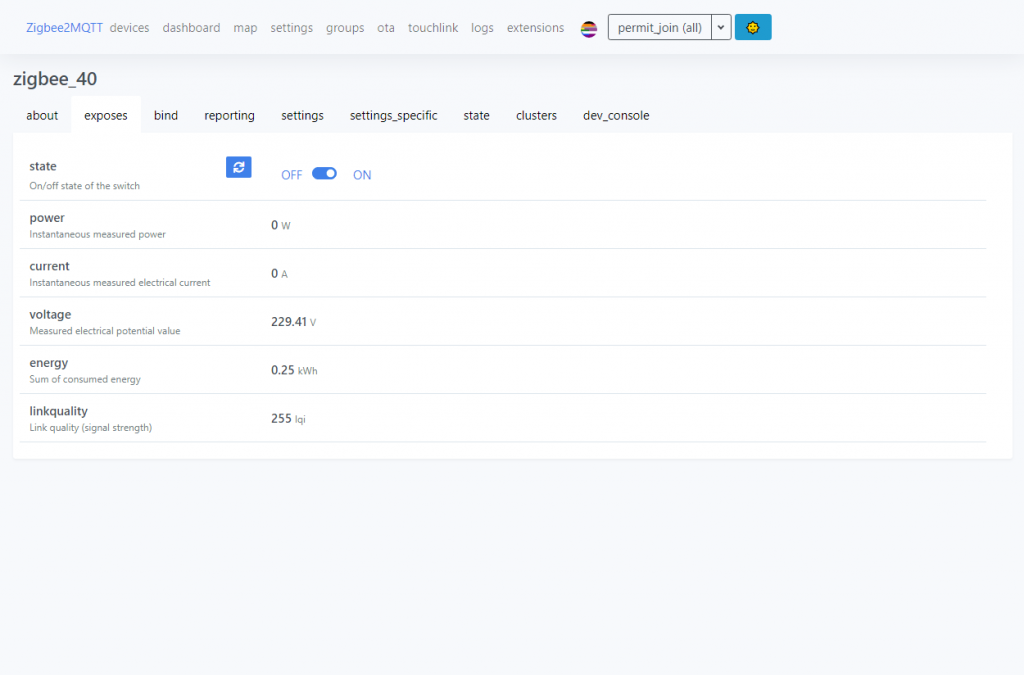
Device exposes, data and functions exposed by the device 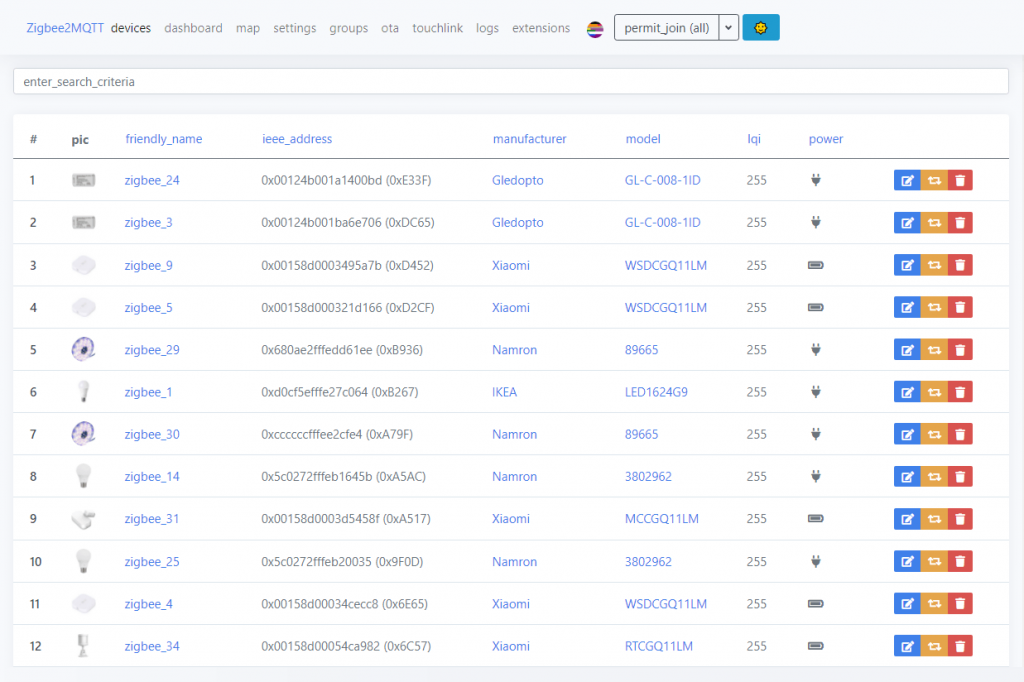
Devices, a list of all devices 
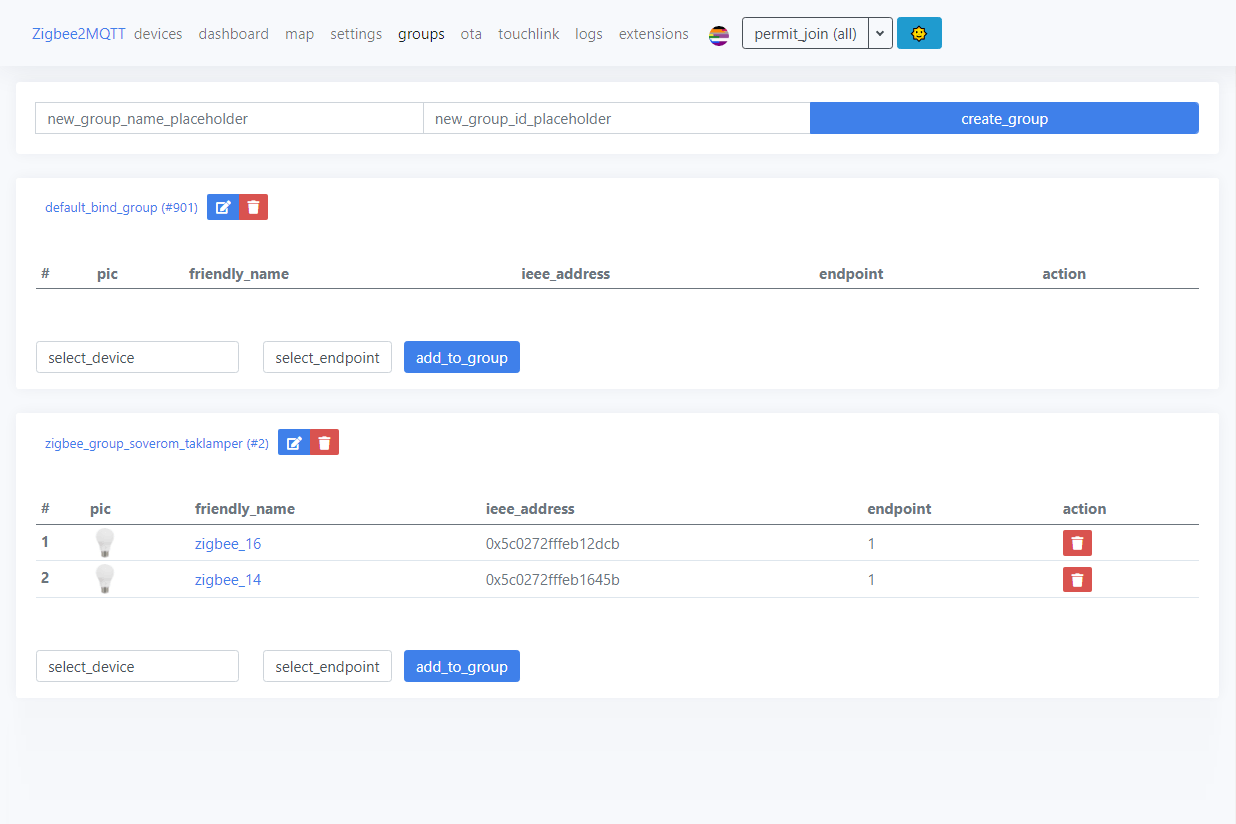
Groups, a way to control multiple devices with a singl Zigbee-command 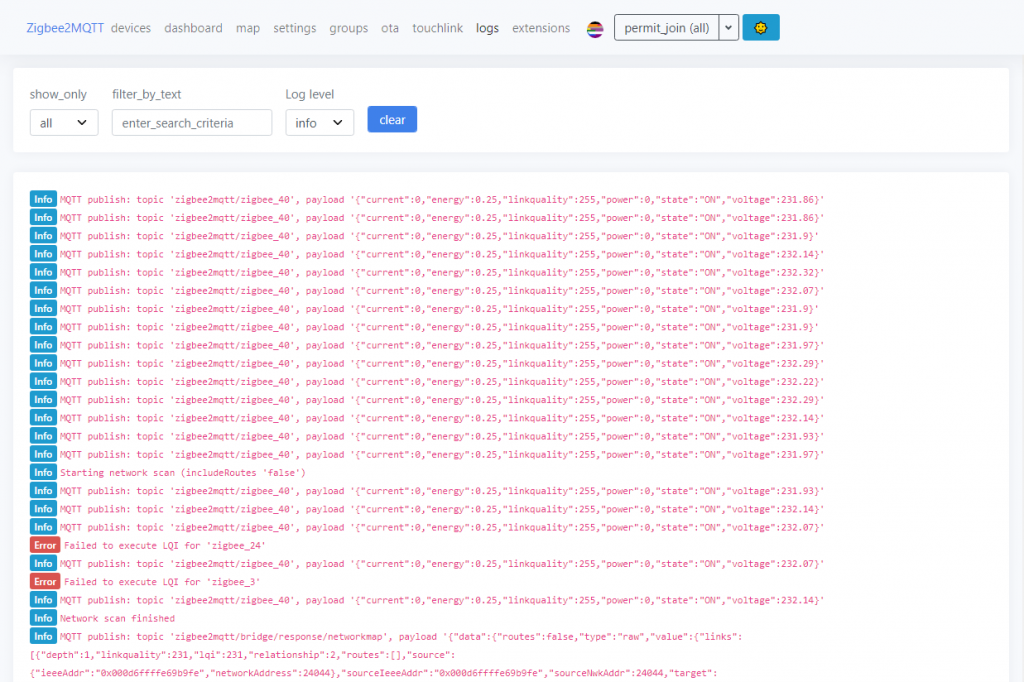
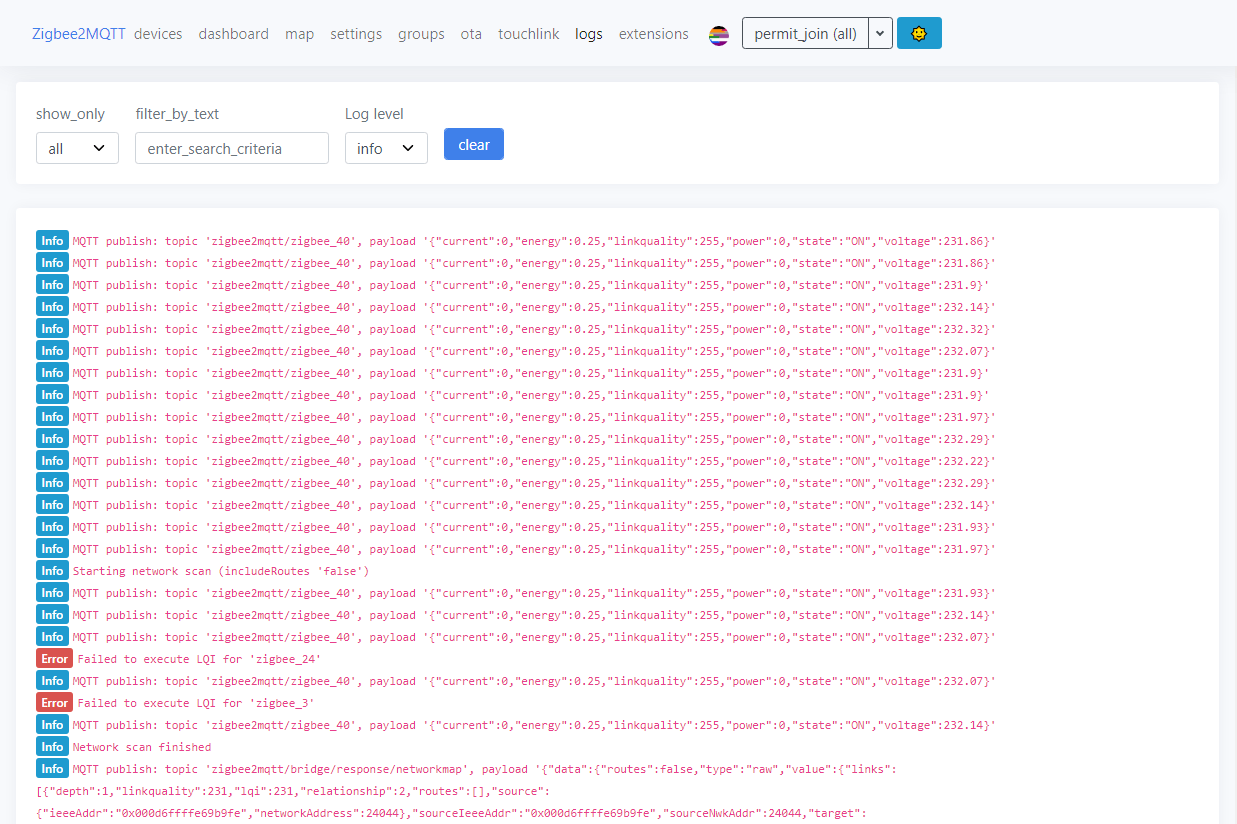
Logs, … 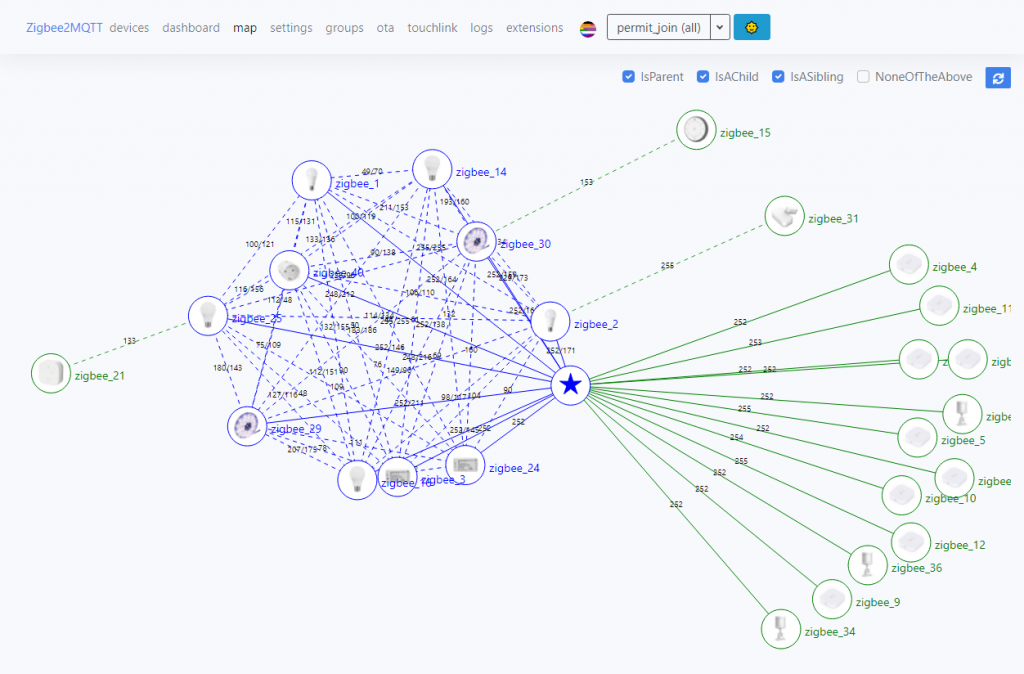
Map, a map of he Zigbee network nodes and types 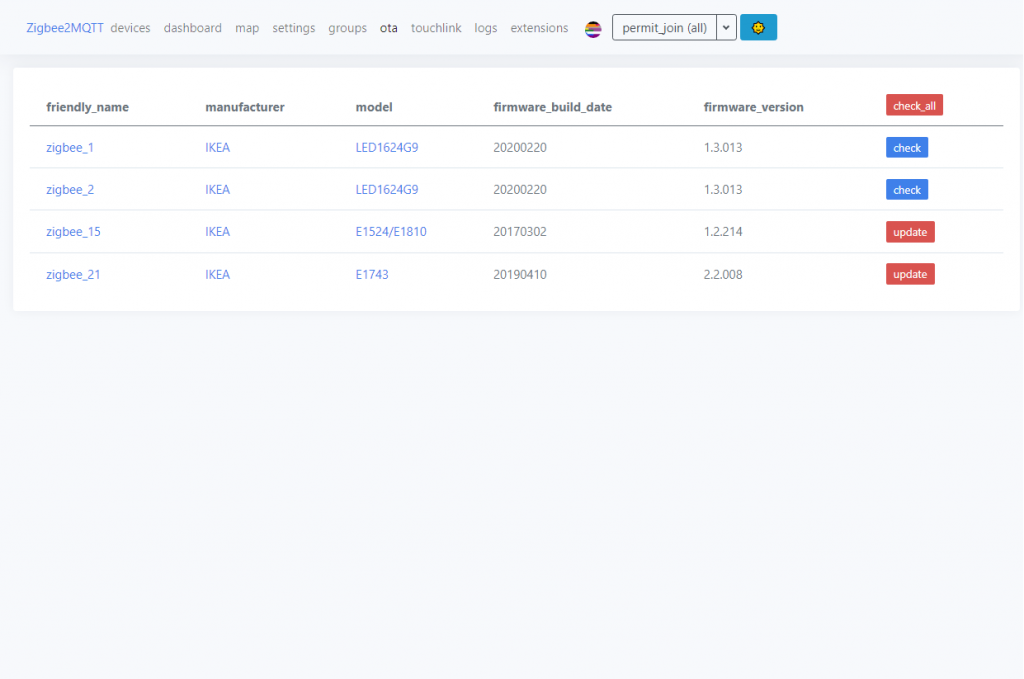
OTA, a place to Over-the-air firmware updates


Sources
- https://www.zigbee2mqtt.io/getting_started/running_zigbee2mqtt.html
- https://www.zigbee2mqtt.io/information/frontend.html
- https://www.zigbee2mqtt.io/integration/home_assistant.html