By default Excel files will be locked by the user that has it open.
Other users that try to open the same file will just be able to do it in read-only mode until the first user has closed it.
This can be a nice feature, but sometimes you want multiple users to be able to edit the same file at the same time.
This guide will show you how that can be done.
This how-to is based on Microsoft Excel 2016, but the same steps should also apply to Excel 2010, Excel 2013 and Excel 2019.
Depersonalize file properties
- First create a new, or open an existing excel workbook.
Save it in a directory where all the users that needs access has access to it. - Open the file and go til File -> Options.
- Click on Trust Center in the left menu and then click Trust Center Settings….
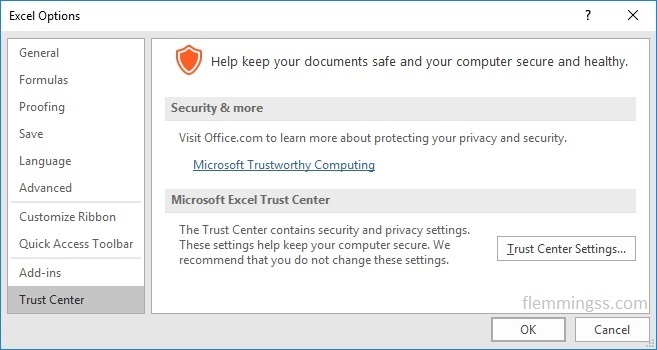
- Trust Center will appear in a new window, click on Privacy Options and uncheck Remove Personal information from file properties on save.
- Click OK, OK.
Share Workbook
- In Excel click the Review tab and then click Share Workbook.
If the Share Workbook button does not appear see Adding the Share Workbook button further down in this article - The Share Workbook window will pop up.
Check off Allow changes by more then one user at the same time. This also allows workbook merging. - Click OK.
- A new popup with the text This action will now save the workbook. Do you want to continue? appears, click OK.
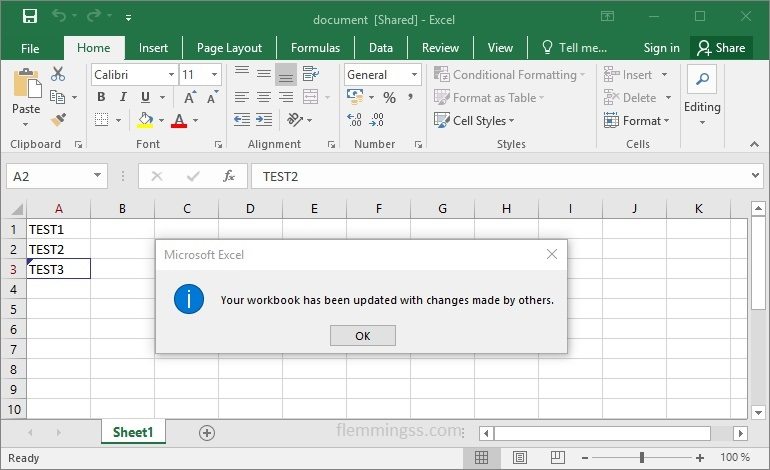
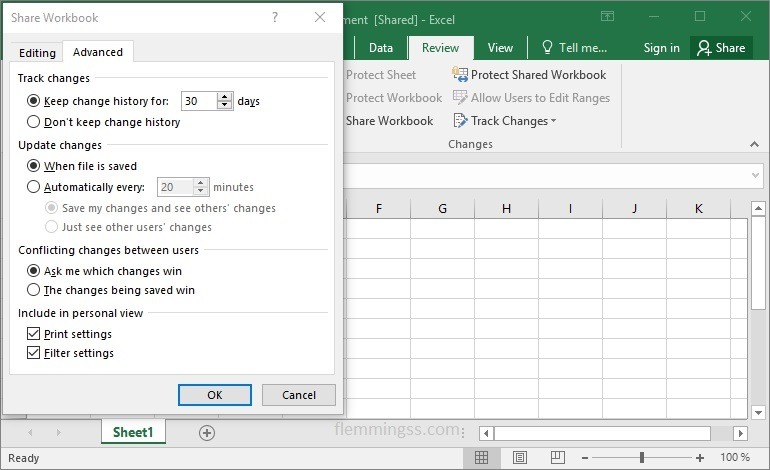
- In top of Excel the window title will now be <document name> [Shared] – Excel.
By default the file will just update when saving, you will get a warning to resolve any conflict that might exist if two users have changed the same field.
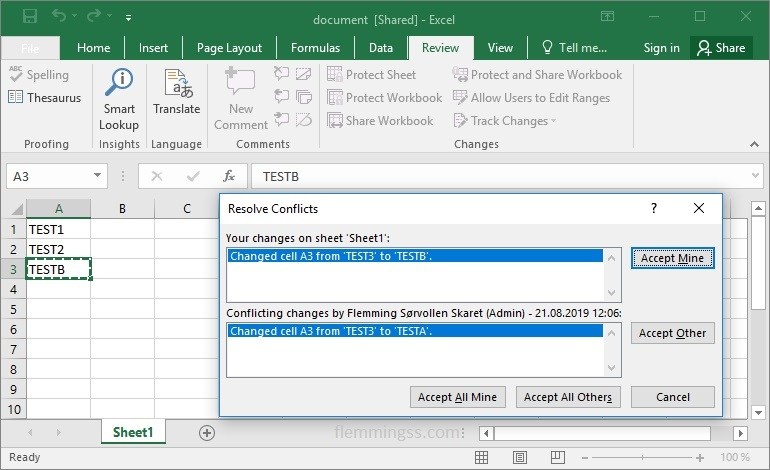
If you want to change the update or conflict settings, click the Review tab and then Share Workbook. Se the tab Advanced for these settings.
Adding the Share Workbook button
If the Share Workbook button don’t appear under the Review tab you need to add it.
- Go til File -> Options.
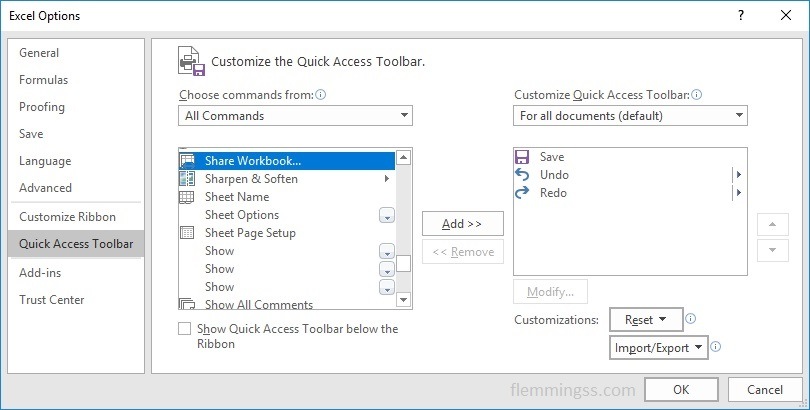
- Click on Quick Access Toolbar in the left menu.
- Select All Commands under the Choose commands from drop-down menu
- Select Share Workbook… and click Add > >.
- Click OK.