
To reduce the amount of physical servers, and to optimize maintained, I have chosen to move my UnRAID installation to a VM in VMware ESXi.
But because of the licensing model Lime Technology is using this isn’t straight-forward. UnRAID require to be installed on a USB-flash drive with a GUID. Not very virtualization-friendly in other words
Luckily in VMware ESXi 7.0 there is possible to boot VMs directly from a USB drive (It has earlier just bean possible trough third-party tools like Plop Boot Manager)
Another challenge is the communication between drives and the VM (UnRAID). By default Datastores are used to all kind of storage in ESXi, but for a NAS-system like UnRAID it should have direct access to the drives in the array.
There is many ways to accomplish this, but in this guide I will passthrough a PCI-E SATA controller card dedicated for this VM. This is the neatest solution in my option.
Moving Hardware
The first step is to move the required hardware from the physical UnRAID server to h ESXi serer.
- Shut down and the physical UnRAID server and the ESXi-server
- Move the UnRAID USB-drive to a free USB-slot on the ESXi-server.
- Insert a PCI(-E) controller card compatible with your drives in he ESXi Host.
- Move all drives in the UnRAID array to the ESXi-server and connect them to the newly installed controller card.
Now that all hardware is moved over, there is a 50% chance that the server will boot from the UnRAID-USB instead of the ESXi-USB. If this happens change the the ESXI-USB’s boot priority to be above the UnRAID-USB in the motherboard’s BIOS. How this is done depends on the motherboard, but the F10 key is in most cases used to access the BIOS in startup.
When this is configured start the ESXi server as normal.
Toggle PCI-Passtrough
That hardware is moved over, the next step is to make the controller-card available for passthrough.
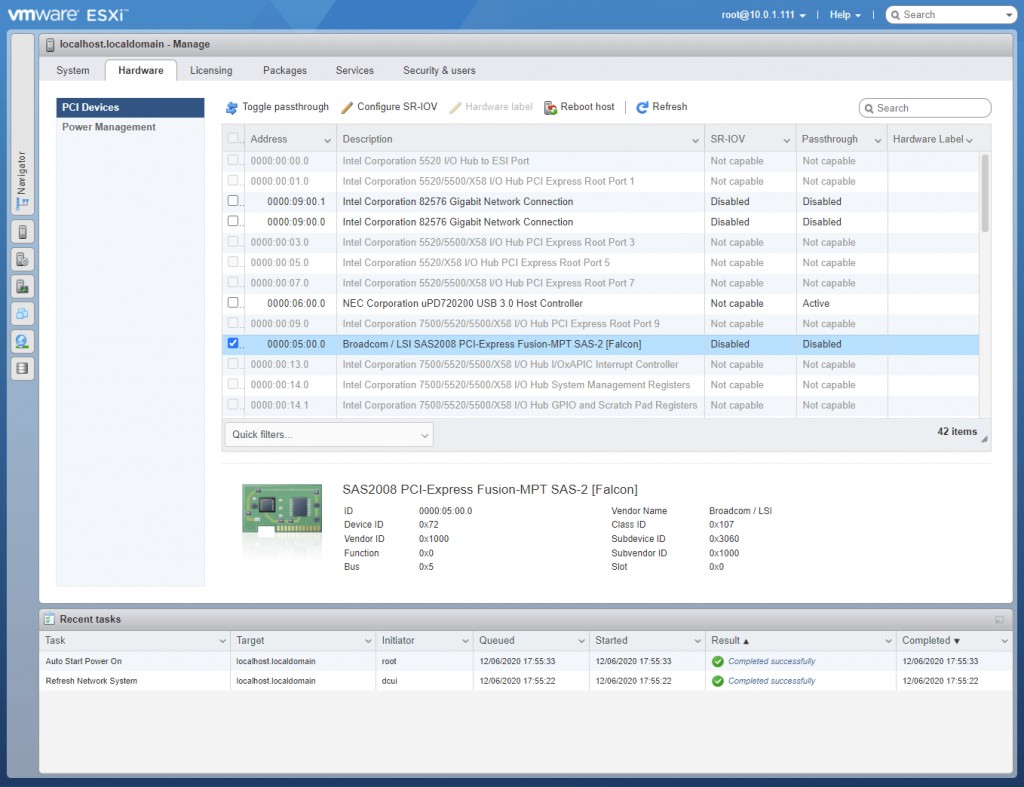
- In the ESXi GUI go to Host -> Manage -> Hardware -> PCI Devices
- Select your PCI/PCI Express SATA/SAS Controller Card and select Toggle passthrough.
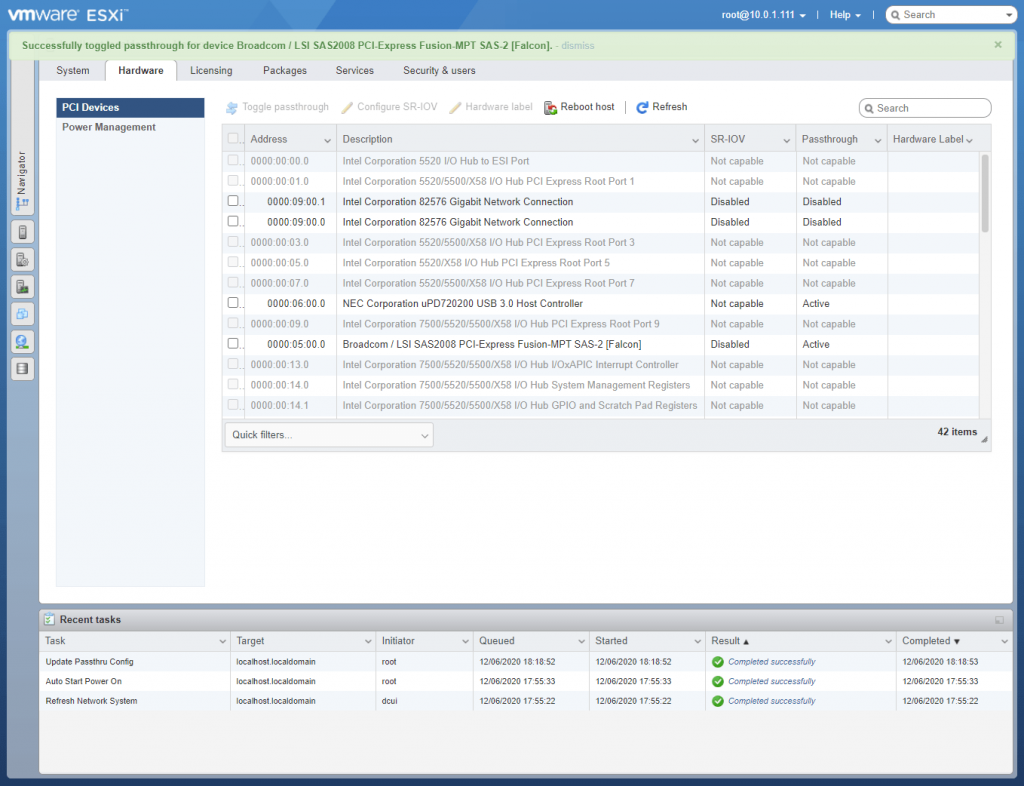
A message like this will show if the passthrough is successful:
“Successfully toggled passthrough for device Broadcom / LSI SAS2008 PCI-Express Fusion-MPT SAS-2 [Falcon].”
Create a VM
It is time to create the VM from he ESXi GUI.
- Go to Virtual Machenes in the left menu.
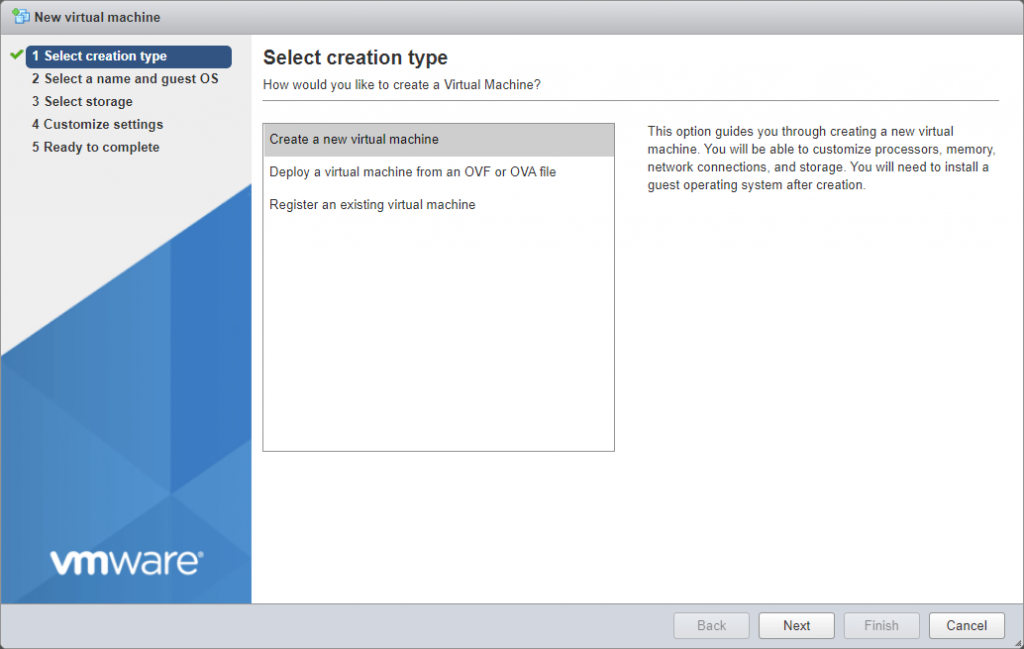
- Select Create / Register VM
- Select Create a new virtual machine, and Next.
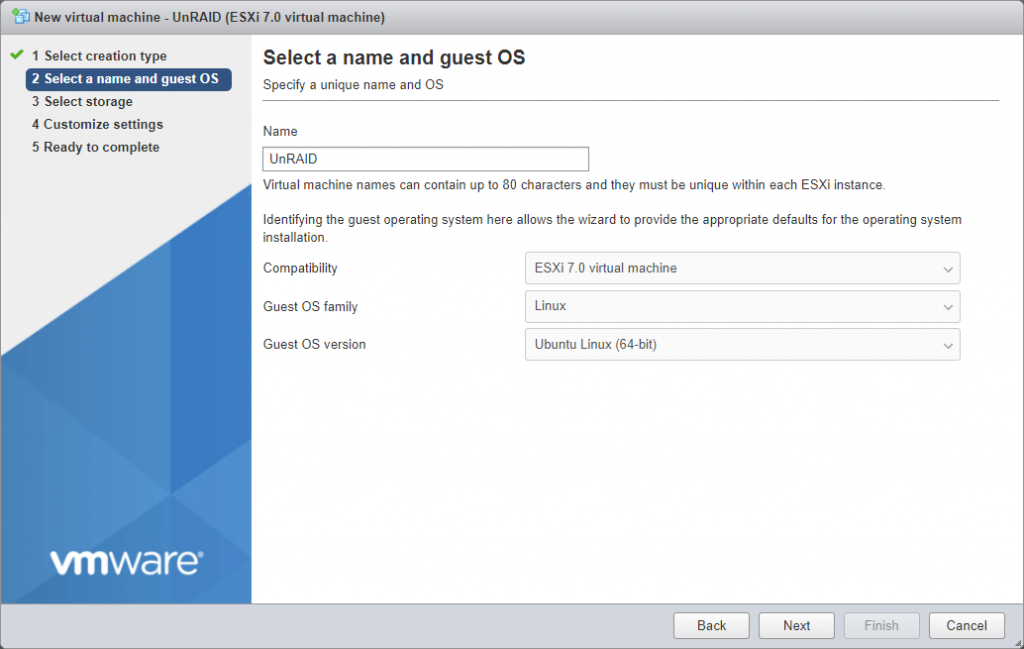
- Give the VM a recognizable name and select as follows:
Compatibility: ESXi 7.0 virtual machine
Guest OS family: Linux
Guest OS version: Ubuntu Linux (64-bit) - Click Next
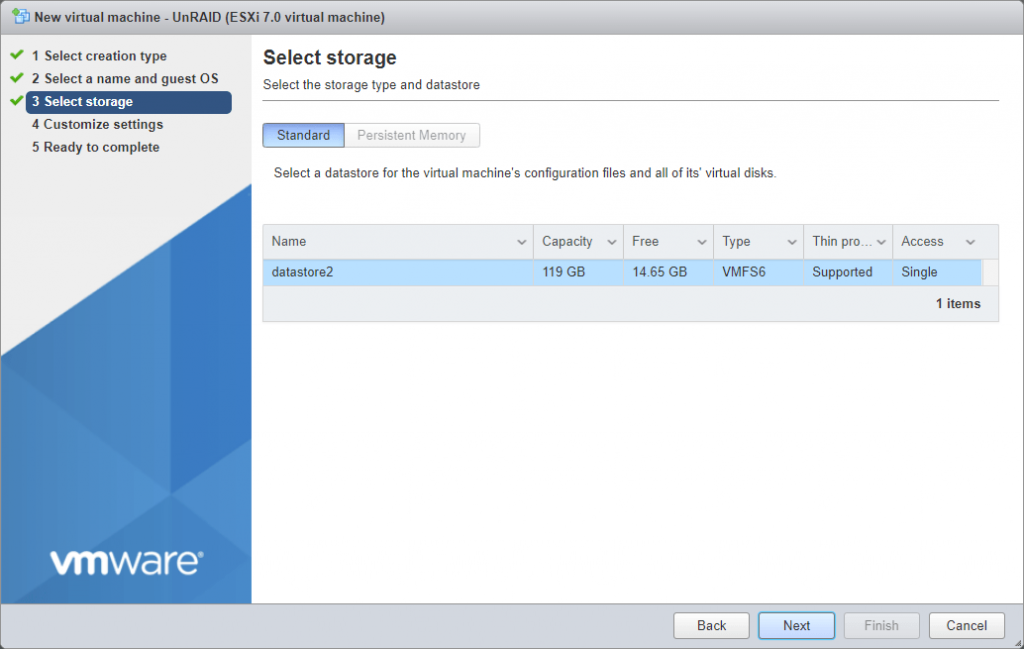
- Select a datastore and click Next.
- Configure CPU, Memory and Hard disk.
The hard disk is a virtual drive, normally for the OS-installation. But because we will use a USB-drive for the OS this drive will not be used.
It is properly safe to just remove it.

- Click on Add other device, then PCI device.
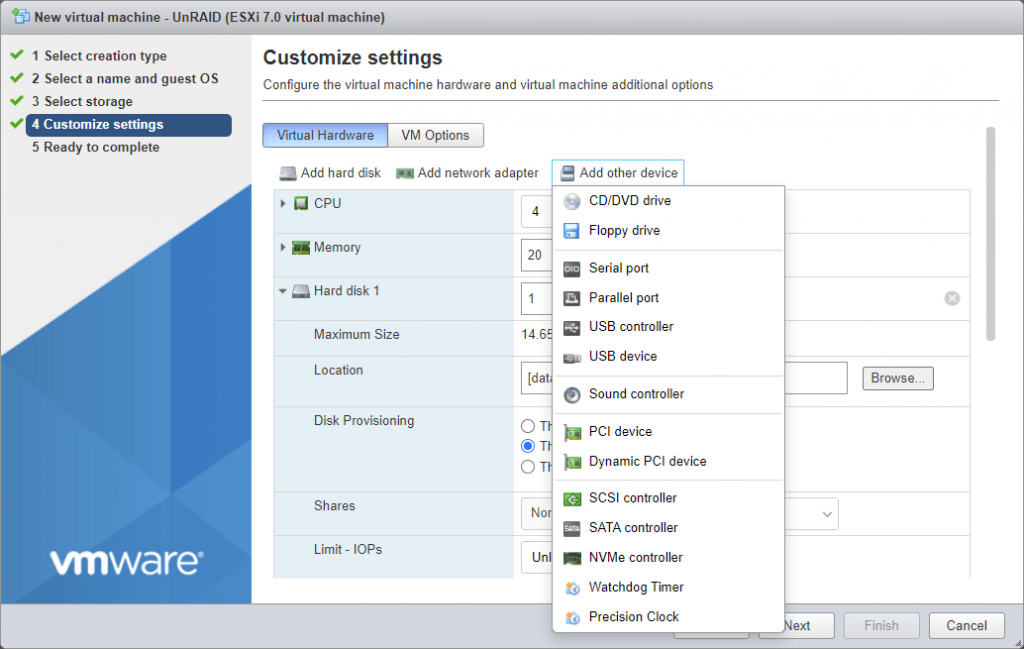
- at New PCI device select the PCI disk-controller you made available earlier.
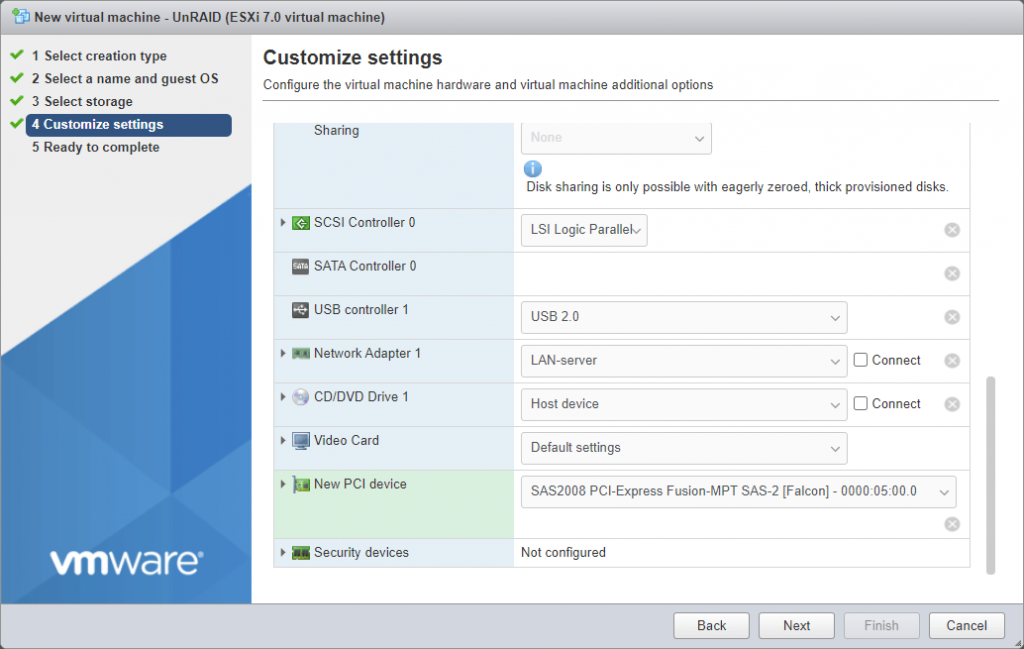
- Select Add other device again and then USB device.
- Select the UnRAID USB stick at New USB device.

- Click Next
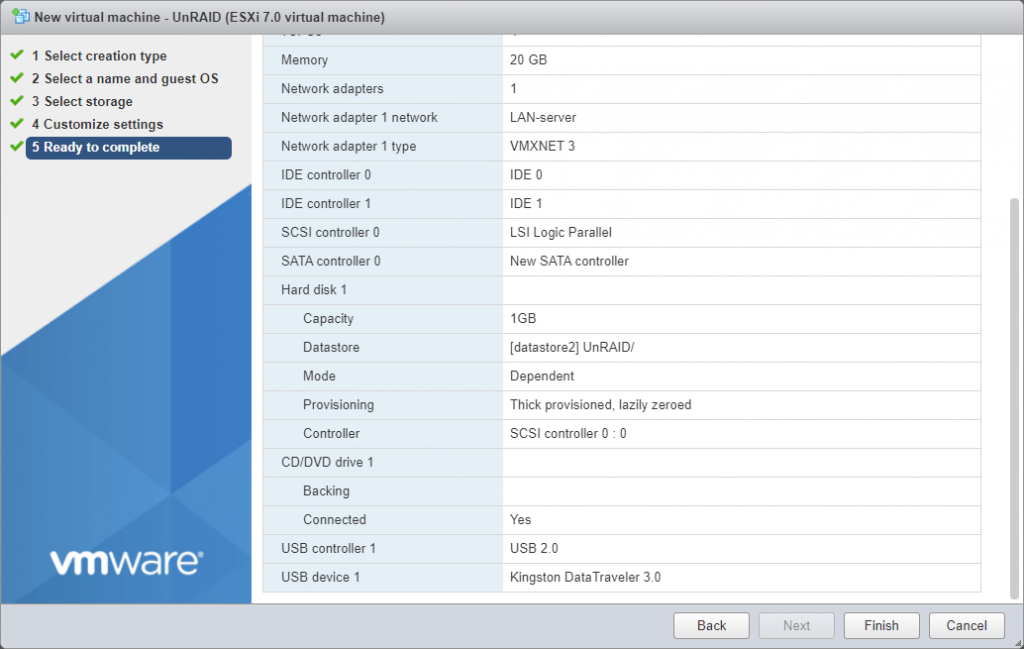
- Click Finnish
Configure the VM
The VM is now created, but it is still not ready to boot, here is a little more configuration required.
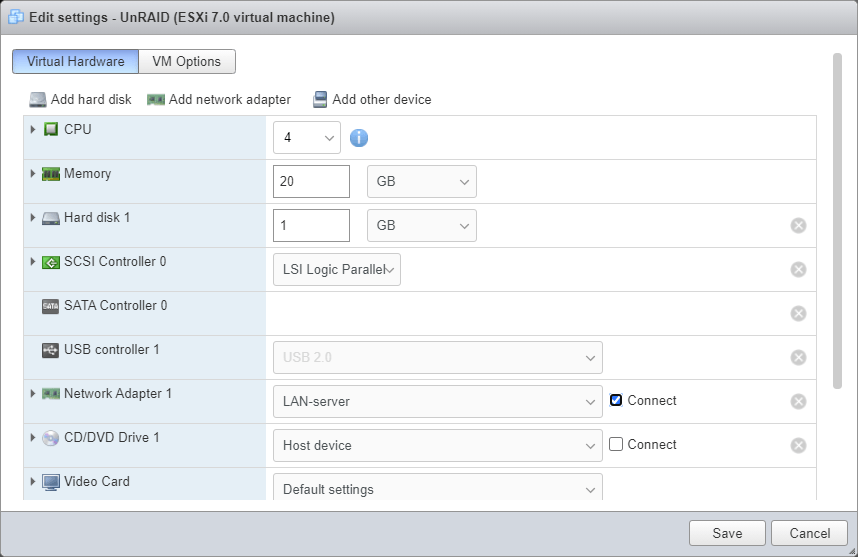
- Open VM settings by clicking Actions and Edit settings on the VM.
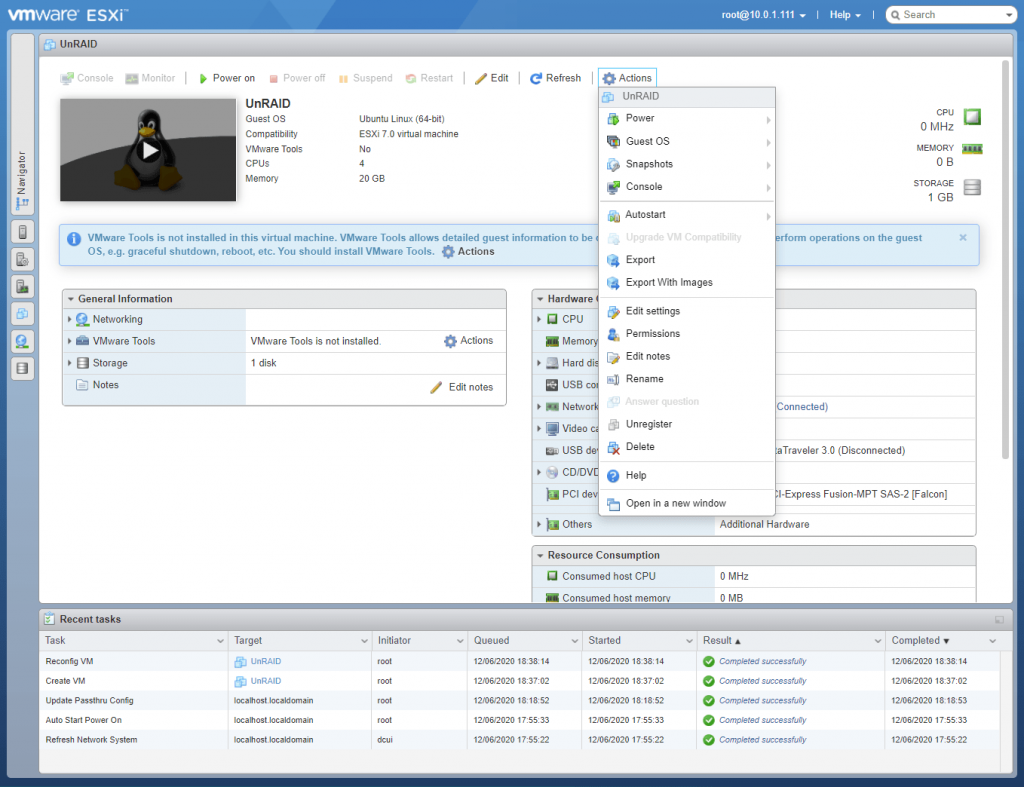
- Check Connect on Network Adapter (And select your preferred network for UnRAID if you have multiple networks).
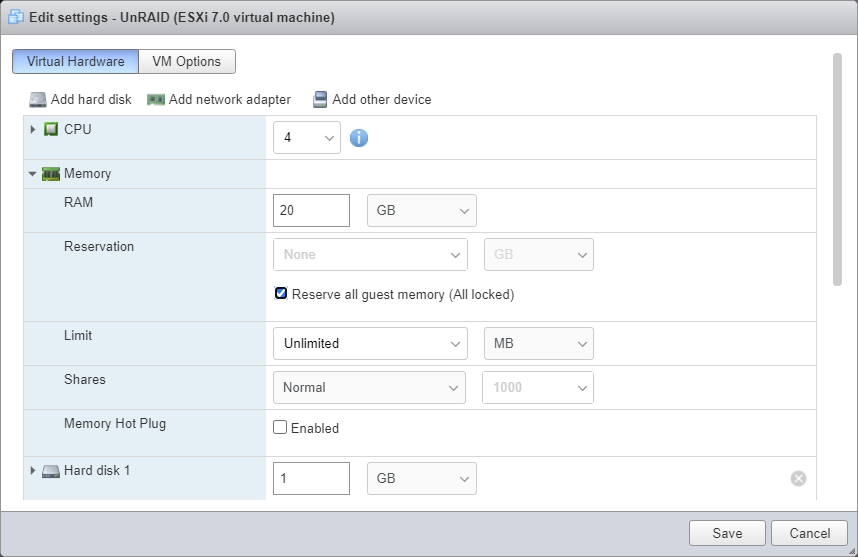
- Expand Memory and select Reserve all guest memory (All locked).
When PCI-devices are used by a VM it will need some locked memory.
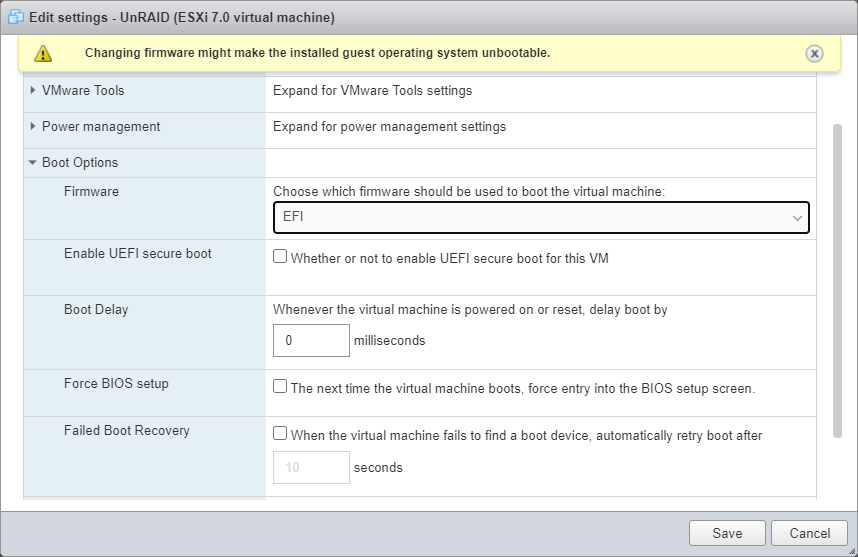
- Go to the tab VM Options and expand Boot Options
- Select EFI on Firmware
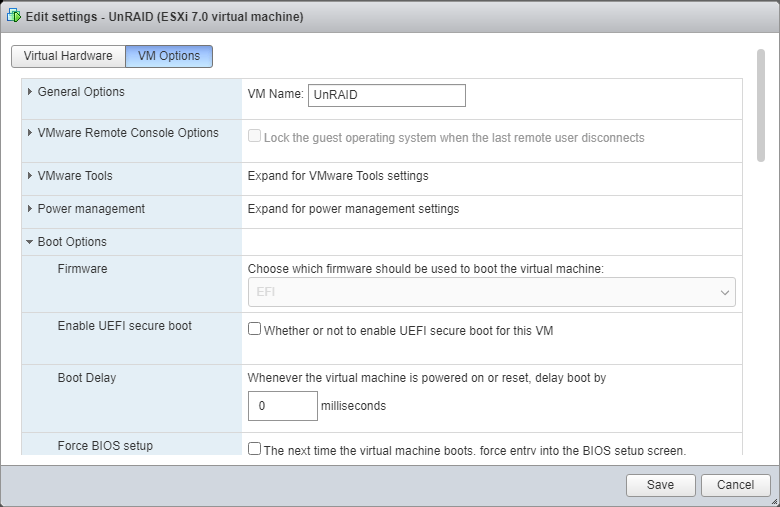
- Check Force BIOS setup and click Save.
The VM is now able to start.
Configure the UnRAID VM’s BIOS
The virtual BIOS need to be configured to boot from the attached UnRAID USB-stick.
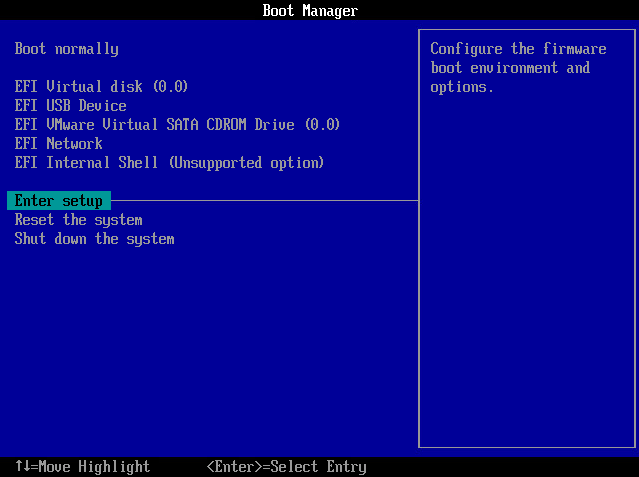
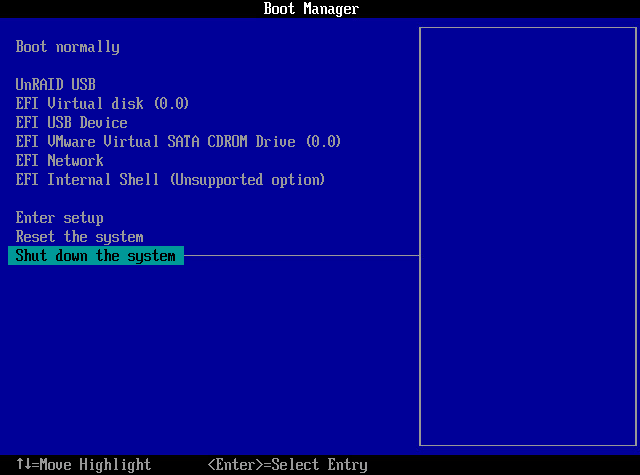
- Boot the VM and the Boot Manager will show up automatically.
- Select Enter setup.
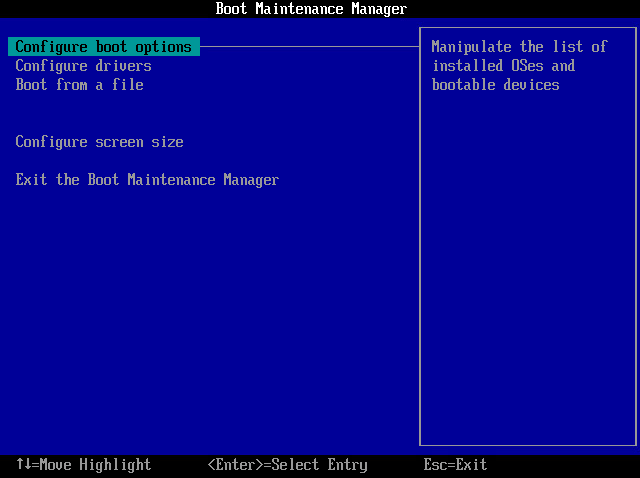
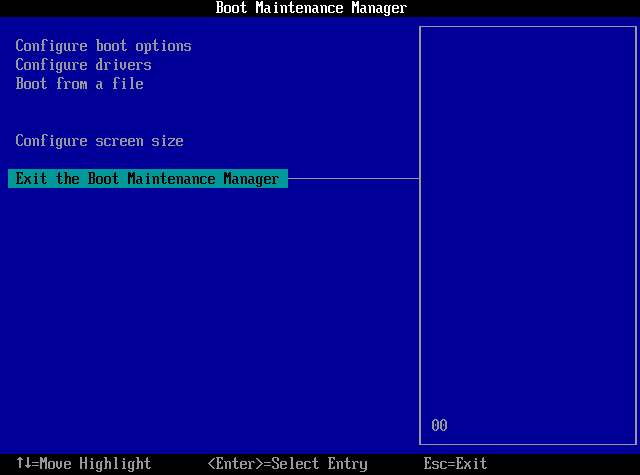
- In Boot Maintenance Manager select Configure boot options.
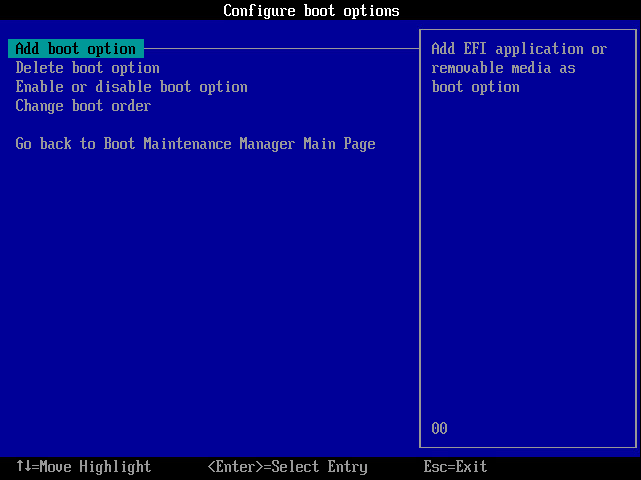
- In the Configure boot options menu menu select Add boot option.
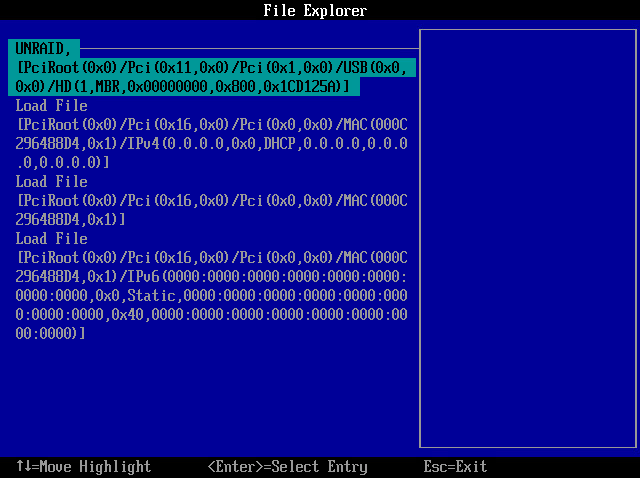
- Select the UnRAID USB-stick in File Explorer.
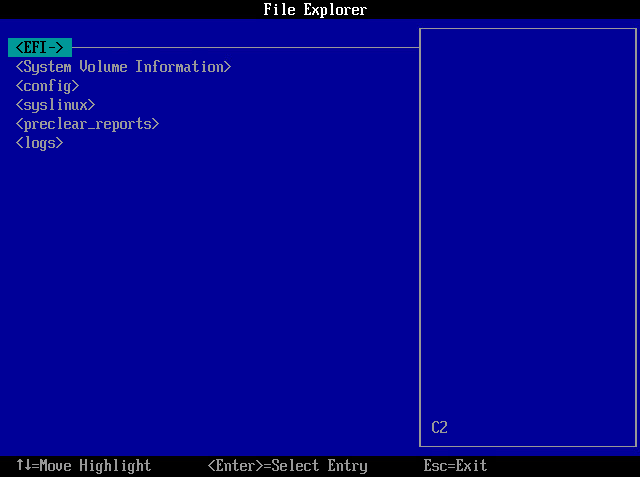
- Select <EFI->.
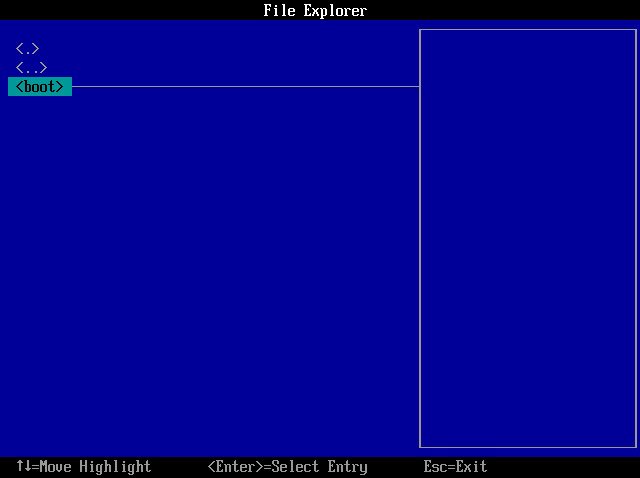
- Select <boot>.
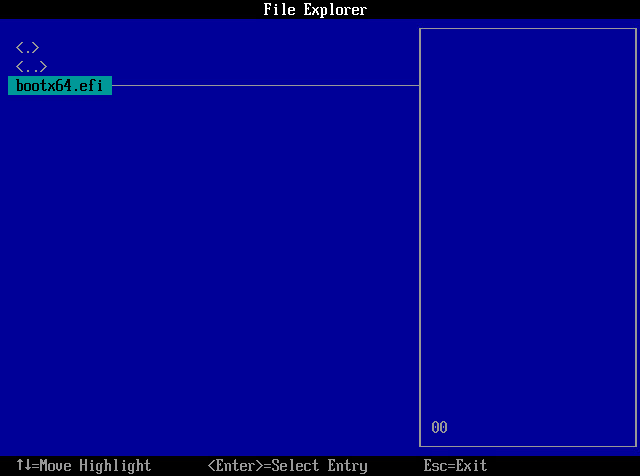
- Select bootx64.efi.
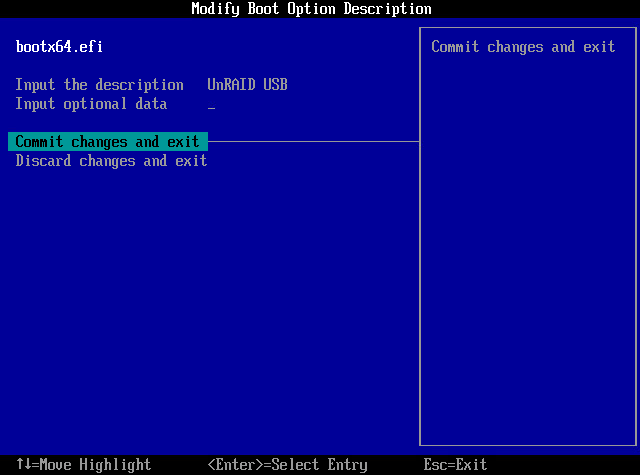
- In Modify Boot Option Description select Input the description.
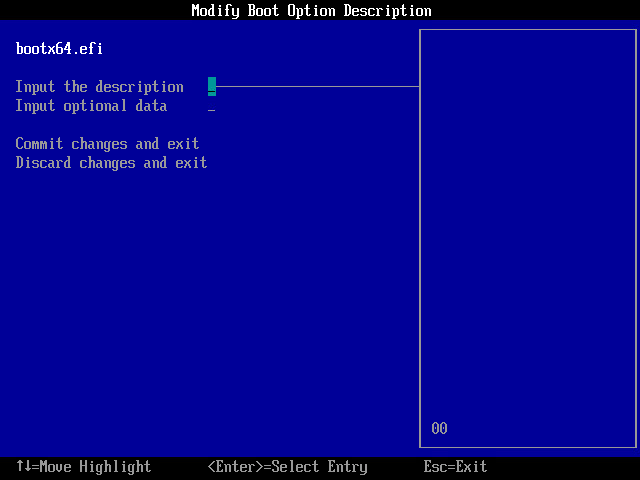
- Enter a meaningful description (eg
UnRAID USB) and click Commit changes and exit.
- Back in Boot Maintenance Manager select Configure boot options.
- In Configure boot options menu select Select Change boot order.
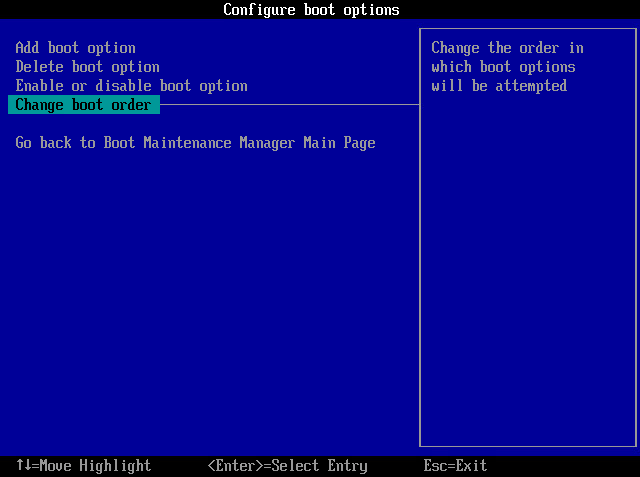
- Select Change the order.
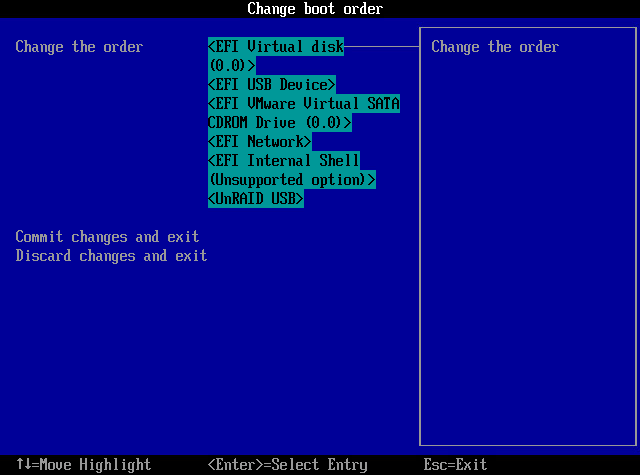
- Use the arrows to slect the UnRAID USB
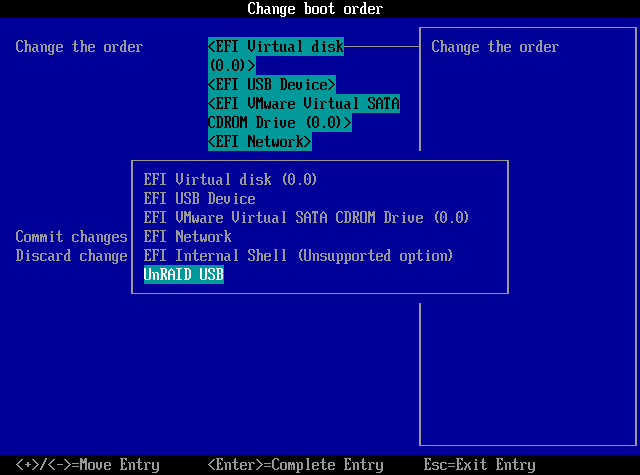
- Use the +/- signs to move the selected item up to the top.
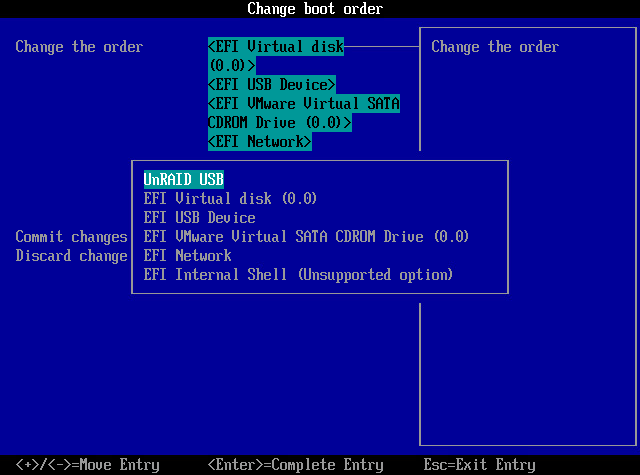
- Select Commit changes and exit.

- Select Exit the Boot Maintenance Manager.
- Click Shut down the system.
The VM should now be ready to boot up UnRAID.
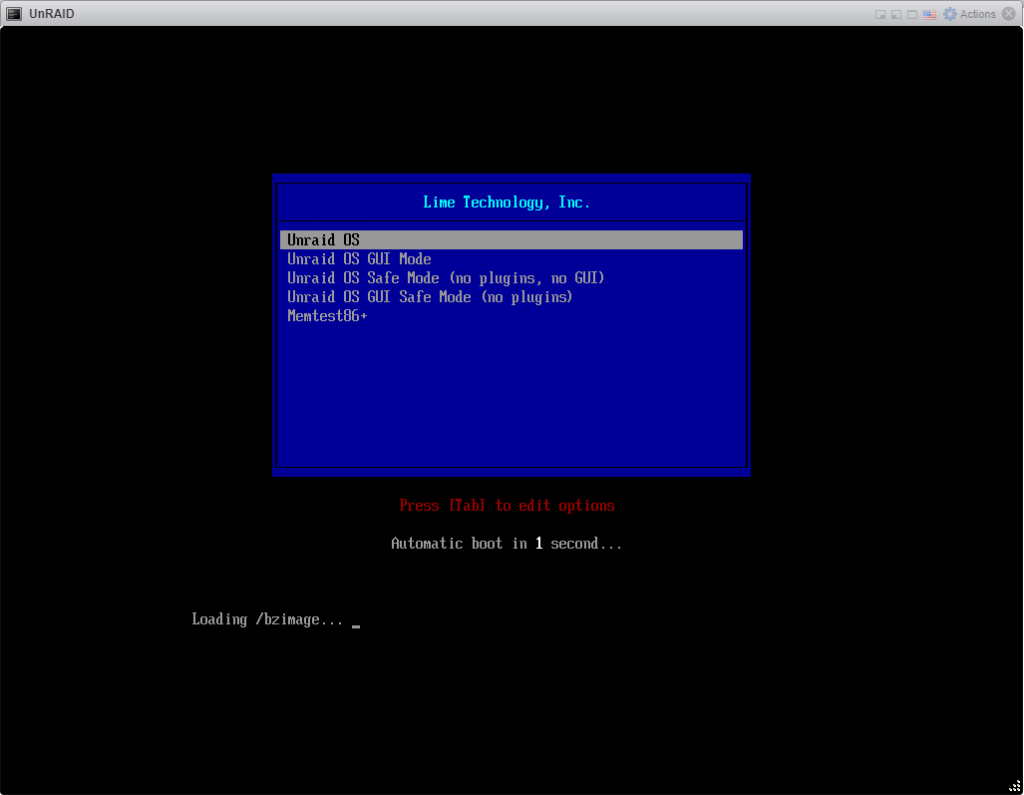
Booting UnRAID
Start up the new VM, UnRAID will boot automatically if the configuration is correct.
If UnRAID don’t get a IP-address (like in the picture below) a reboot might work.
This is done by logging in to the cli as root and sending a reboot command.
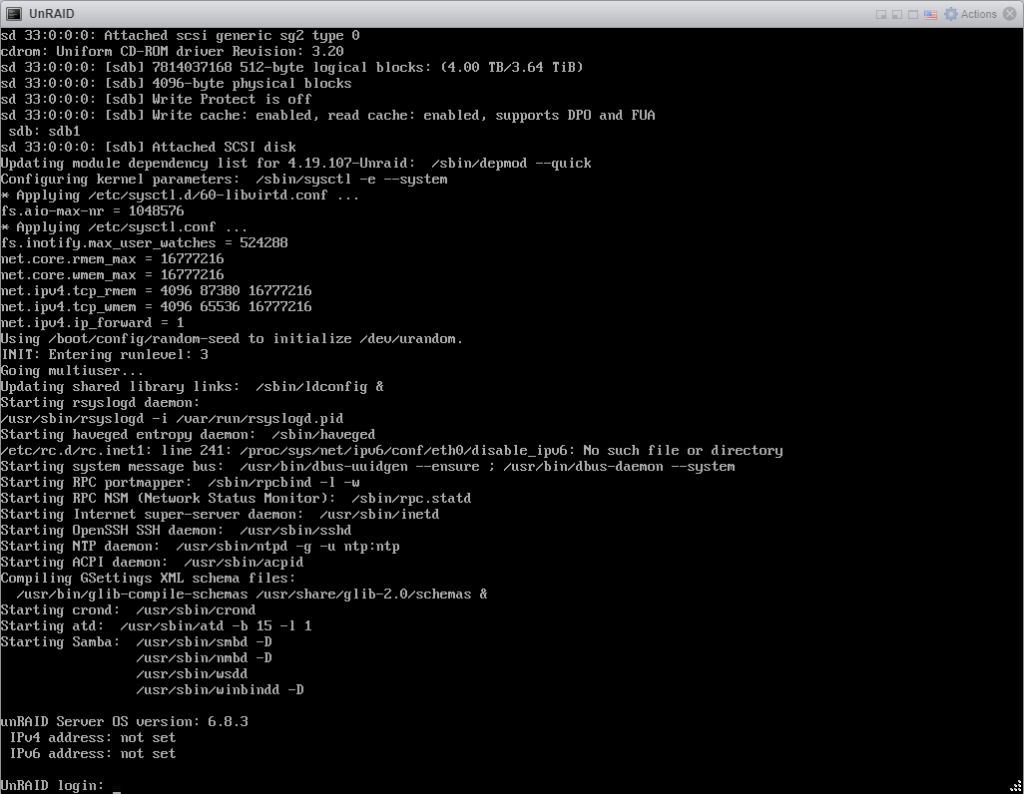
UnRAID up and running with IP from DHCP:

Open the GUI from the provided IP and make sure the array available and complete.
Install VMware Tools
After UnRAID is up and running you should install VMware Tools.
- Assuming you have already installed the Community Applications Plug-In in UnRAID, open the UnRAID GUI and go to the Apps-tab.
- Search for openVMTools_compiled and you will find this app:
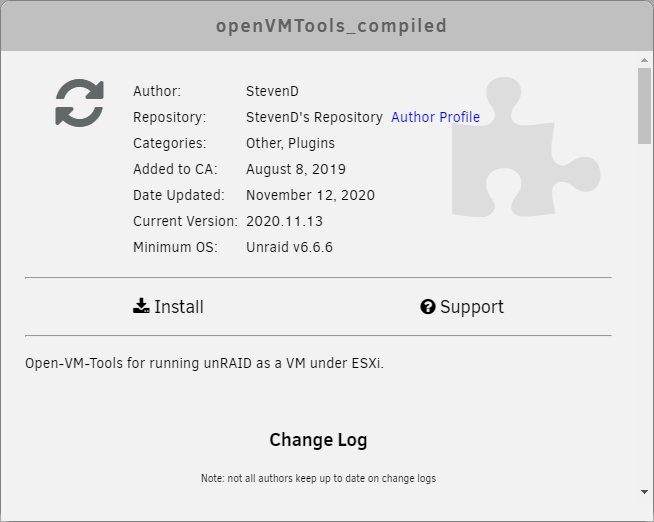
- Install the plugin by clicking Install.
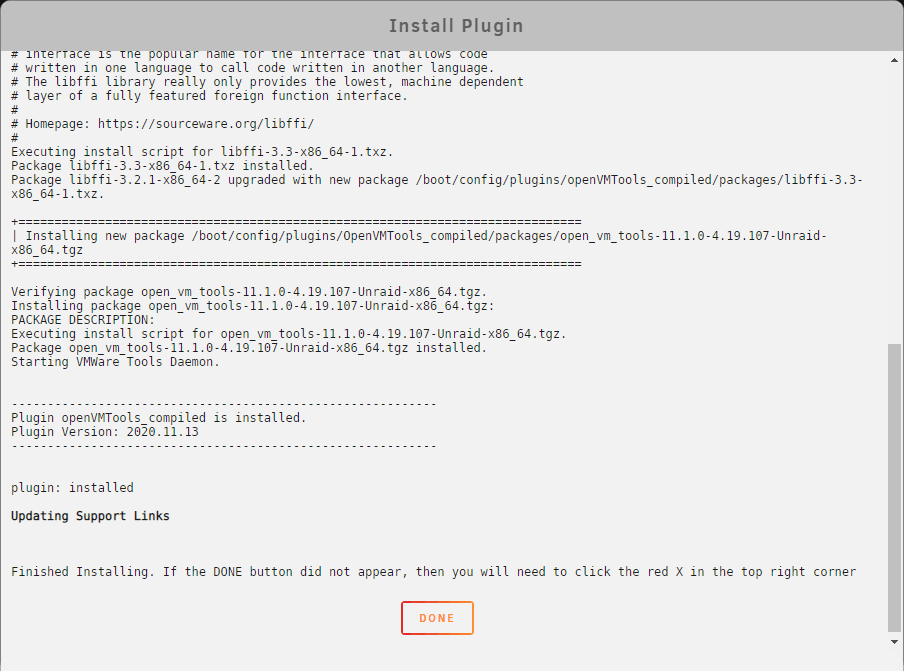
Done, the plugin will be active and seen by VMware ESXi very soon.
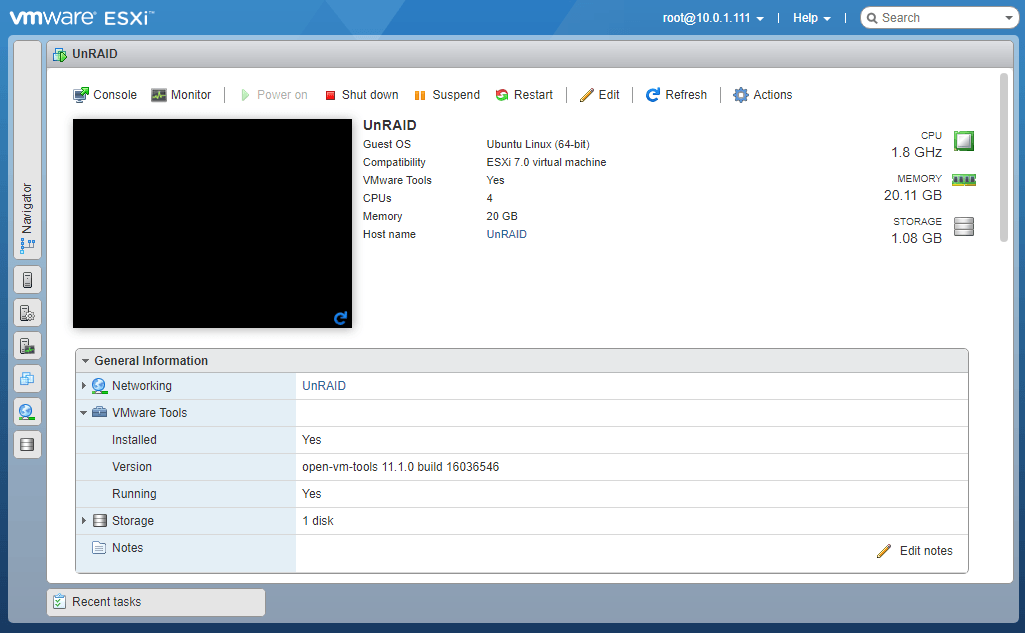
That’s it, UnRAID is now virtualized.