
If you have a FreeNAS system you should definitely back up your configuration on regular basis, and everytime you make changes.
It is an easy and fast process and it is definitely worth it when your system drive fails.
FreeNAS are notorious on writing to system disk, so a failure are very likely.
I have replaced two USB-sticks and one SSD-drive due to corrupt system drive in just a few years.
Save configuration to file
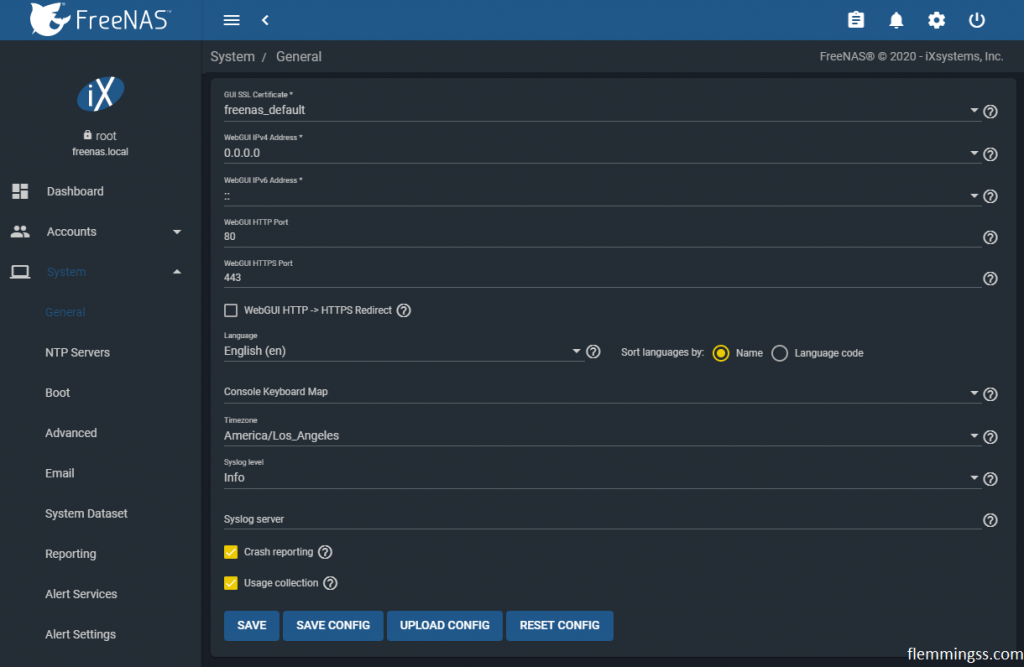
- Log in to your FreeNAS UI
- Go to System and General in the menu
- Click on SAVE CONFIG
- Check “Export Password Secret Seed” (optional, but recommended)
This includes Keys for different kinds of authentication (if any) - Check “Export Pool Encryption Keys” (optional, but recommended)
This includes keys to decrypt encrypted pools (if any) - Click SAVE
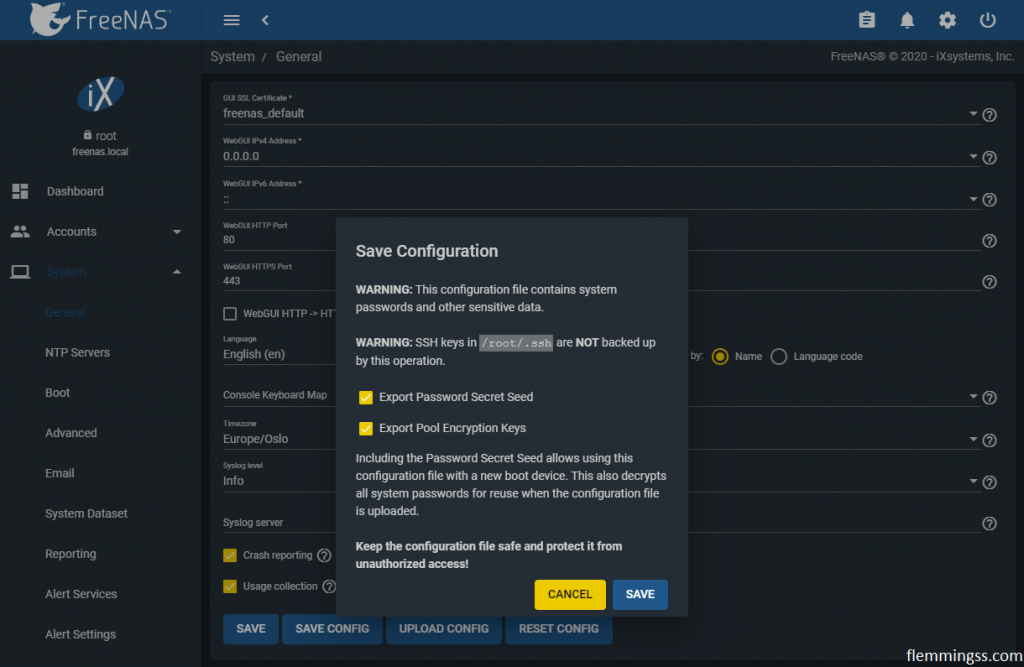
- A configuration file will be downloaded.
freenas-xxxxxxxxxxxxxx.tar
Store it safe and secure.
And one more tip:
Write down which version of FreeNAS the configuration file are saved from. You are less likely to have problems if you restore the configuration to the same version.
Restore configuration from file
Replace your system drive if needed and install FreeNAS just as normal.
I recommend using the same version as the configuration file are saved from. Older versions can be downloaded here:
https://download.freenas.org/
If you don’t know which it is, just try the newest version and hope for the best.
After Installation:
- Log in to your FreeNAS UI
- Go to System and General in the menu
- Click on UPLOAD CONFIG
- Browse for the .tar configuration file under “Select Configuration File”
- Select it and click UPLOAD
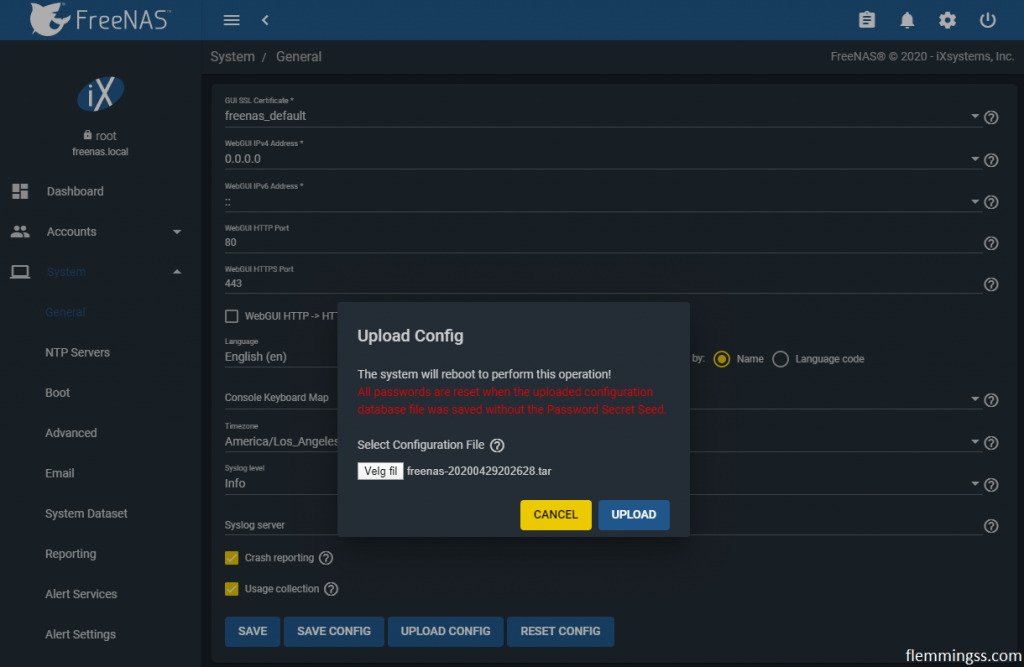
- FreeNAS will immediately reboot and restore itself to the uploaded configuration
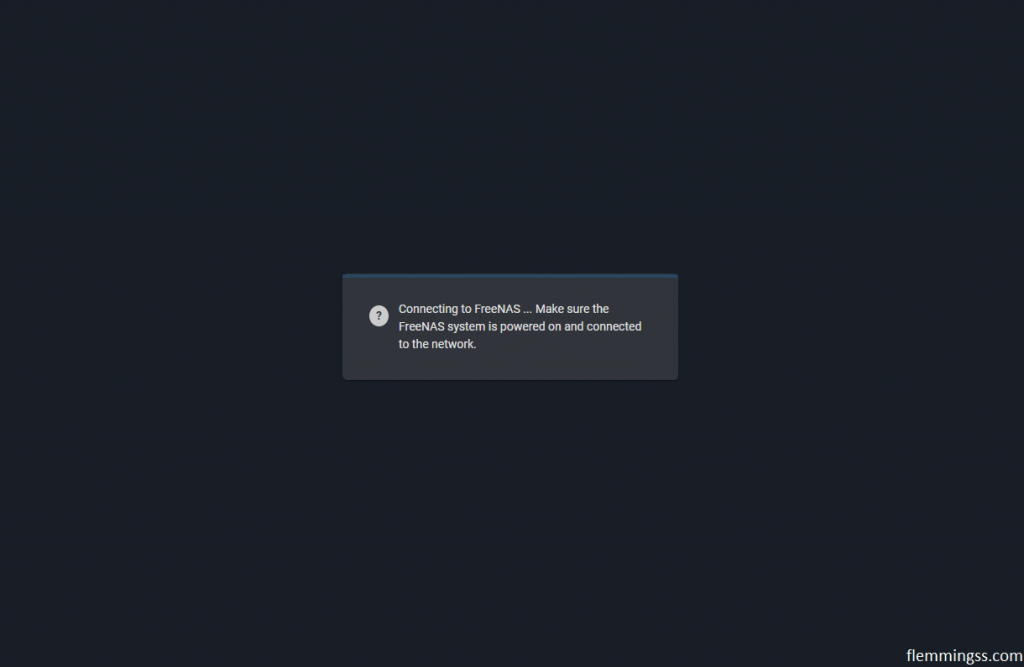
This can take some time. Be patient and enjoy your restored configuration.