If you have a working deCONZ/Phoscon installation there is a backup feature in the Phoscon GUI, but if the program cannot be run for whatever reason that option is of course not available.
But not all hope is lost, you can take a working backup just by copying a file
Note: This guide is based on the normal installation on Raspberry Pi with Raspbian.
Export database file
The file containing all the impotent data is named zll.db located under /home/pi/.local/share/dresden-elektronik/deCONZ/.
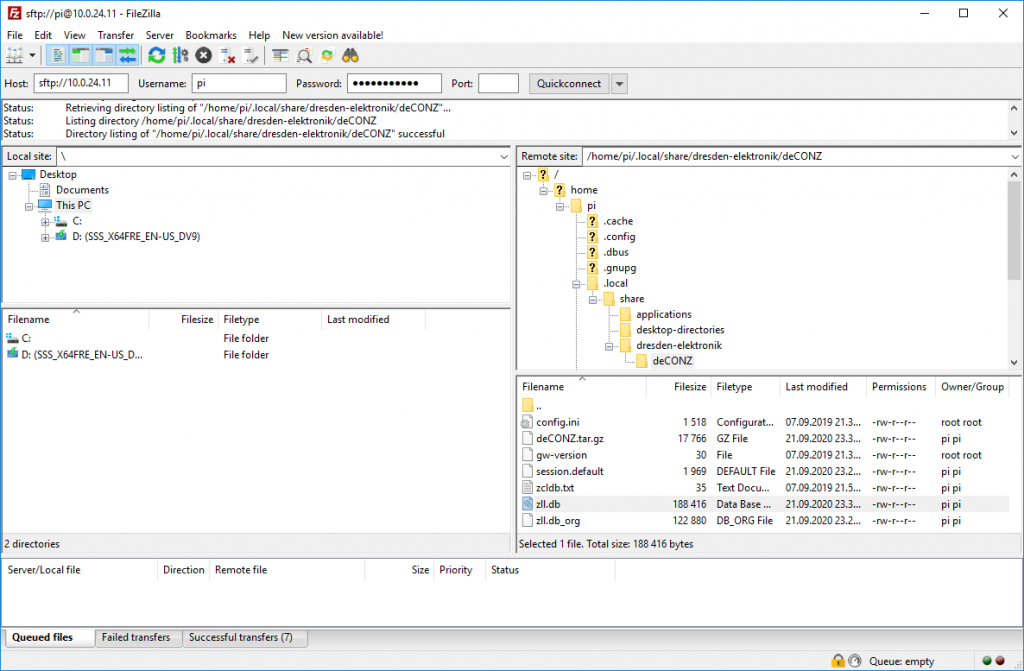
The easiest way to back this file up is by using a SFTP cliend like FileZilla.
Go to https://filezilla-project.org/download.php?type=client and download the last client.
Start FileZilla and use the “Quickconnect bar” to connect to your host.
Host: IP for the deCONZ Pie
Username: pi
Password: Pi account password
(Default password is raspbeegw if you are using the official Dresden Elektronik raspian image)
Port: 22
Click Quickconnect.
Navigate to /home/pi/.local/share/dresden-elektronik/deCONZ/ and copy zll.db o your local machene.
Import database file
Now, after you have reinstalled with a working installation it is time to import the backup.
If you need a installation guide click here.
Stop deCONZ by using this command:sudo systemctl stop deconz-gui
Now start FileZilla using the same method and navigate to /home/pi/.local/share/dresden-elektronik/deCONZ.
Delete or rename zll.db to something else, then upload your old zll.db file as a replacement.
Start deCONZ by using this command:sudo systemctl start deconz-gui
The network should now be up and working will all nodes working as before, and with the same groups/names/configuration.
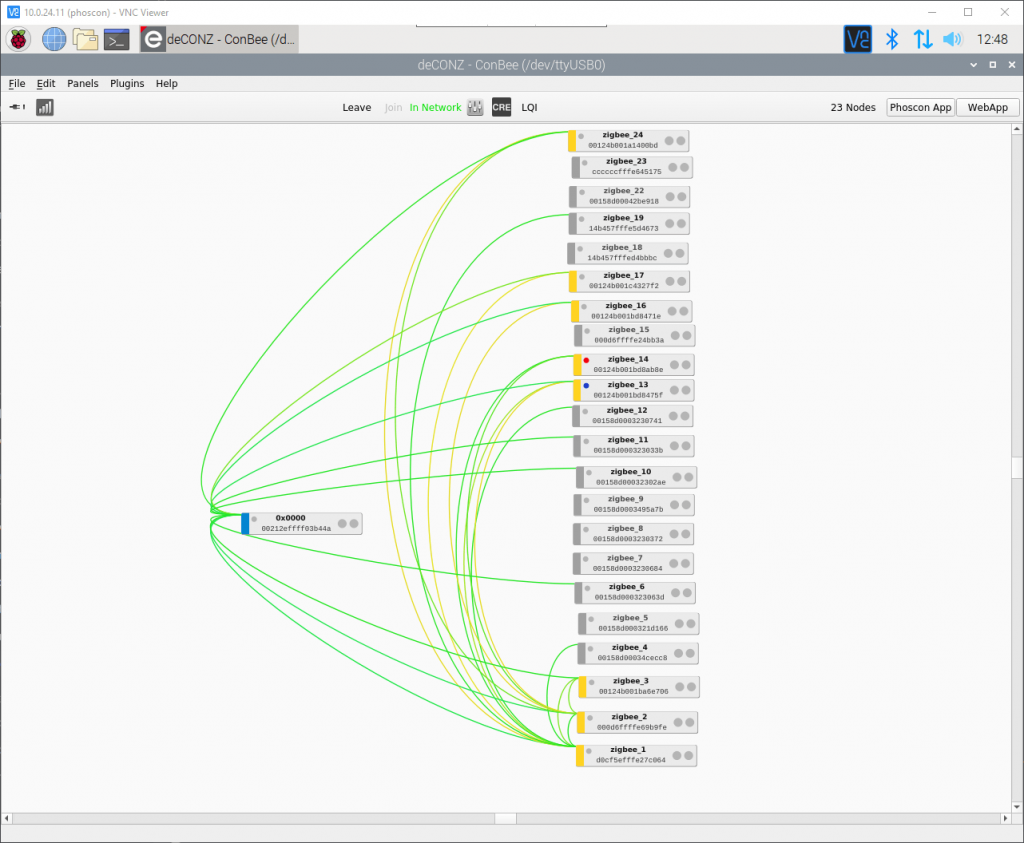
As far as I know, all configuration are stored in the zll.db file, and all nodes will be physically stored on the ConBee USB.
I performed this process on my systems a few days ago with success. All nodes is working as before including the integration with Home-Assistant.