Intro
If you are looking for a syncing or backup solution for your android phone, there is in my opinion nothing better then SyncThing. It is an application that is syncing files between nodes on the internet.
In this case from your android device to your home-server or home-computer, or another place of choice.
It is encrypted, it is free, it is open source and it will work behind firewalls and CGNAT connections without the need for any additional port forwarding or network configuration. This works because Syncthing on both sides takes advantage of relay servers on the internet that is supplying information about where to send the traffic. The storage data itself is however not routed trough these devices.
And the best part, it just works.
If you have a Apple iOS device, unfortunately there is no official Syncthing app due to limitations in the OS.
Install on Computer/Windows/Other
In this guide you may see that I refer to UnRAID, that is because that is where I store my backup, however the actual interface and functions of Syncthing is the same across all platforms, even the android version is using the same interface “behind the scenes” even if we don’t open that in this guide.
Download for all platforms are available here: https://syncthing.net/downloads/
I will not go into detail on this part, but it is straightforward in most systems. For Windows you can even get an app called SyncTrayzor if you want a more desktop-like app. In general, after SyncThing is installed and running, it is available from https://127.0.0.1:8384/
When you have a running setup for SyncThing on your machine, go to the next part.
Install and initial setup on Android
The next step is to install SyncThing on your android device, most likely your phone.
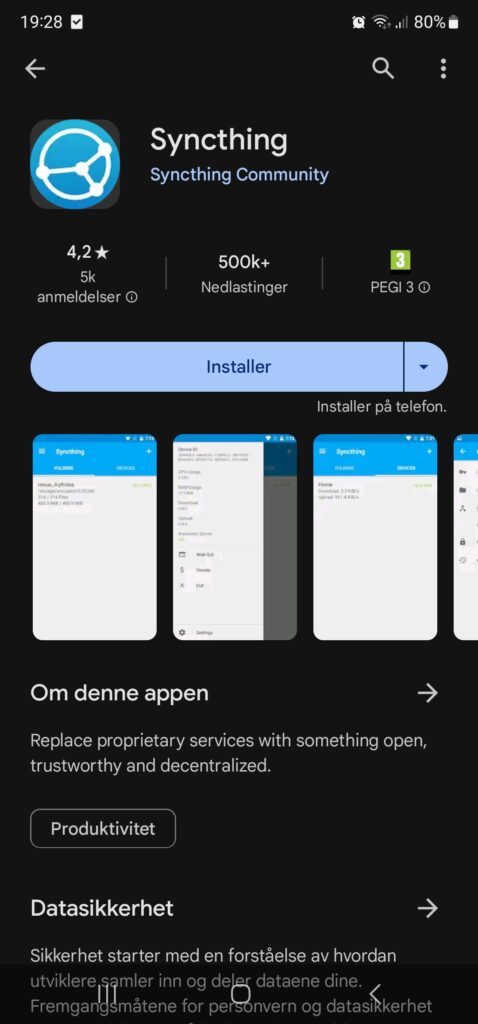
- Go to Google Play and search for Syncthing, or follow this link: https://play.google.com/store/apps/details?id=com.nutomic.syncthingandroid
- Install the app, then start it and go trough the wizard
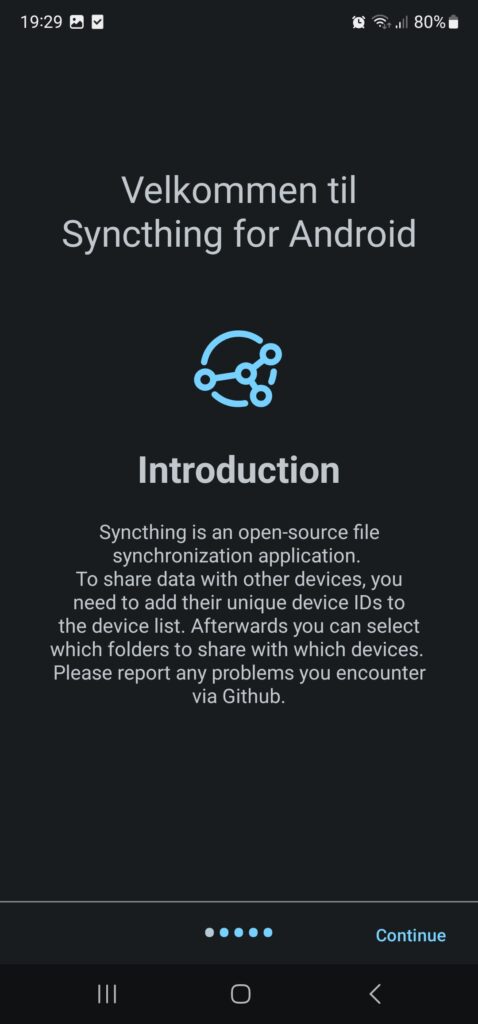
- On the “Introduction” page hit “Continue”
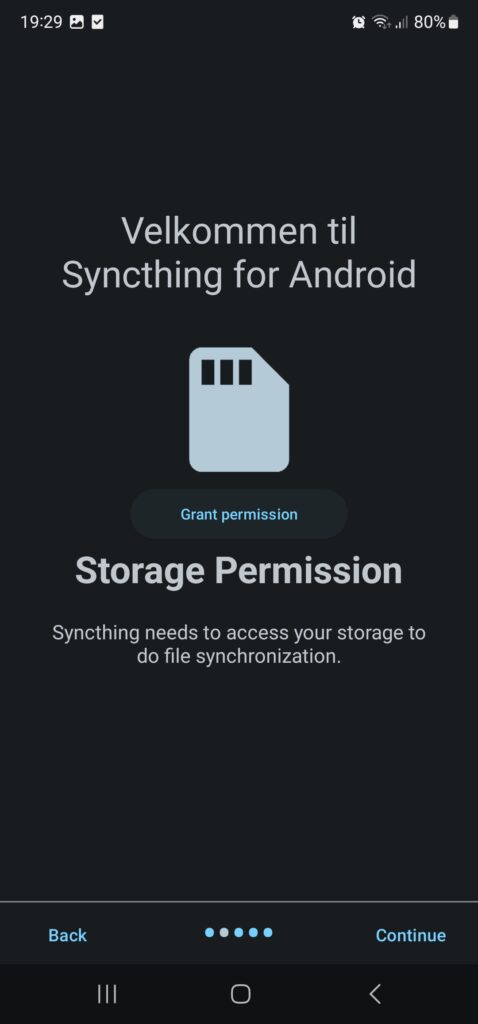
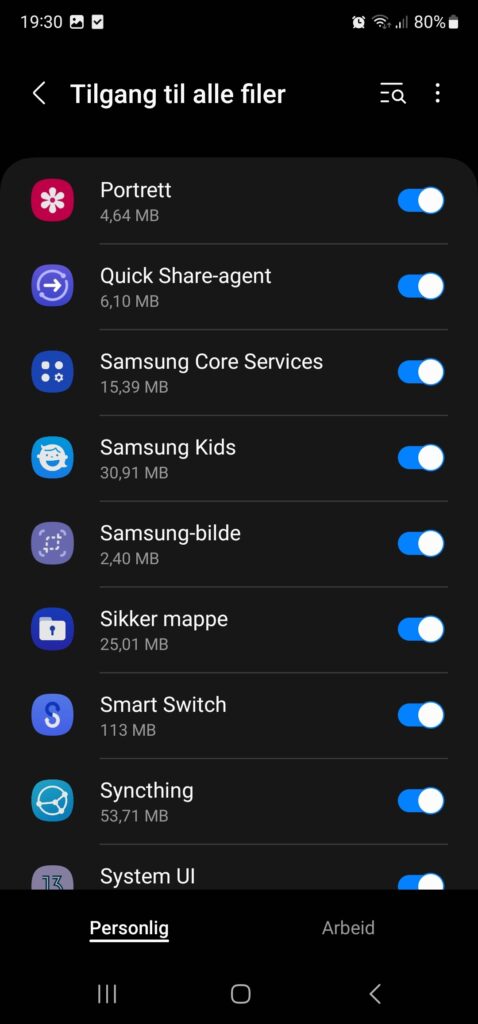
- When asked for “Storage Permission” click “Grant permission” and move the slider on “Syncthing” to the right side (activate)
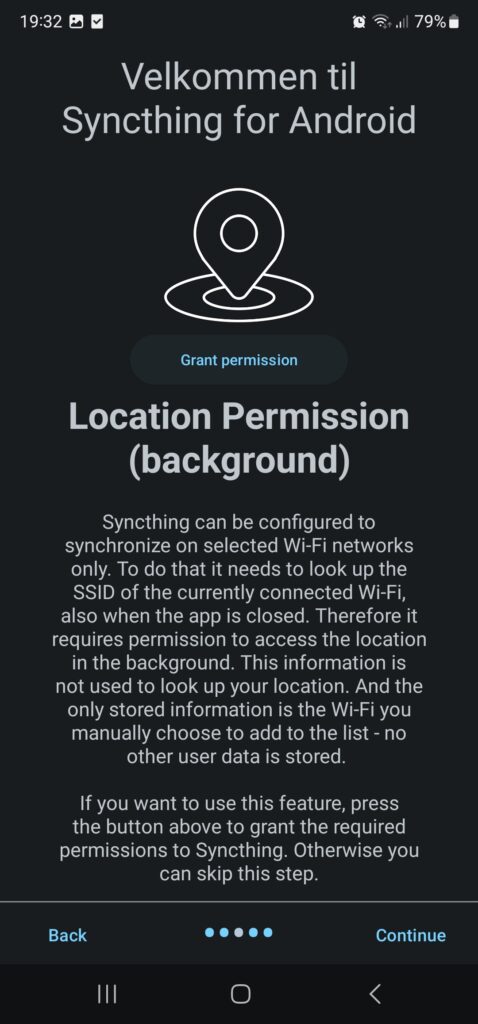
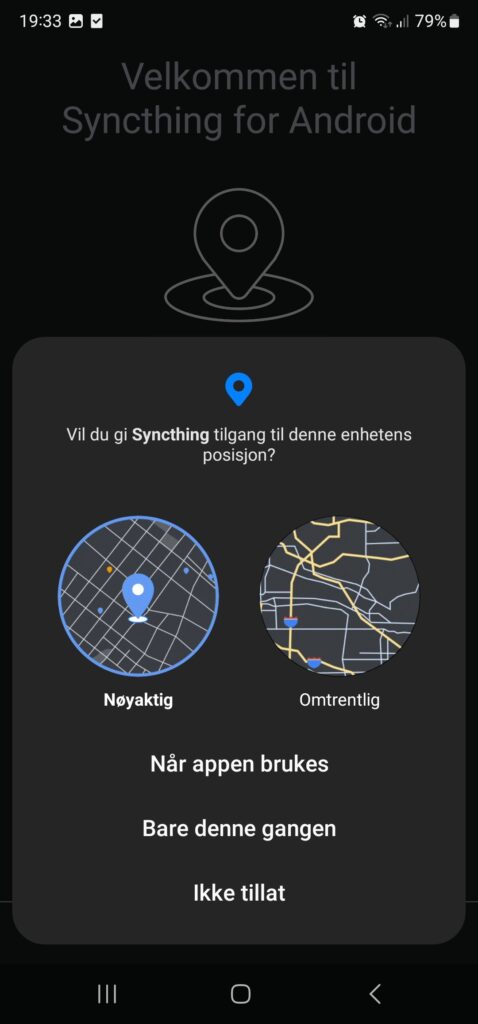
- Click “Continue” again and you will be asked for “Location Permission”, this is just required to limit syncing to WiFi/specific WiFi. This is optional, but click “Grant permission” and allow then the app is used and click “Finish”
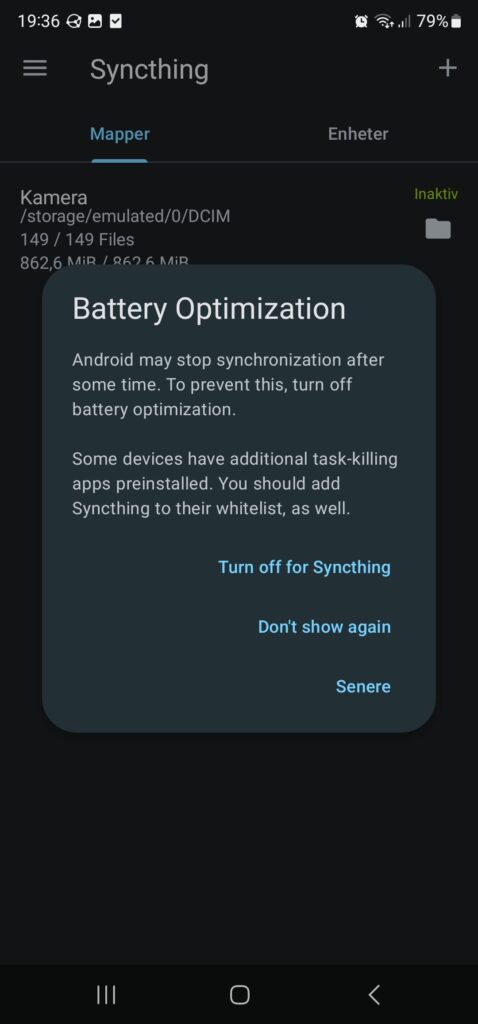
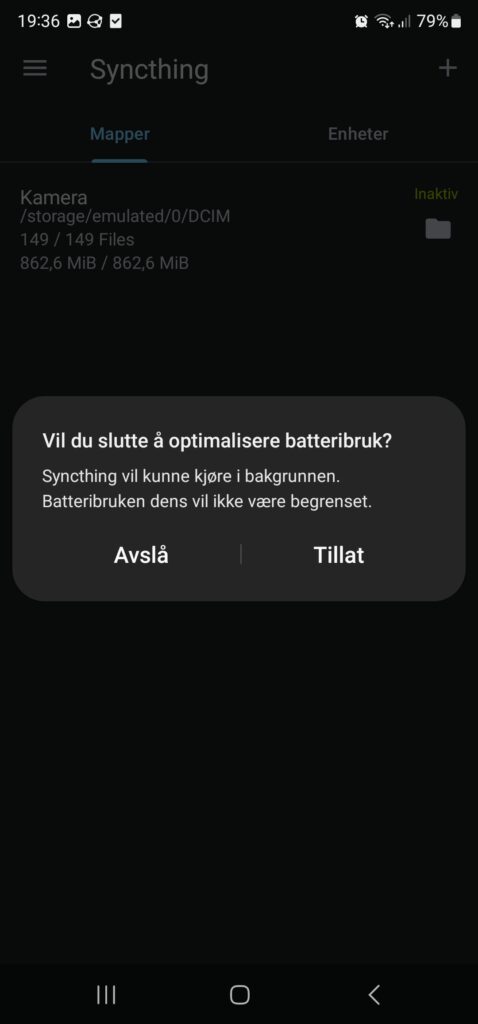
- When prompted for “Battery Optimization” click “Turn off for Syncthing” and “Allow”


Add Device
To be able to sync files from your android device to your computer og server you first have to add them too each other, this is also a very simple process. Just follow these steps:
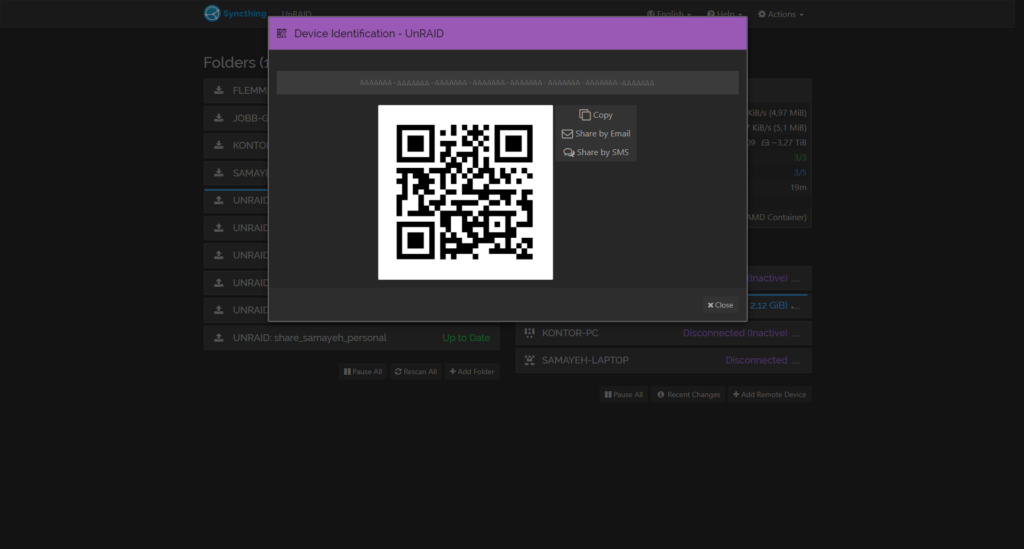
- On your server/computer, open the Syncthing UI and select “Actions”, then “Show ID”
- You will see an identification code, and a QR code for it, this code is what identifies this specific computer/server among all the syncthing sessions in the world.
- Back to your android device, in the SyncThing app click the “Devices” tab and click the “+” sign
- On the top, write in the identification code from your computer, or scan it by clicking the QR-code logo.
- Under “Name” give the server/computer device a name, this is just a name to identify it on your phone, “Home computer” or something that makes sense to you.
- The other options can be unchanged, hit “✔”
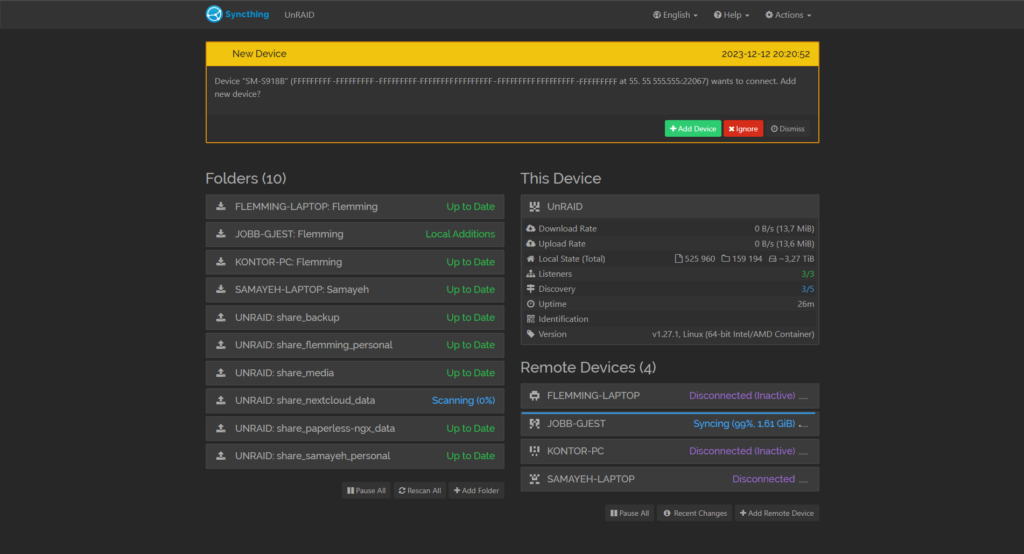
- Now, go back to your server/computer’s Syncthing interface again, within a few seconds a new popup will appear.
“New device” with message:
Device “Device Name” (XXXXXXX-XXXXXXX-XXXXXXX-XXXXXXX-XXXXXXX-XXXXXXX-XXXXXXX-XXXXXXX at 000.000.00.000:00000) wants to connect. Add new device? - Click “+Add” on this, it is your android device connecting.
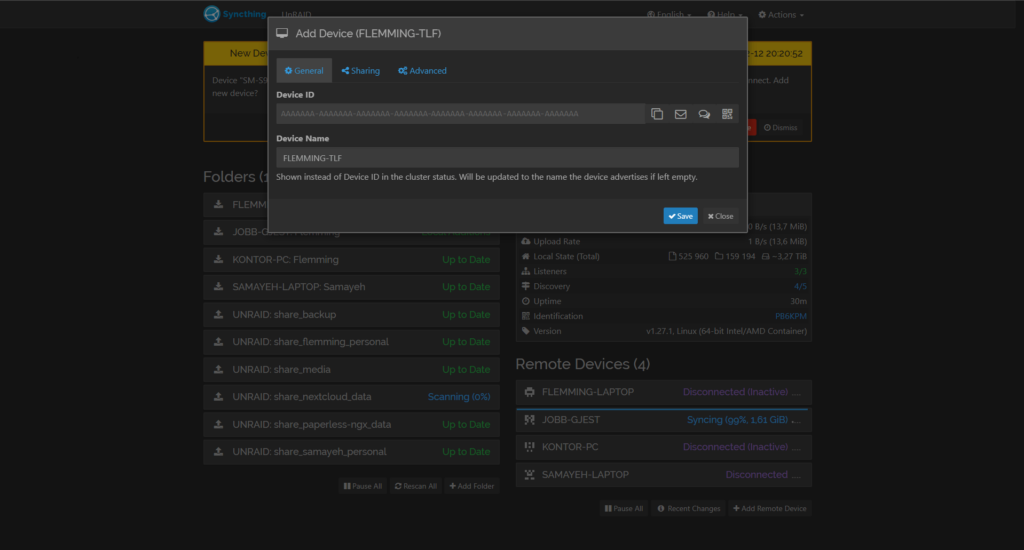
- In the next popup “Add Device (Device Name)” you can change your Device’s name to something of your choice or leave it like it is.
- Click “Save”
Share Folder
Now that the devices are successfully added to to each other it is time to share the folder or folders you want to share/sync with your server/computer.
On your Android device open Syncthing and select the tab “Folders”.
Here there is a one folder created by default, “Pictures”, mapping to /storage/emulated/0/DCIM. In many cases this is enough. It is a symbolig link to the internal DCIM folder where your pictures and videos are stored. It may not include external storage devices like SD-cards.
Add a folder:
This step is just required if the default “Pictures” is not sufficient.
- Click on the “+” sign in the “Folders” tab
- On top, in the field “Folder name” create your name to identify this folder
- Under “Catalog” click and browse to the folder you want to add, then click “Use this folder”
- Hit “✔”
To share a folder
- On your android device, in the “Folders” tab select the folder you want to share and slide the slider next to the server/computer-name to the right so it turns blue.
- Under “Folder Type” you have three options, “Send & Receive”, “Send Only” or “Receive Only”. You have to choose between the two first options, “Send Only” will allow just sending data while the “Send & Receive” also allow receiving data. “Send Only” is in my opinion best for a backup solution, while “Send & Receive” will be better for a syncing solution (More on this later).
- Click back, and the setting is saved.
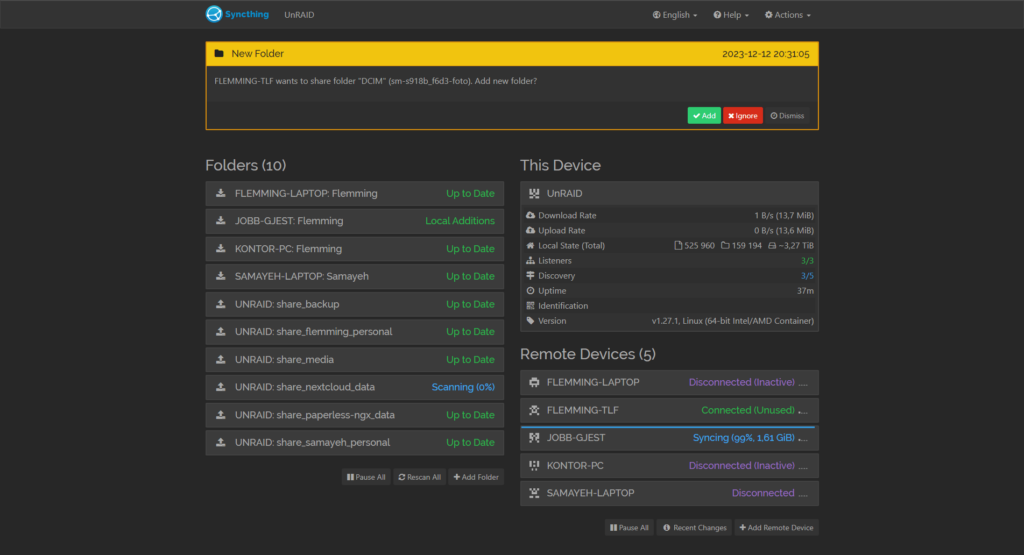
- Go to your computer, open the Syncthing UI and wait a few seconds, a new message will appear:
“New Folder” with message:
“Device Name wants to share folder “Folder name” (folder id code). Add new folder?”” - Click “Add”
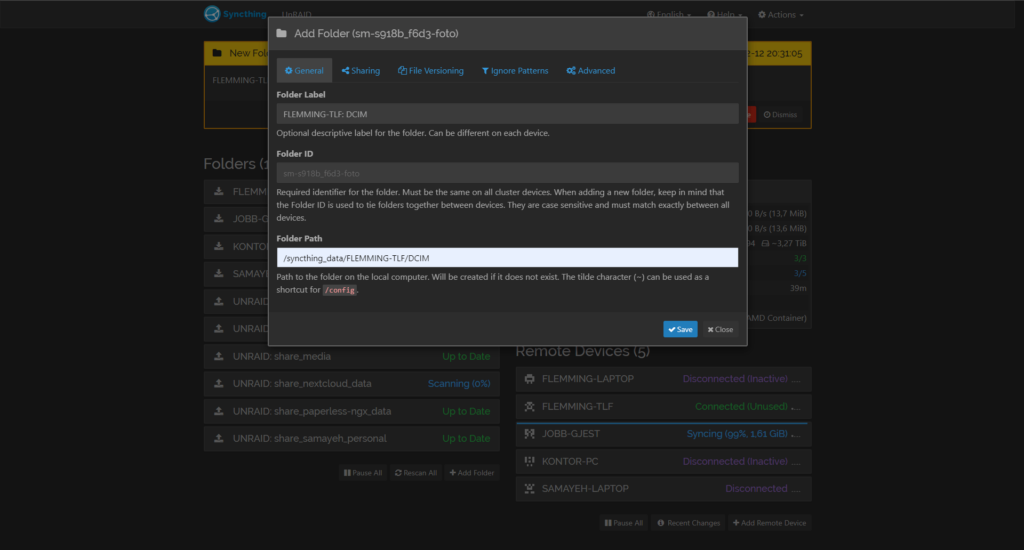
- In the “Add folder” wizard, give your folder a name “Folder Label”, this is to identify the folder in Syncthing. I Like to use “
<device>: <Folder>” as label because it is very descriptive. - In Under “Folder Path” type or browse the path on your server/computer where the folder should be stored, to make it tidy the end folder should have the same name as the original folder (personal preference).
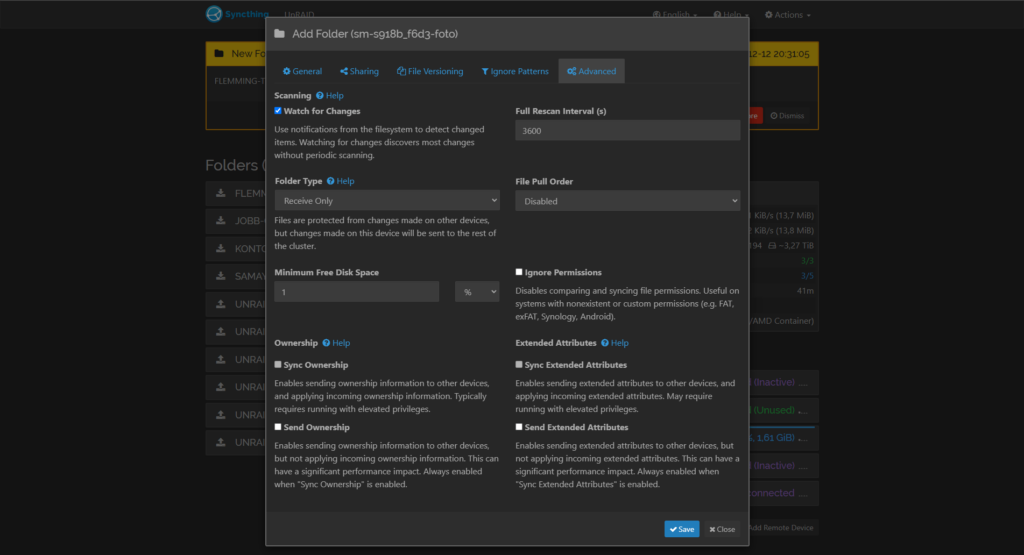
- Click on the “Advanced” tab and select “Folder Type”.
Just like on the phone, you have the same three options: “Send & Receive”, “Send Only” or “Receive Only”.
On this side select “Send & Receive” or “Receive Only”. The “Send & Receive” will be best for syncing while the “Receive Only” is best for backup. - Click” Save”
Warning: If you are syncing files, by default all changes including deletion are synced. If you delete or change a file by mistake in one of these devices the change will be reflected to the other one, both ways.
if you are not comfortable with that, the Send Only/Receive Only options are safer alternatives more suitable for backup. To be more specific, the right configuration in both scenarios:
For Backup:
- On Android device: Use “Send Only”
- On the other server/computer device use “Receive Only”
For Syncing:
- On Android device: Use “Send & Receive”
- On the other server/computer device use “Send & Receive”
I recommend reading this page for a better understanding of the folder types: https://docs.syncthing.net/users/foldertypes.html
File Versioning
Now that you have a working backup solution, your files will be safe in case you lose or destroys the android device. But it is not protected against accidental file editing or deletion. Here is where File versioning comes in.
File versioning is storing copies of files that has been deleted or edited, in that way you can go back in time and get the missing file/fileversion. Syncthing supports multiple ways to do this, and they are all described well here: https://docs.syncthing.net/v1.27.0/users/versioning
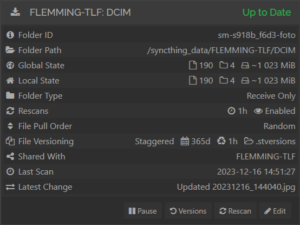
My recommendation is to use the Staggered File Versioning.
- On your computer/server open the SyncThing Interface
- Click “Edit” on the folder(s) from the android device.
- Select the tab “File Versioning”
- Select” Staggered File Versioning” under File Versioning
- change the options below if desired, default is ok.
- Click “Save”
Last words
Now that you have a working setup, there really is nothing more you have to do, in the dashboard you can always see how the state of the connection is, and how the state of the synced folder is.
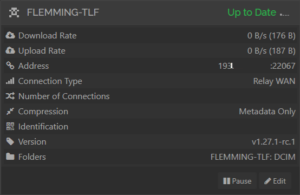
Syncthing is a “set it and forget it” solution that in my experience don’t need any extra maintenance when it is up and running. But it is always a good idea to check up on the backup/UI once in a while just in case.
I can also add that Syncthing has a lot of more features not covered in this guide, browse around in the UI and check docs for more info. I have all my servers and clients backed up with syncthing using the 3-2-1 backup strategy, it is cross-platform and works an almost every OS. Good luck 🙂
Sources
- https://yoodley.com/storage-emulated-0/
- https://en.wikipedia.org/wiki/Design_rule_for_Camera_File_system#Directory_and_file_structure