As one of the Christmas gifts this year, I decided to build a framed wall-monitor to stream from a security camera at the family cabin.
That is something you can’t just buy in the shop, and it’s also a fun project. A good gift I think.
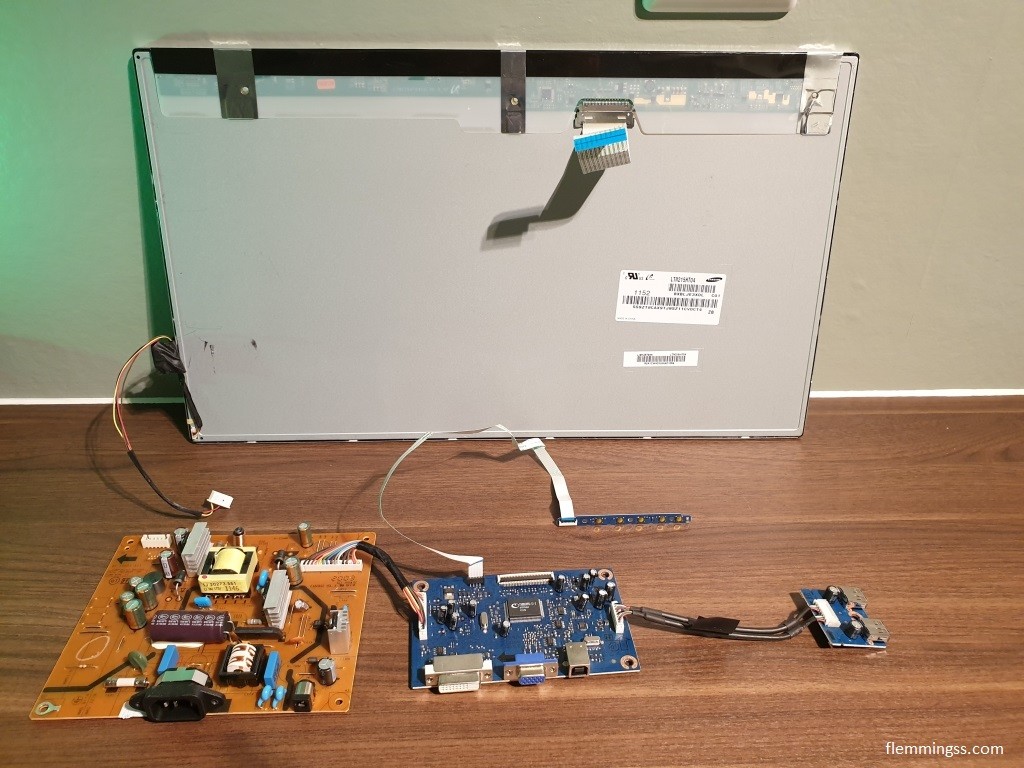
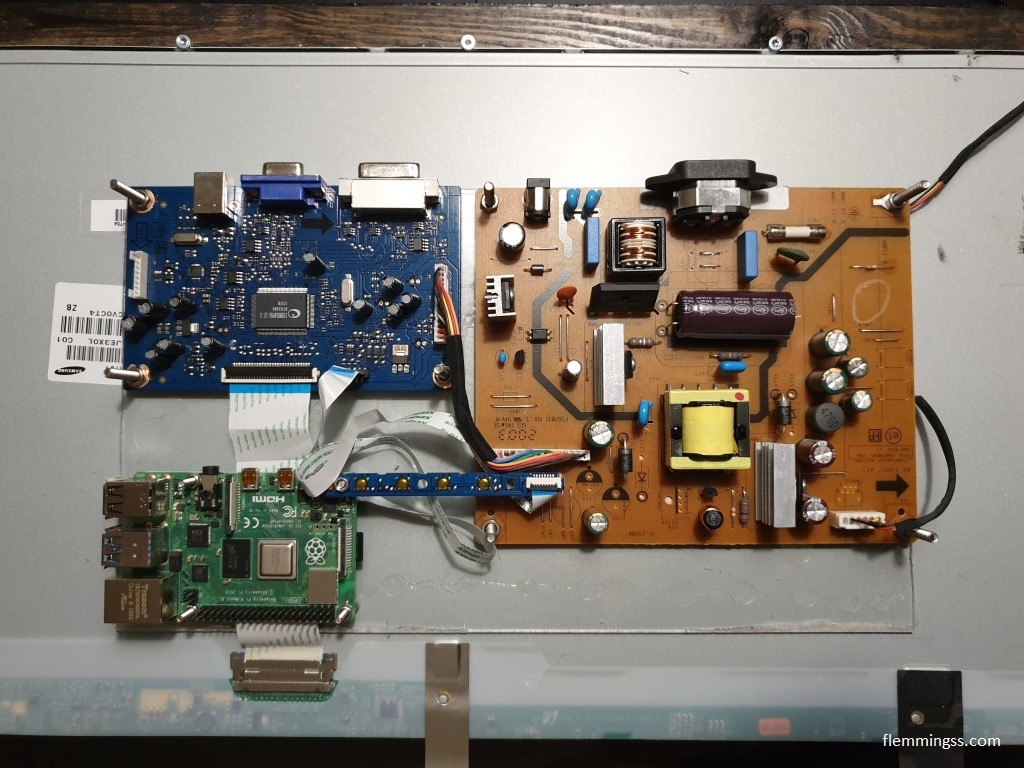
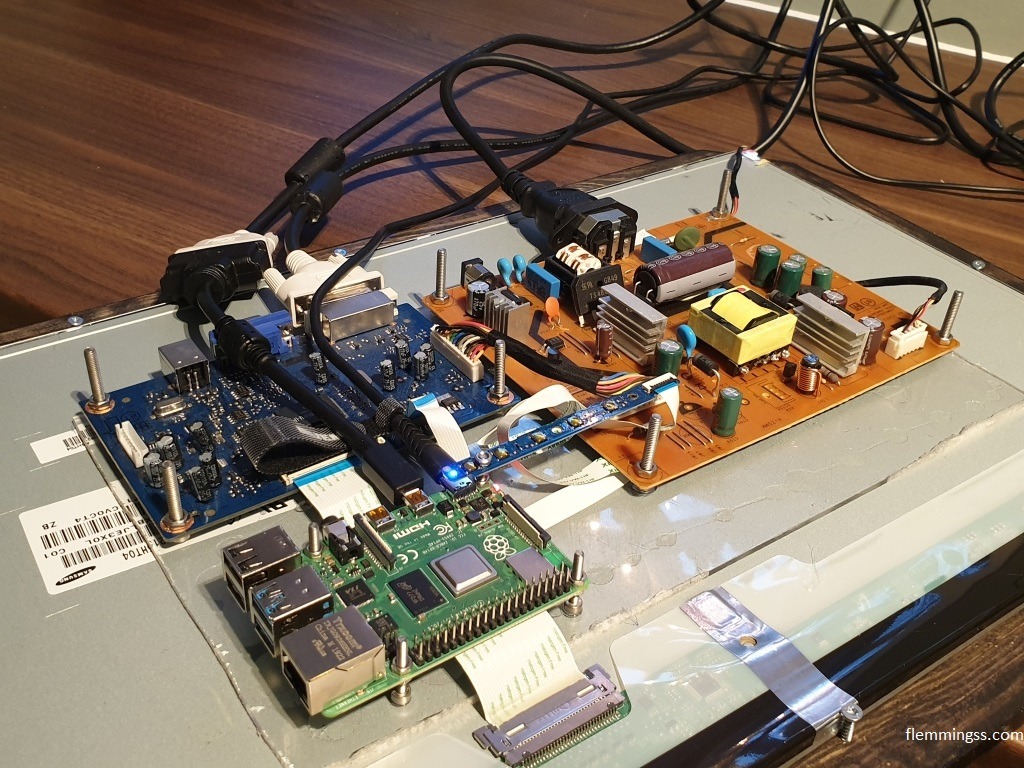
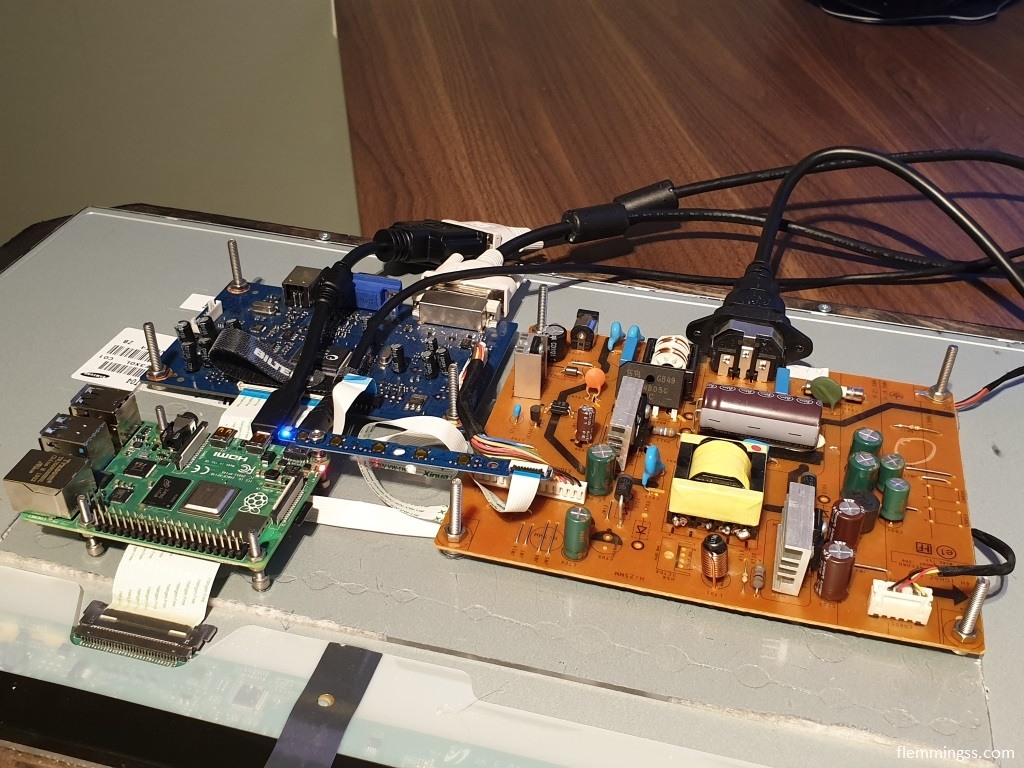
To build this I used a Raspberry Pi 4 and a LCD panel I already had taken out of an older 21,5-22″ Dell monitor earlier. The panel is called “Samsung ltm215ht04”.
This one had four PCB’s apart from the LCD panel. One for power, one for video, one for USB and one for buttons. The USB port wil only act as a hub, and only output power if they are connected to a host device, so in this case it is not useful.
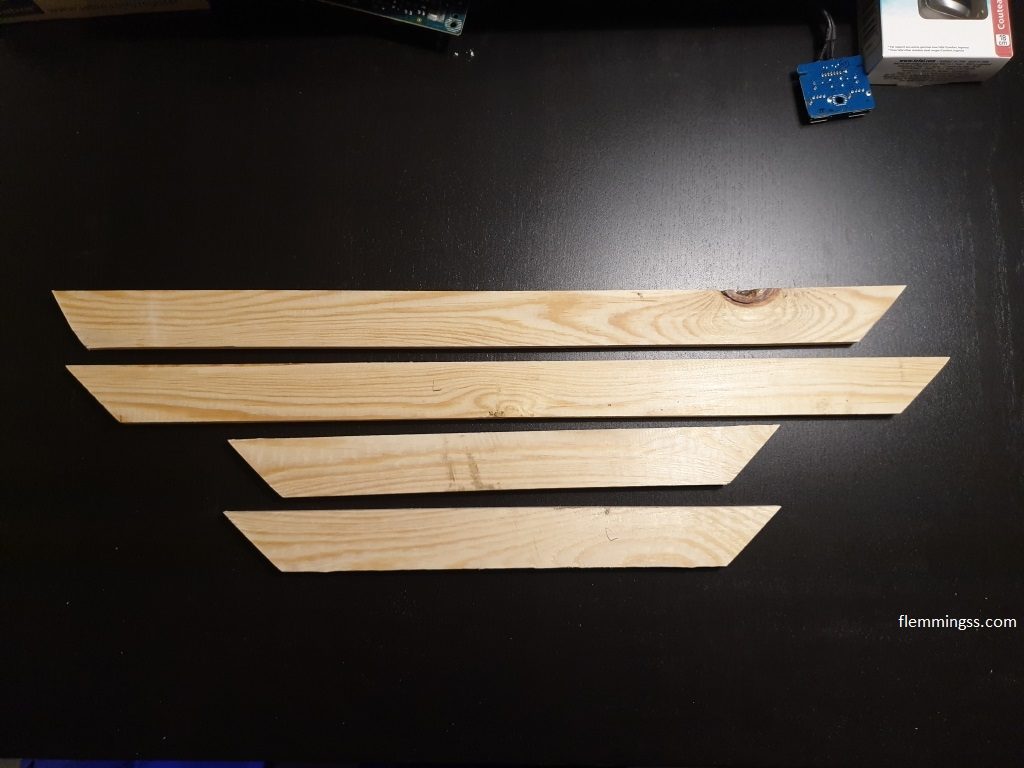
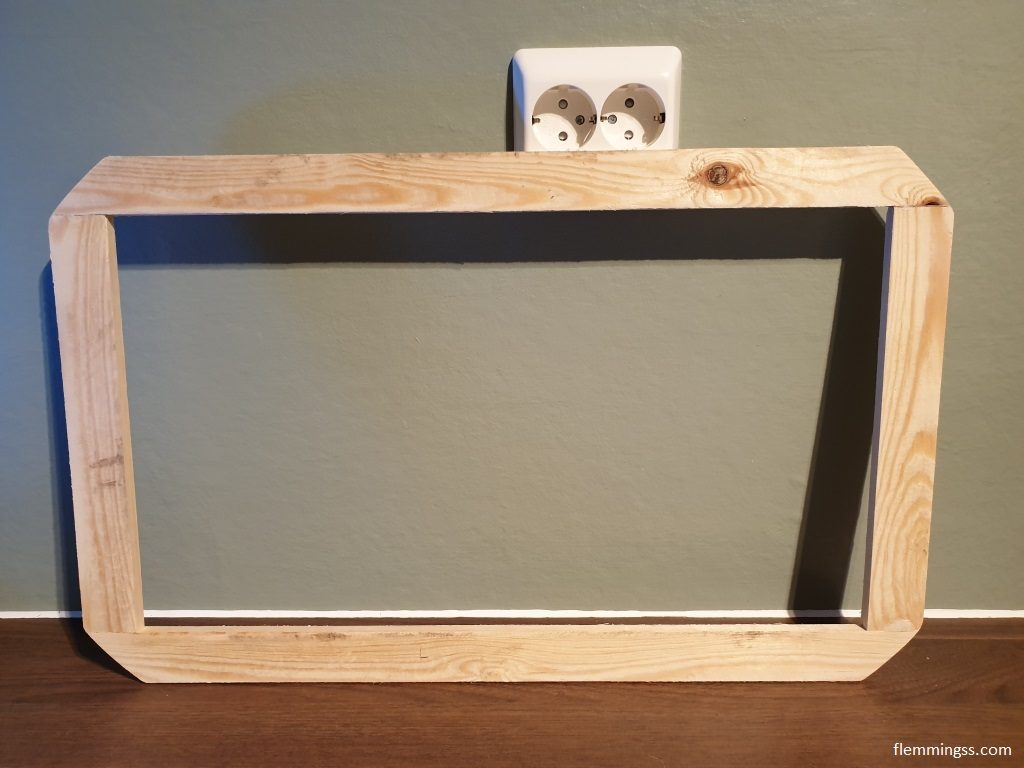
Making the frame
After measuring a plank for cutting I just cut it with a electric saw.
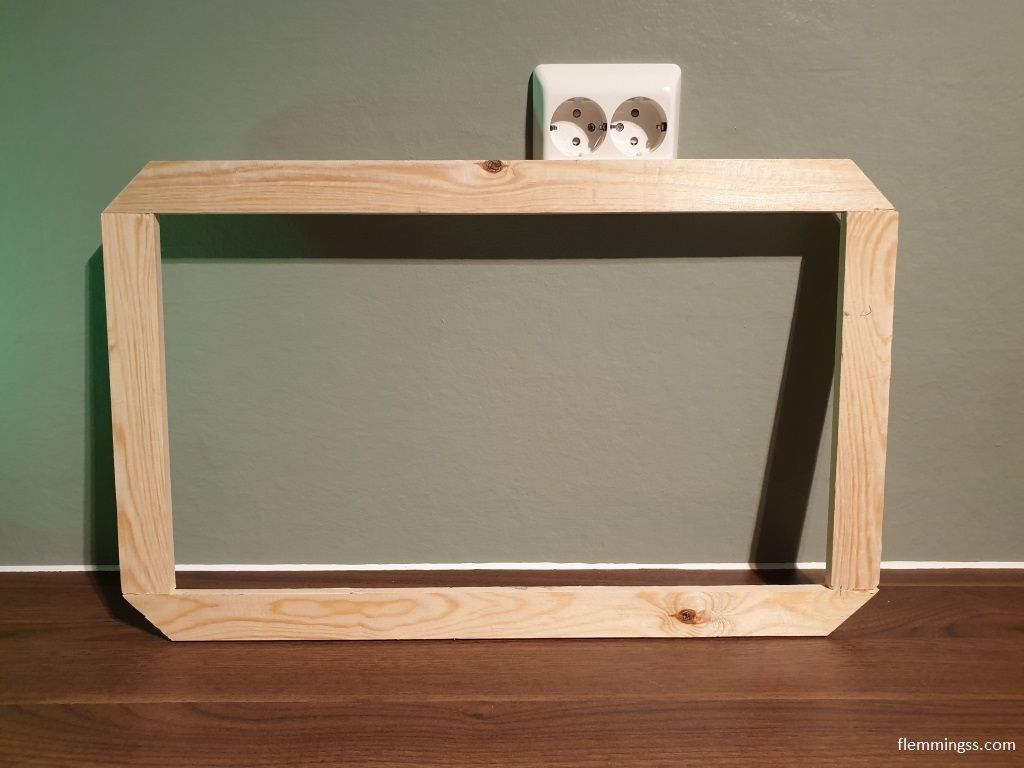
To make them stick together I used a special superglue with an activator from Biltema, normal superglue just did not do the job in this case. After this i used a sander to make the surface smooth.
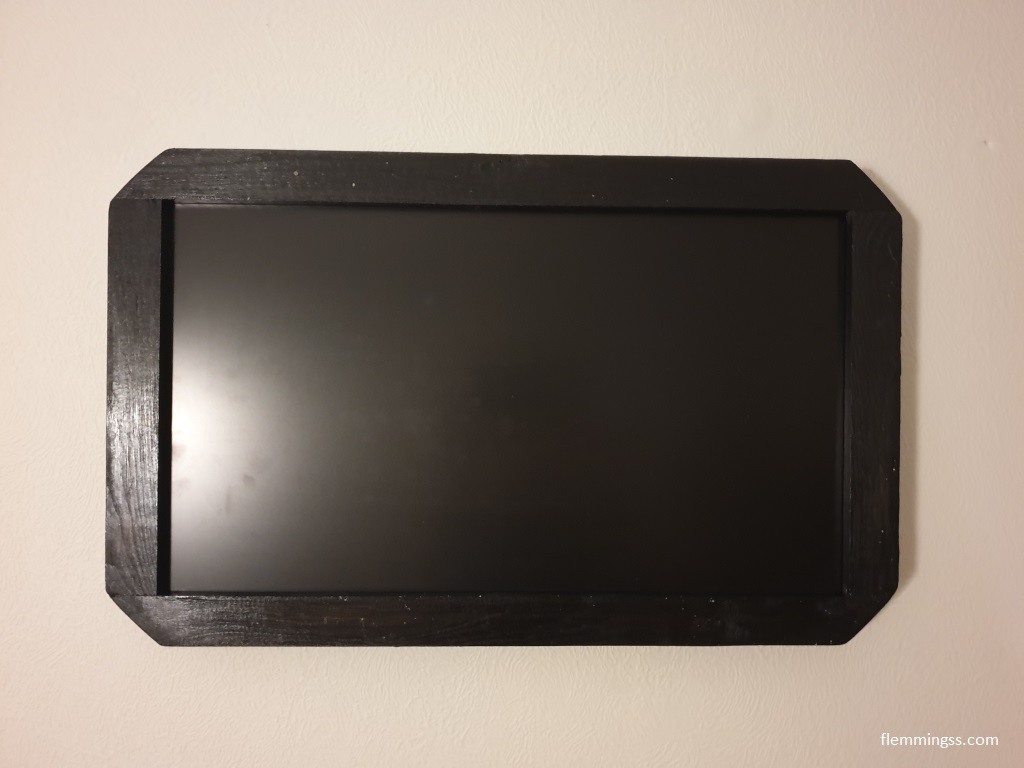
When making a frame like this it is impotent som keep in mind that some of the edges of the LCD-panel will just be black with no picture, these should be covered by the frame to avoid black spots.
With a satisfactory result I used an oil with dark color to paint it. three layers with a brush in the front, and one in the back.

Mounting the frame to the LCD panel
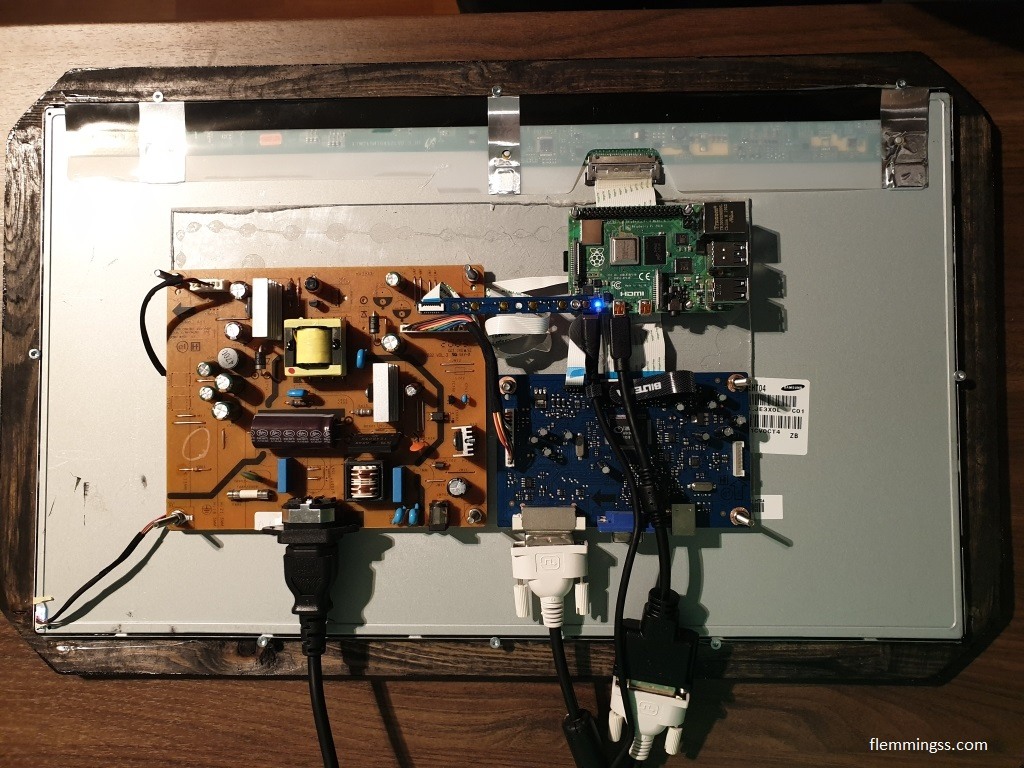
To mount the frame to the LCD panel I just used a normal glue gun. Later I found out this was not strong enough and the panel fell of the frame. This got fixed by using three-screws with heads close to the panel to make it stay together.


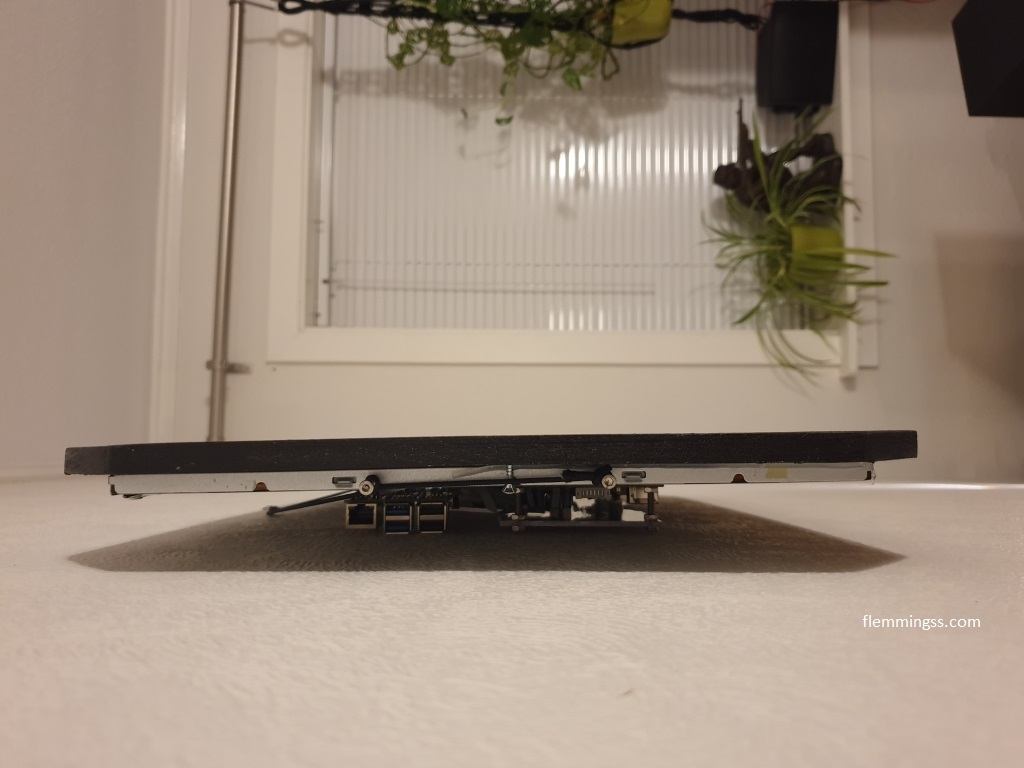
In the above pictures I used rubber bands to hold the electronics together while testing.
PCB Mounting
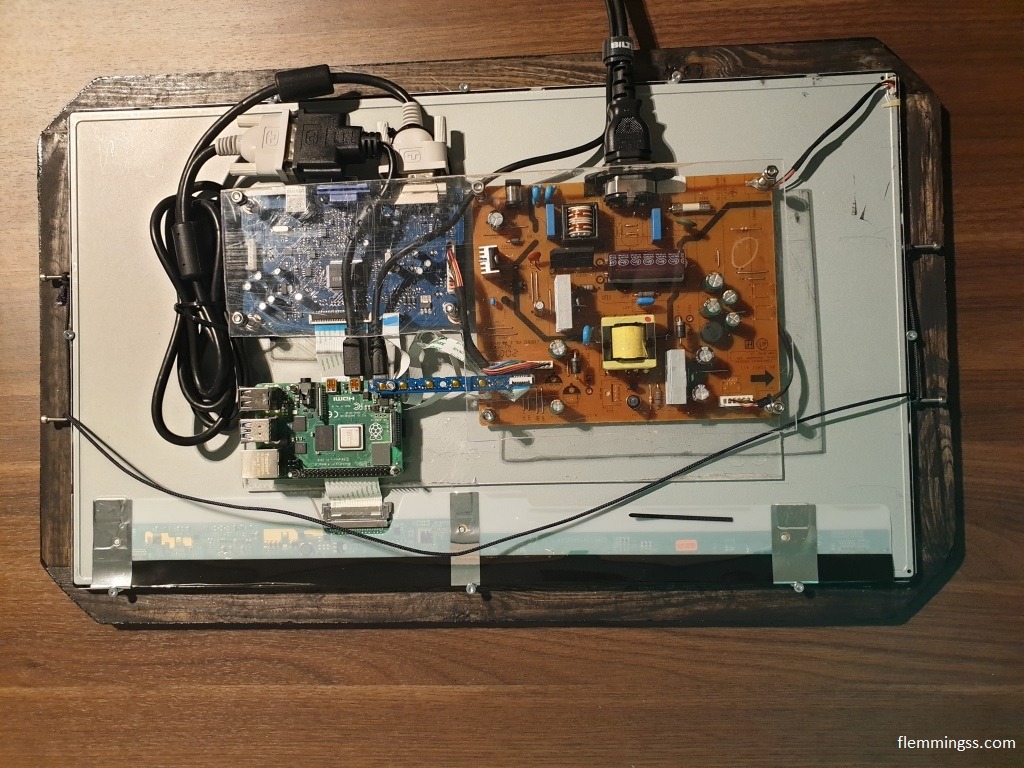
Next I used a plastic plate to make a barrier between the LCD panel and the PCB’s.

I glued the plastic in to the back side of the LCD panel with the same superglue/activator combination as before. Then I mounted the PCB’s to it with bolts I glued to it with a more normal superglue from Kjell & Company.
The bolts I used for this was ISO 4762 Hexagon socket Head Cap Screws. M3X20 for the Raspberry Pi, and M3X20 for the rest. And of course nuts in the right size.
To protect the top I also made a plastic cover mounted on the same bolts.


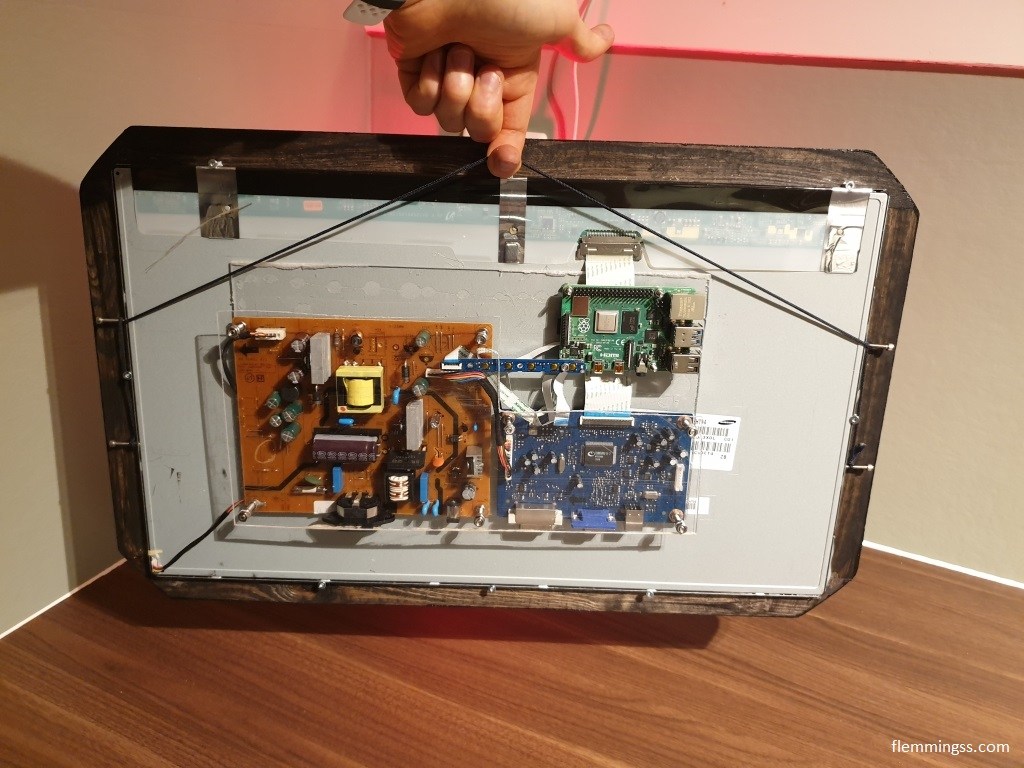
Picture hanging rope
I found out the montering hols on the sides of the LCD-panel fit my M3 bots, so I used them to fasten a string for wall-mounting, Sadly I think screwing these bolts in to hard resulted in a defective back-light spot on the right side. Luckily it is at least not wary visible in this use-case.
The software part
On the Raspberry Pi 4B I installed last version of Raspbian Buster with desktop.
As streaming software I first tried one called rpisurv, but it was not compatible with the RTMP stream I wanted to use. I ended up using the built in VLC Media Player, and that worked.
I found that the command vlc rtmp://domain:port/flash/11:user:password --fullscreen worked perfect, however it did not work as good if I just started it with that command right after boot. Because the command was fired before the wifi connection was fully established VLC would just throw an error about invalid streaming address. I found a good solution to this.
The parameter --repeate makes VLC try until it works, so when the connection is up the stream is up. In the end I added this to the end of LXDE-pi/autostart file (sudo nano /etc/xdg/lxsession/LXDE-pi/autostart):vlc rtmp://domain:port/flash/11:user:password --fullscreen --repeat
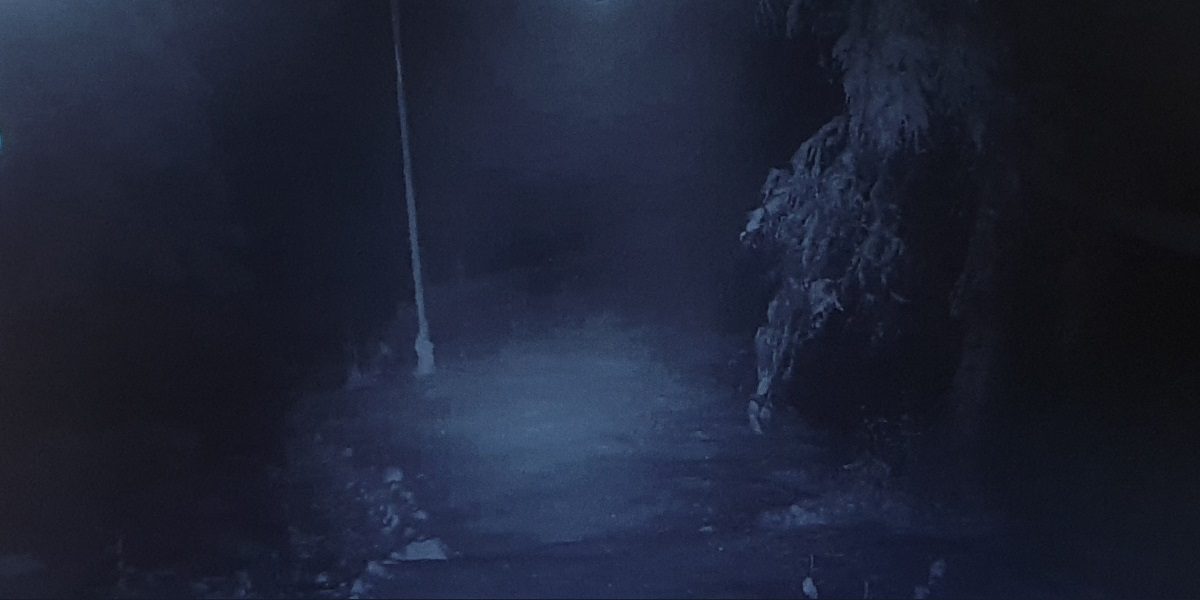
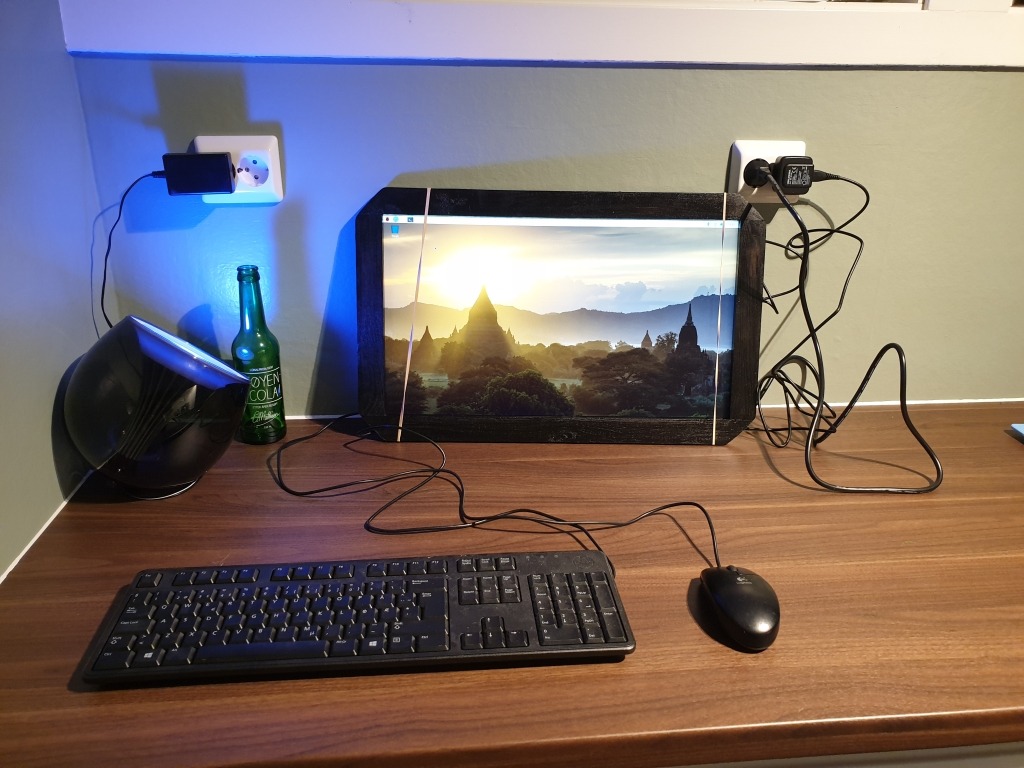
Wall-hanging and testing
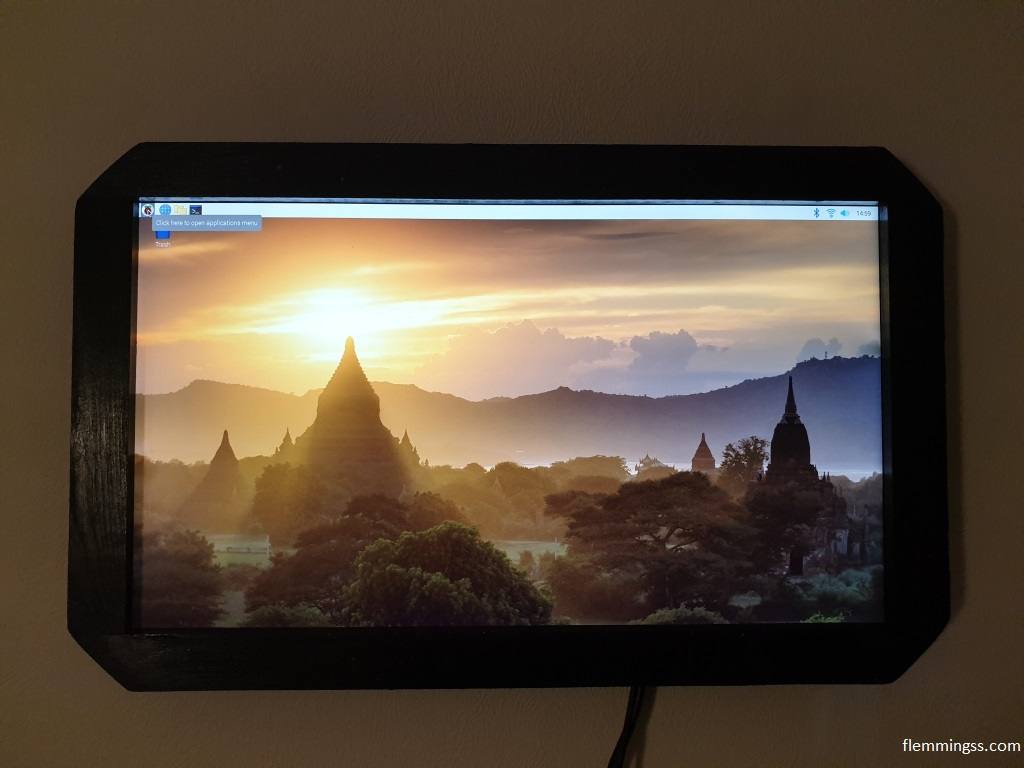
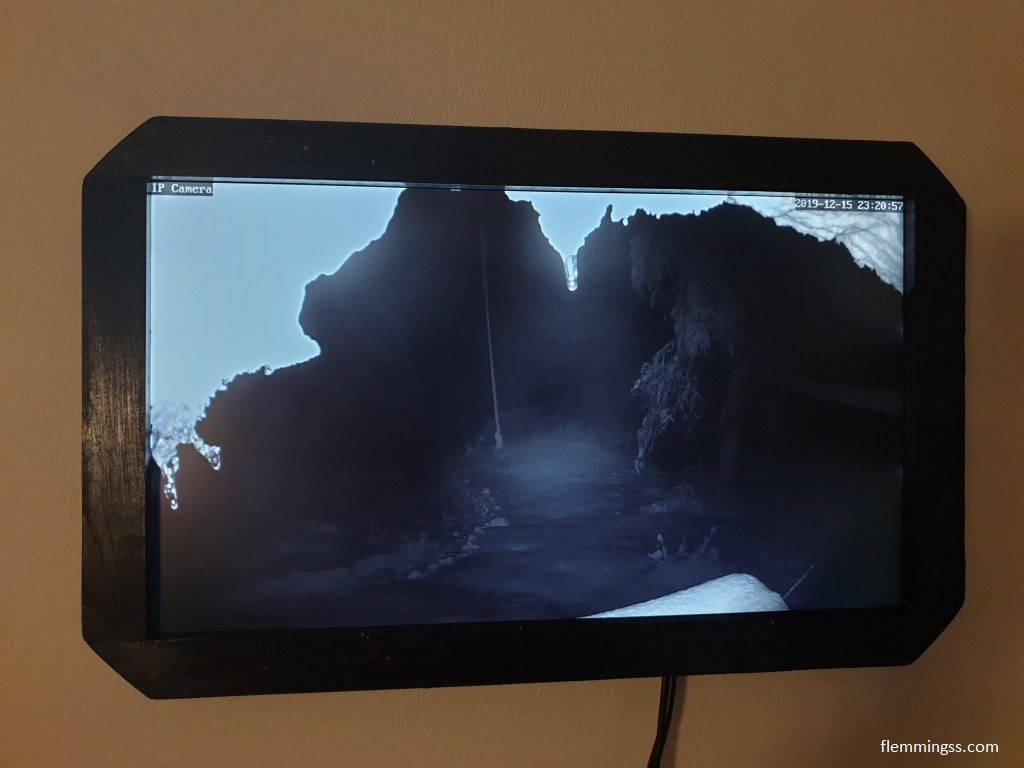
When powered on it now boot right up and starts the stream in full-screen.
Now I just hope it works until christmas eve 🙂
Electronics used
| Product | Price in NOK | Shop |
| Raspberry Pi 4 Model B 2GB | 499,00,- | Power |
| USB A 2.0 to USB C cable | 29.90,- | Biltema |
| USB Charger (100–240 V AC, 280 mA. 5 V / 2,4 A) | 74,90,- | Biltema |
| Micro-HDMI to DVI-D adapter | 149,90,- | Kjell & Company |
| PNY Performance Plus 16GB MicroSD Card | 99,00,- | Power |
| Dell monitor /with cables) | free |
This article will be updated with a little more information in a few days
Sources
- https://www.reddit.com/r/homeautomation/comments/e94ilo/start_rtmp_stream_in_fullscreen_at_boot/
- https://wiki.videolan.org/Documentation:Command_line/#Receiving_a_network_stream
- https://lb.raspberrypi.org/forums/viewtopic.php?t=243743