In this guide I will explain in detail how you install MagicMirror² on a Raspberry Pi. The guide will also show how to install/enable extra tools like SSH, Samba and VNC to make MagicMirror² completely ready for configuration and use. No connection of keyboard or mouse to the Raspberry Pi required
The current version of MagicMirror² supports Raspberry Pi 2 and Raspberry Pi 3, so you will need one of these.
Module installations and general configuration of MagicMirror² is not a part of this tutorial.
What is MagicMirror²?
MagicMirror² is a open source and 100% free modular smart mirror platform that run on a raspberry pi. It is mostly used to make interfaces for smart mirrors (Monitors behind transparent mirrors), but it is also used to make good looking information displays without mirrors.
Download, flash and prepare SD-card image
Go to https://www.raspberrypi.org/downloads/raspbian/ and download the last Raspbian Buster with desktop image zip-file, which is 2019-07-10-raspbian-buster.zip at the time of writing this guide.
To flash the image to your SD-card, download and install/run Etcher
Download Etcher here: https://www.balena.io/etcher
After installation insert the SD-card in your computer and start Etcher.
Press Select image and select the Raspbian Buster with desktop zip-file. Then click Select drive and then your SD-Card.
Click Flash! and wait until finish.
After flashing, if the boot partition is not showing on your computer, eject and re-insert the card in the computer. Boot partition should now be accessible. To enable SSH by default make a new, empty file with no extension named ssh in the root of the boot partition.
In Windows this is done by running type NUL >> G:\ssh in CMD (Replace G with partition letter.). Verify that file is created and eject SD-Card.
Setup
Now insert the SD-card in your Raspberry Pi.
Connect the Raspberry Pi to your mirror-monitor, and your router with an Ethernet cable. Then connect the power supply.
The Raspberry Pi will now boot. After a short time open your routers DHCP lease table to find the Raspberry Pi’s IP-address.
Connect with SSH
You can Now connect to the Pi with a SSH client. eg mRemoteNG or PuTTY.
The default credentials are:
Username: pi
Password: raspberry
The first thing you should do after login is to change this password using the passwd command and follow instructions.

Enable and connect with VNC
You don’t need VNC to use or configure MagicMirror, but it is useful for viewing the MagicMirror screen while you testing changes in the MagicMirror configuration files later.
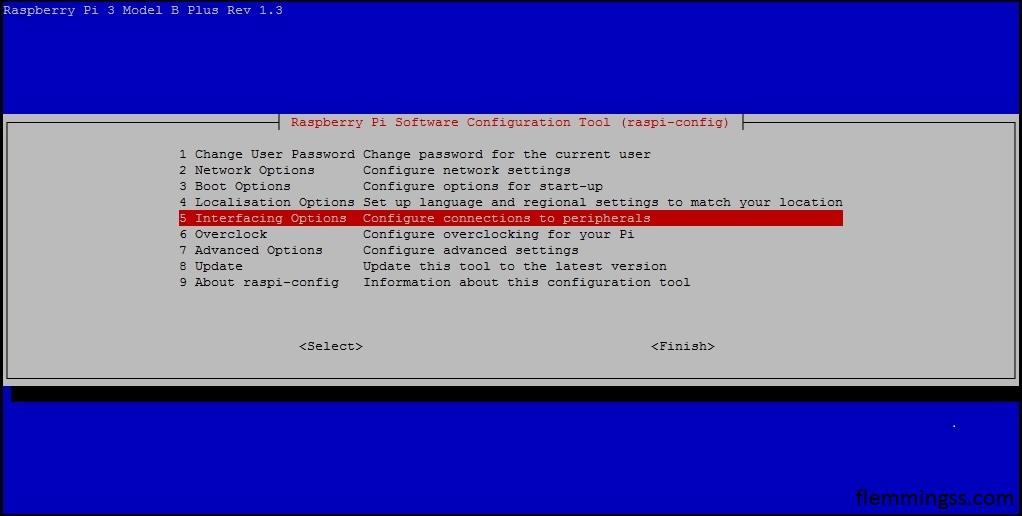
- Run
sudo raspi-config - Select 5 Interfacing Options
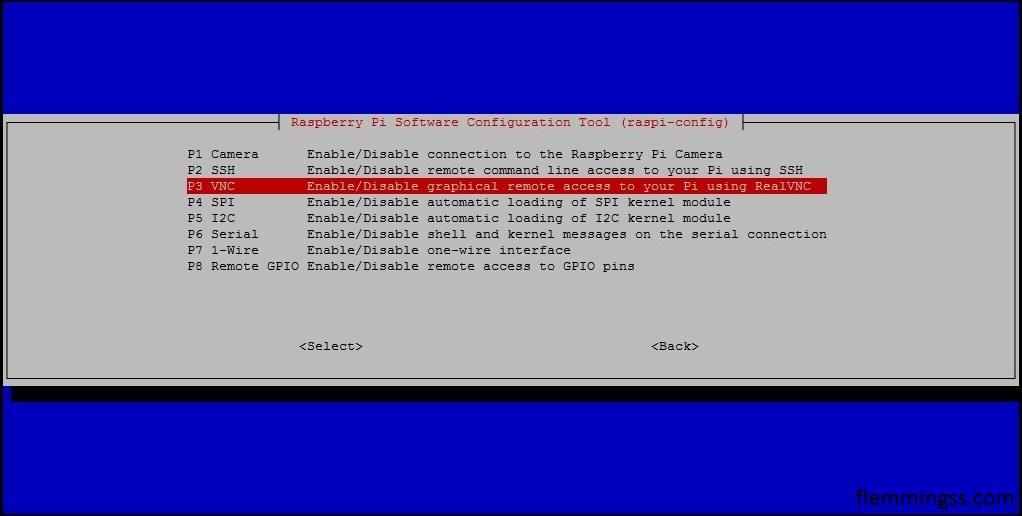
- Select P3 VNC
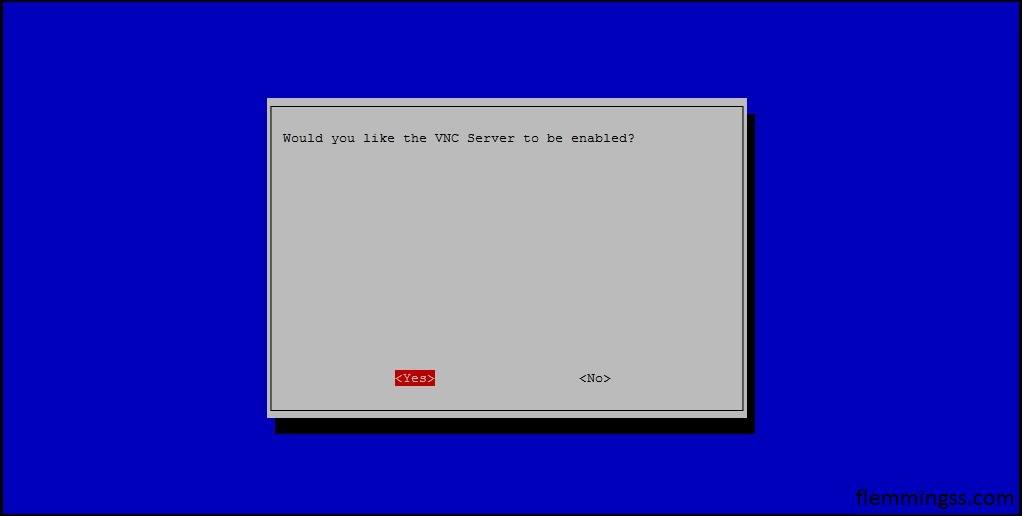
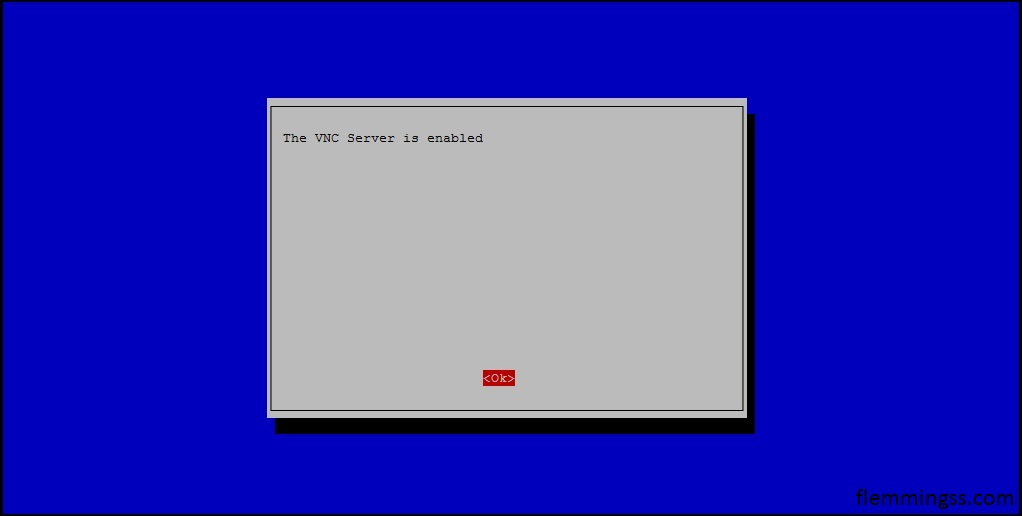
- Select Yes
- Select Ok
- Select Finish
This output will show: Created symlink /etc/systemd/system/multi-user.target.wants/vncserver-x11-serviced.service → /usr/lib/systemd/system/vncserver- x11-serviced.service.
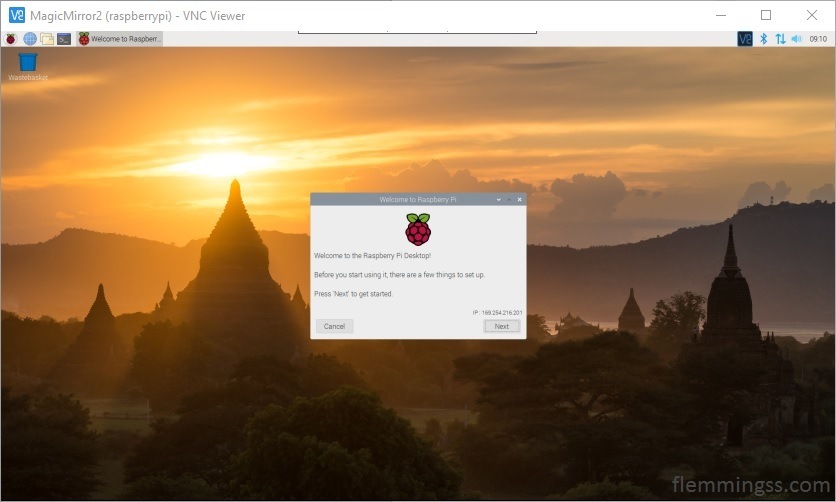
You can now access the Linux desktop with a VNC client. eg Real VNC Viewer.
Install and configure Samba
Another tool you don’t realy need, but might find useful to manage files on the Pi from a network share. This way you can use your preferred text editor to change your MagicMirror configuration files instead of Vim, Nano, or other unsuitable editor. I will recommend Visual Studio Code.
- Install by running
sudo apt install samba.
When asked Modify smb.conf to use WINS settings from DHCP? select <No> (If you don’t have any special reason to say <Yes>). - You must create a new SMB user to access samba shares. Run
sudo smbpasswd -a piand follow instructions.

- Run
sudo nano /etc/samba/smb.confto edit smb.conf in Nano.
Paste the following at the end of the file:
[pi]
   path = /home/pi
   browsable = yes
   read only = no
   guest ok = no
valid users = pi- Click CTRL+X to exit Nano. On questions Save modified buffer? click Y for Yes, then Enter on File Name to Write: /etc/samba/smb.conf.
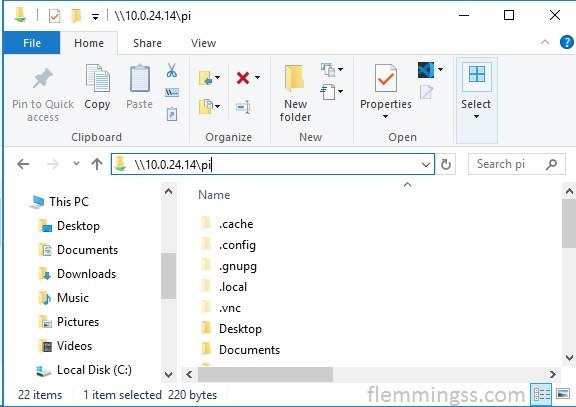
- /home/pi/ should now be accessible on the network \\<ip>\pi\. Login with newly created smb user.
If you don’t find the share you can try to restart Samba by running systemctl restart smbd.service.

Install MagicMirror
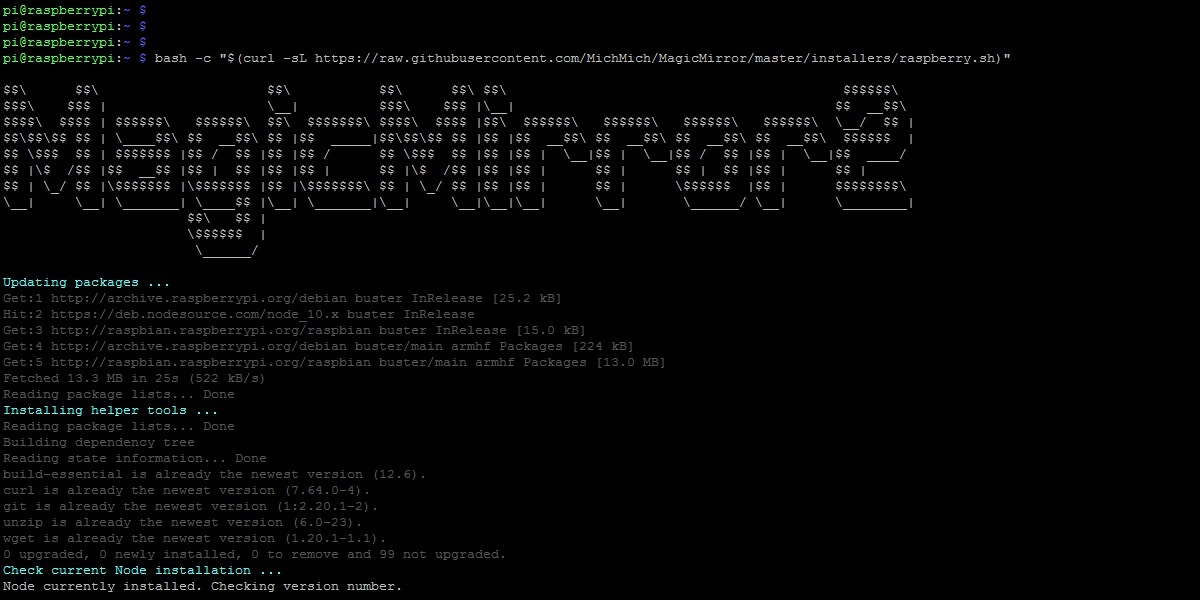
Run the following command and wait for the installation to finish:bash -c "$(curl -sL https://raw.githubusercontent.com/MichMich/MagicMirror/master/installers/raspberry.sh)"

On questions Do you want use pm2 for auto starting of your MagicMirror (y/N)? Select Y for Yes.
On questions Do you want to disable the screen saver? (y/N)? Select Y for Yes.
Start MagicMirror on boot
Even if you selected Yes to Do you want use pm2 for auto starting of your MagicMirror (y/N)? the MagicMirror app will not auto-start on reboot.
- Run
nano ~/mm.sh. - In Nano write:
cd ~/MagicMirror
DISPLAY=:0 npm start- Click CTRL+X to exit Nano. On questions Save modified buffer? click Y for Yes, then Enter on File Name to Write: /home/pi/mm.sh.
- Run
sudo env PATH=$PATH:/usr/bin /usr/lib/node_modules/pm2/bin/pm2 startup systemd -u pi --hp /home/pi. - MagicMirror will now start on boot.

Other helpful info
- Magic Mirror configuration file is located in:
Share: \\<ip>\pi\MagicMirror\config\config.js.
SSH/CLI: ~/MagicMirror/config/config.js. - Command to check config file for errors:
npm run --prefix ~/MagicMirror config:check.

- Restart MagicMirror (and reload config)
Runpm2 restart MagicMirror.

- Update MagicMirror software
Runcd ~/MagicMirror && git pull
Sources
- https://forum.magicmirror.builders/topic/1455/restart-mirror
- https://desertbot.io/blog/headless-raspberry-pi-4-ssh-wifi-setup
- https://howchoo.com/g/m2qwytdmmjn/raspberry-pi-default-username-and-password
- https://github.com/MichMich/MagicMirror#automatic-installation-raspberry-pi-only

