Intro
One of the most popular things to do with UnRAID is to use it as a downloading and streaming-server, or even better a “media automation” server. So what is that? Well, it is a solution to automate the whole download, sort, rename and stream process. It is like making your own ultimate Netflix.
There is as far as I know no single application that does all this, but it is a lot of different programs that can integrate in each other to make this work.
In this tutorial I will explain step by step how you can set this up using best practices. Just the necessary, not all the other optimal stuff!
There is huge amounts of tweaks and optimizations you can implement in these programs, but that is above the scope of this article where i focus on the basics.
I would therefore recommend that you follow this guide from start to finish. When that is done you will have a working system where users can request content that is automatically downloaded and added to your Jellyfin library.
If you are using or want to use Plex you can follow along because it is almost the same process. But although I have invested in a lifetime subscriptions for Plex Pass previously I think Jellyfin is way better.
I find it more stable, faster, fully self-hosted, more configuration options and no bloatware. It is also 100% free and open source.
As the title suggests, this article will focus on installation in UnRAID. I will also use LinuxServer.io Docker images for where they are available.
Warning
Keep in mind that many movies and TV-shows are protected by copyright law, these may be illegal to download or share in many countries.
My clear recommendation is to stick to media where the creators have given their consent for downloading and sharing
The Apps
In short, this is what the programs do:
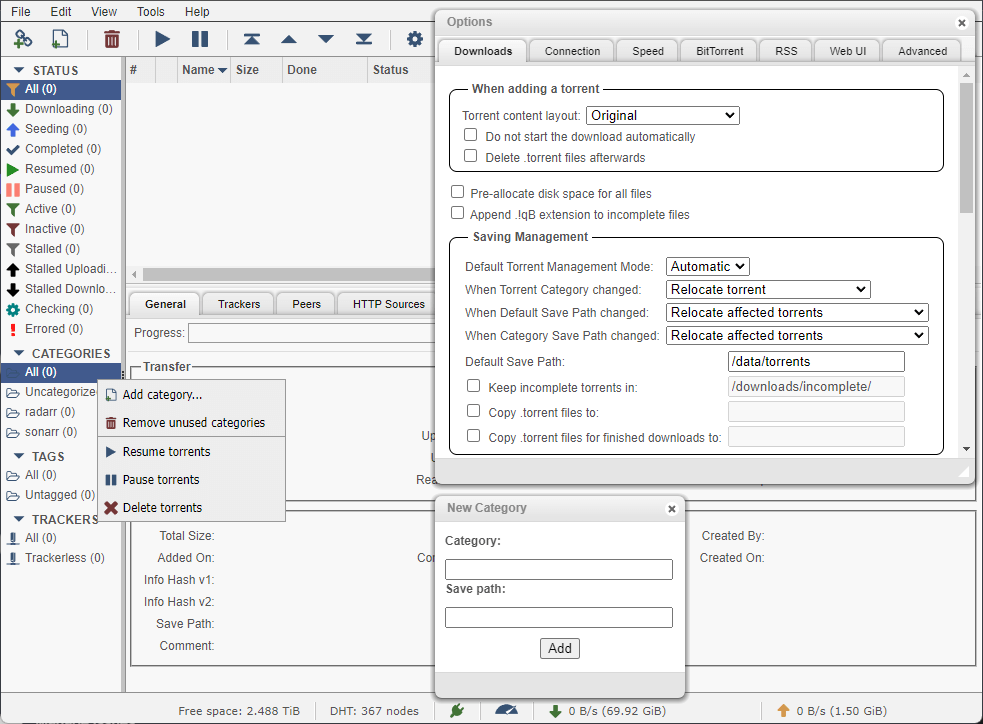
- qBittorrent is a torrent client, it will receive torrents from Radarr and Sonarr to download, it will report back when download is Complete.
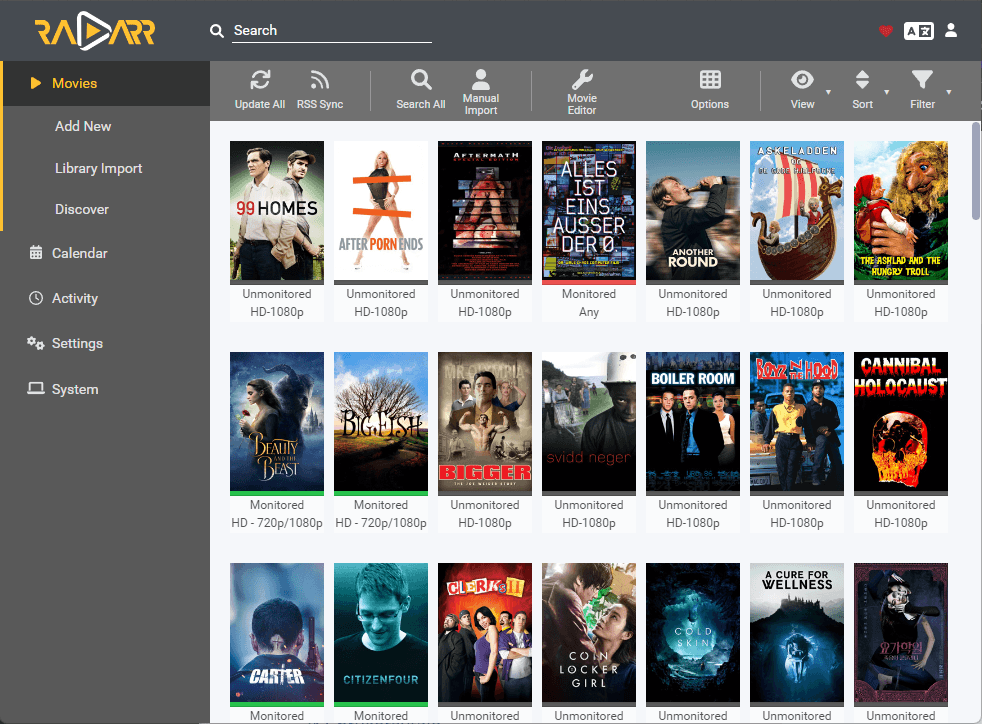
- Radarr will track existing and new movies, it will find and match movies with torrents from trackers in Prowlarr to either upgrade existing media or download new media by sending torrents to qBittorrent. It will also rename sort and move media to the right directory.
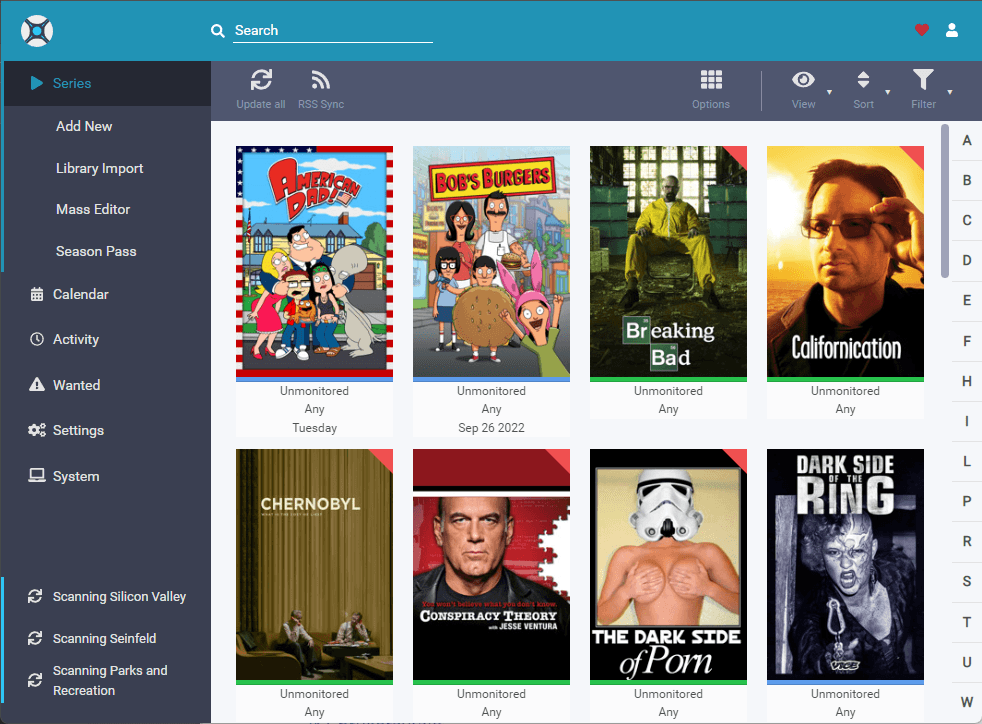
- Sonarr will track existing and new series and episodes, it will find and match episodes with torrents from trackers in Prowlarr to either upgrade existing media or download new series or episodes by sending torrents to qBittorrent. It will also rename sort and move the episodes to the right directory.
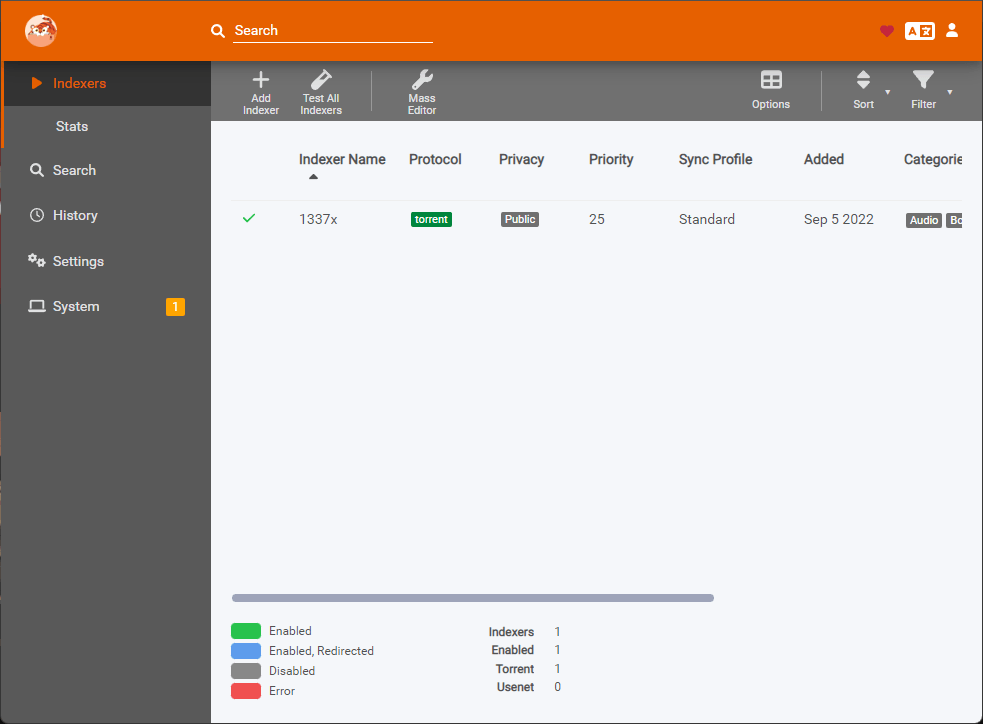
- Prowlarr will supply Radarr and Sonarr with torrent trackers.
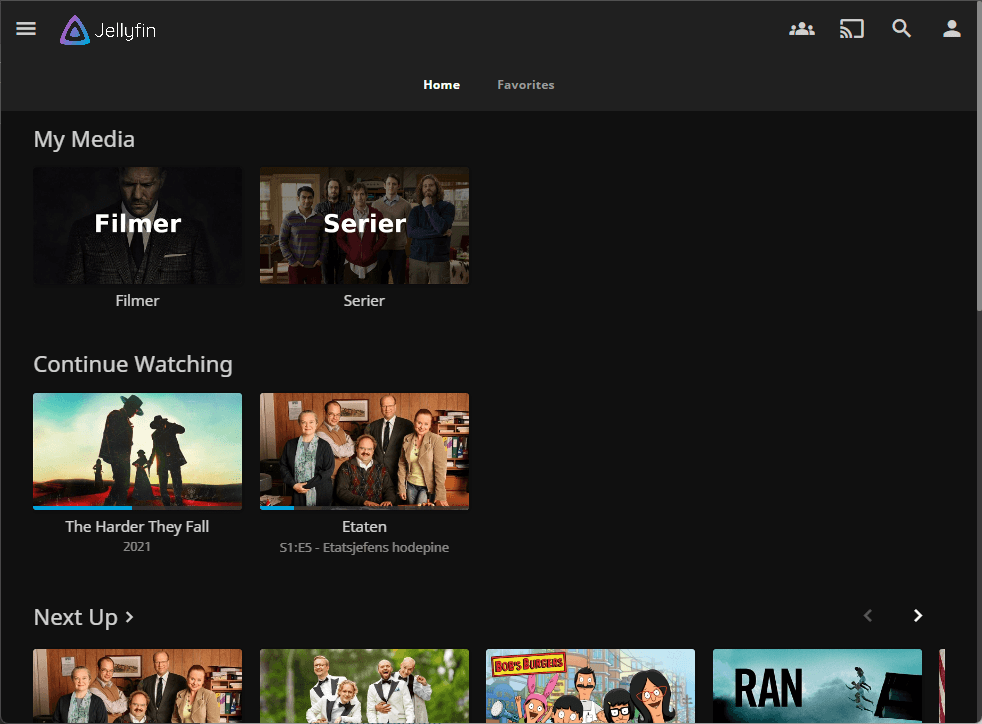
- Jellyfin will be the front-end for streaming, where users watch media.
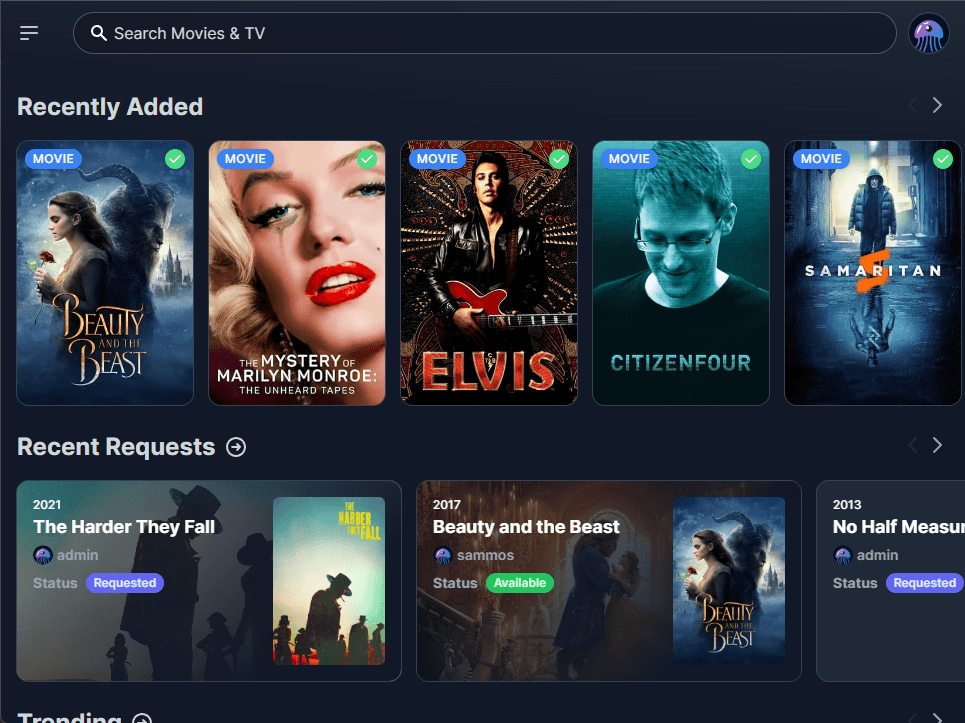
- JellySeer will receive requests from users and send to Sonarr and Radarr
Share and folder structure in UnRAID
One of the goals with this guide is to use hardlinks to make software seamlessly “copy” files from a download folder to a media folder without using more space, time or resources. This functionality are depending on the underlying file-system, and because of this we have to use only one single UnRAID-share for both downloads and media. To explain it simple, hardlinks let multiple files with different names and locations within the same share/file-system be accosted with the same actual file.
Creating a Share
Start with Creating a new share in UnRAID.
- Go to Shares -> Add share
- Set the share name:
<share name>(can be what you want, mine is called share_media) - Configure other options if you need to, default is normally ok.
- Click “ADD SHARE“, Done. (Configure permissions if needed)
Create a folder-structure
Browse your new share using a file-explorer and create the structure below. I recommend using small characters as they are case-sensitive in Linux.
You can use other names, but these is what the TRaSH guidelines are using, and simply just the easiest. (the usenet folder can be skipped as it is not part of this guide).
share_media
├───media
│   ├───movies
│   ├───music
│   └───tv
├───torrents
│   ├───movies
│   ├───music
│   └───tv
└───usenet
    ├───movies
    ├───music
    └───tv
If you have existing media these can now be moved over to the media\movies and media\tv folders.
It is impotent to follow the Jellyfin guidelines for naming and underlying file structure
TV Shows: https://jellyfin.org/docs/general/server/media/shows.html
Movies: https://jellyfin.org/docs/general/server/media/movies.html
Create a custom Docker network
Setting up a custom Docker network is optional, but recommended. The reason to do this is the ability to refer to other containers by it’s name instead of IP. This network is “internal” between the docker containers and is just a way to make the configuration easier.
In this tutorial I will refer to servers by there container name, If you chose to not follow this step replace all these referrals whit the UnRAID IP-address.
- Open the web terminal in UnRAID
- Type
docker network create docker_networkand press enter (docker_networkis the custom name of the network, this can be anything). The console should in return print out a string of numbers and characters like this:c8d07f93ce3ec3ae4b3ad5a2cfc5f73a1bb865ec8d05df88153e66de57e5f7b3.
The network is now created, but it will not survive a restart of the UnRAID server, so these steps is also necessary: - Turn off all Docker containers
- Go to Settings -> Docker
- Switch from BASIC VIEW to ADVANCED VIEW
- Change Enable Docker: to No and click APPLY.
- Change Preserve user defined networks: to Yes and click APPLY.
- Change Enable Docker: to Yes and click APPLY.
Done. Docker containers can now be started again.
qBittorrent

Install container
- Go to Apps and install qbittorrent from linuxserver‘s Repository
- Make the following changes, and use default settings for the rest:
Network Type:Custom: docker_network
Path: /downloads: Click EDIT and fill as follow:- Container Path:
/data(/downloadsis default, but wrong in this setup) - Host Path:
/mnt/user/share_media/(replaceshare_mediawith your share name) - Click SAVE
- Container Path:
- Click Apply
Options
- Open the Web UI by going to he DOCKER-tab, click the app-logo and select WebUI.
- Sign in with default qBittorrent credentials:
Username:admin
Password:adminadmin
UPDATE 16.07.2014: These credentials is no longer default, see https://github.com/linuxserver/docker-qbittorrent/issues/268#issuecomment-1821123416 - When logged in click he gear icon to open Options.
- Under Downloads-tab, Saving Management configure as follows:
Default Torrent Management Mode:Automatic(his is required for category-based save paths to work)
When Torrent Category changed:Relocate torrent
When Default Save Path changed:Relocate affected torrents
When Category Save Path changed:Relocate affected torrents
Default Save Path:/data/torrents - Click SAVE
Categories
- In he WebUI expand CATEGORIES in the left menu and right-click on All, Select Add category….
In the New Category windows configure as follows:
Category:radarr(this must correspond to the category that is later configured in radarr)
Save pah:/data/torrents/movies - Click Add
- Right-click on All again , Select Add category….
In the New Category windows configure as follows:
Category:sonarr(this must correspond to the category that is later configured in sonarr, dafault issonarr-tvbut this guide usessonarr)
Save pah:/data/torrents/tv - Click Add
Radarr

Install container
- Go to Apps and install radarr from linuxserver‘s Repository
- Make the following changes, and use default settings for the rest:
Network Type:Custom: docker_network
Click Add another Path, Port, Variable, Label or Device: and fill as follow:- Config Type: Path
- Name:
data - Container Path:
/data - Host Path:
/mnt/user/share_media/(replaceshare_mediawith your share name) - Click SAVE
(Don’t fill Path: /movies: or Path: /downloads:)
- Click Apply
Media management
- Open the Web UI by going to he DOCKER-tab, click the app-logo and select WebUI.
- Go to Settings and then Media Management.
- Click Add Root Folder and add
/data/media/moviesas path, then click OK. - Click Show Advanced at the top and scroll down to Importing, make sure Use Hardlinks instead of Copy is highlighted.
Download Clients
- Still in the Web UI go to Settings and select Download Clients
- Click + Under Download Clients and select qBittorrent in the Add Download Client window.
- Fill in as follows:
- Name:
qBittorrent(Or choose you like) - Host:
qbittorrent - Username:
admin - Password:
adminadmin(Password for qBittorrent, change if you have changed this) - Category:
radarr(Must be equal to equivalent category set in qBittorrent)
- Name:
- Click Test, if you see a Check mark it means the connection is working, if you see a exclamation mark something are wrong.
- Click Save
Sonarr

Install container
- Go to Apps and install sonarr from linuxserver‘s Repository
- Make the following changes, and use default settings for the rest:
Network Type:Custom: docker_network
Click Add another Path, Port, Variable, Label or Device: and fill as follow:- Config Type: Path
- Name:
data - Container Path:
/data - Host Path:
/mnt/user/share_media/(replaceshare_mediawith your share name) - Click SAVE
(Don’t fill Path: tv: or Path: /downloads:)
- Click Apply
Media management
- Open the Web UI by going to he DOCKER-tab, click the app-logo and select WebUI.
- Go to Settings and then Media Management.
- Click Add Root Folder and add
/data/media/tvas path, then click OK. - Click Show Advanced at the top and scroll down to Importing, make sure Use Hardlinks instead of Copy is highlighted.
Download Clients
- Still in the Web UI go to Settings and select Download Clients
- Click + Under Download Clients and select qBittorrent in the Add Download Client window.
- Fill in as follows:
- Name:
qBittorrent(Or choose you like) - Host:
qbittorrent - Username:
admin - Password:
adminadmin(Password for qBittorrent, change if you have changed this) - Category:
sonarr(Must be equal to equivalent category set in qBittorrent)
- Name:
- Click Test, if you see a Check mark it means the connection is working, if you see a exclamation mark something are wrong.
- Click Save
Prowlarr

Install container
- Go to Apps and install Prowlarr from linuxserver‘s Repository (When asked “Choose A Branch To Install” you might have to select “nightly” because there is no “latest” release existing at the moment of making this guide).
- Make the following changes, and use default settings for the rest:
Network Type:Custom: docker_network - Click Apply
Configure Torrent Indexer
- Open the Web UI by going to he DOCKER-tab, click the app-logo and select WebUI.
- Go to Indexers and then click Add New Indexer.
- Select
1337x(Example, select whatever tracker you like) - All default settings are working, but can be changed according to your preference.
Setting Sort requested from site:seederscan be useful for faster downloads. - Click Test, if you see a Check mark it means the connection is working, if you see a exclamation mark something are wrong.
- Click Save.
Repeat these steps if you want multiple indexers (optional)
Configure Radarr
- Go to Settings and then click + Under Applications.
- In the Add Application windows select Radarr and fill in as follows:
- Sync Level:
Full Sync
- Prowlarr Server:
http://prowlarr:9696 - Radarr Server:
http://radarr:7878 - ApiKey:
- To find the API key, first open the Radarr Web UI
- Go to Settings and then to General.
- The API key is visible as API Key under Security.
Example:d956ad9f3aac4a538e5f5ea9ba108d13
- Sync Level:
- Click Test, if you see a Check mark it means the connection is working, if you see a exclamation mark something are wrong.
- Click Save.
Configure Sonarr
- Go to Settings and then click + Under Applications.
- In the Add Application windows select Sonarr and fill in as follows:
- Sync Level:
Full Sync
- Prowlarr Server:
http://prowlarr:9696 - Sonarr Server:
http://sonarr:8989 - ApiKey:
- To find the API key, first open the Sonarr Web UI
- Go to Settings and then to General.
- The API key is visible as API Key under Security.
Example:1b0405f3476d49b1b5627165973221ce
- Sync Level:
- Click Test, if you see a Check mark it means the connection is working, if you see a exclamation mark something are wrong.
- Click Save.
Jellyfin

Install container
- Go to Apps and install jellyfin from linuxserver‘s Repository
- Make the following changes, and use default settings for the rest:
Network Type:Custom: docker_network
Path: /data/tvshows: Click REMOVE
Path: /data/movies: Click REMOVE
JELLYFIN_PublishedServerUrl:http://<unraid_ip>/(Example:http://10.0.24.10/)
Click Add another Path, Port, Variable, Label or Device: and fill as follow:- Config Type: Path
- Name:
data - Container Path:
/data - Host Path:
/mnt/user/share_media/(replaceshare_mediawith your share name) - Click SAVE
- Click Apply
Setup Process
- Open the Web UI by going to he DOCKER-tab, click the app-logo and select WebUI.
- Select a Preferred display language: or use default English. Click Next➝
- Create an administrator account, fill out credentials as wanted and click Next➝
- Click Add Media Library an fill in as follows:
- Content type:
Movies - Folders:
/data/media/movies
Configure the rest as you see fit, default settings are ok
- Content type:
- Click OK
- Click Add Media Library an fill in as follows:
- Content type:
Shows - Folders:
/data/media/tv
- Content type:
- Configure the rest as you see fit, default settings are ok
- Click OK
- click Next➝
- Configure Preferred Metadata Language (or use default), and click click Next➝
- In Configure Remote Access leave Allow Remote connections to this server checked and Enable automatic port mapping unchecked.
- Click Next➝, Finish and sign i n with your administrator account.
If you have any media in yourmedia\*-folders they should start to appear in Jellyfin. If not they will start when the folders are populated.
Add users
If you want other uses to be able to use your Jellyfin server you might want to add some users. This is of course not required if you are the only user.
- Open the left menu with the three arrows in upper left corner.
- Select Dashboard under Administration.
- Select Users and + left for Users.
- Fill as folloews:
- Name:
<username> - Password:
<password> - Under Library Access check according to what media you want the user to have access to.
- Click Save and repeat this process for all users.
- Name:
Jellyseerr
Install container
- Go to Apps and install jellyseerr from IBRACORP‘s Repository
- Make the following changes, and use default settings for the rest:
Network Type:Custom: docker_network
Emby Users: Click REMOVE - Click Apply
Sign in/Configure
- Open the Web UI by going to he DOCKER-tab, click the app-logo and select WebUI.
- In the Welcome to Jellyseerr screen select Use your Jellyfin account and fill as follows:
- Jellyfin URL:
http://jellyfin:8096/ - Email Address:
<your email address> - Username:
<username for Jellyfin administrator account> - Password:
<username for Jellyfin administrator account>
- Jellyfin URL:
- Select Sign In.
- Select Sync Libraries under Jellyfin Libraries
- Select your Jellyfin-libraries with the sliders and then click Continue
Integrate with Radarr
- Click Add Radarr Server under Radarr Settings and fill as follows in the Add New Radarr Server-window:
- Default Server:
<check this>
- Server Name:
Radarr - Name or IP Address:
http://radarr - Port:
7878 - API Key:
- To find the API key, first open the Radarr Web UI
- Go to Settings and then to General.
- The API key is visible as API Key under Security.
Example:d956ad9f3aac4a538e5f5ea9ba108d13
- Default Server:
- Click Test, if you see a Check mark it means the connection is working, if you see a exclamation mark something are wrong.
- In the same Add New Radarr Server-window continue to fill as follows:
- Quality Profile:
HD - 720p/1080p(select what you want, just personal preference)
- Root Folder:
/data/media/movies - Minimum Availability:
Released(recommended, but personal preference)
- Quality Profile:
- Click Save Changes
Integrate with Sonarr
- Click Add Sonarr Server under Sonarr Settings and fill as follows in the Add New Sonarr Server-window:
- Default Server:
<check this>
- Server Name:
Sonarr - Name or IP Address:
http://sonarr - Port:
8989 - API Key:
- To find the API key, first open the Sonarr Web UI
- Go to Settings and then to General.
- The API key is visible as API Key under Security.
Example:1b0405f3476d49b1b5627165973221ce
- Default Server:
- Click Test, if you see a Check mark it means the connection is working, if you see a exclamation mark something are wrong.
- In the same Add New Sonarr Server-window continue to fill as follows:
- Quality Profile:
HD - 720p/1080p(select what you want, just personal preference)
- Root Folder:
/data/media/tv - Language Profile:
English(or other if you have)
- Quality Profile:
- Click Save Changes
Users and Requests
One of the best features in Jelly-seer is that you don’t need to create new users, because it is integrated with Jellyfin all Jellyfin-users can if the setting is enabled log in with their account. Before you let users log in I recommend setting the default User-Settings, these will not apply to users that is already signed in (but can be changed on per user level).
- Go to Settings and click Users
- Make sure Enable Local Sign-In and Enable New Jellyfin Sign-In is checked
- look under Default Permissions and sett the settings as wanted.
If you want users to request and get request approved automatically check Request and Auto-Approve. Or just for Movies/Series if that is what you want. - Click Save Changes
Ending
I have attempted to make this as easy to follow as possible, and I hope it is useful for people setting this up. If you find any mistakes or missing info in my article I will be happy if you point it out in a mail or in the comments..
Sources
- https://www.reddit.com/r/qBittorrent/comments/prari7/haveing_trouble_getting_qbittorrent_category/
- https://www.reddit.com/r/prowlarr/comments/sub5um/prowlarr_docker_image_problem_linuxserverio/
- https://www.youtube.com/watch?v=nPm5pMfk1OA
- https://www.youtube.com/watch?v=HIExT8xq1BQ
- https://www.youtube.com/watch?v=yflhh6oER0I
- https://www.youtube.com/watch?v=7fzBDCI8O2w
- https://trash-guides.info/Hardlinks/How-to-setup-for/Unraid/
- https://www.techopedia.com/definition/19730/hard-link
- https://wiki.servarr.com/

